Finally got started on the project!
First up is the back piece section of the sweater, so let me record some notes on my progress here.
Twisted Rib
The section starts with a simple twisted rib (w/ the smaller needles) for the bottom boundary of the sweater:
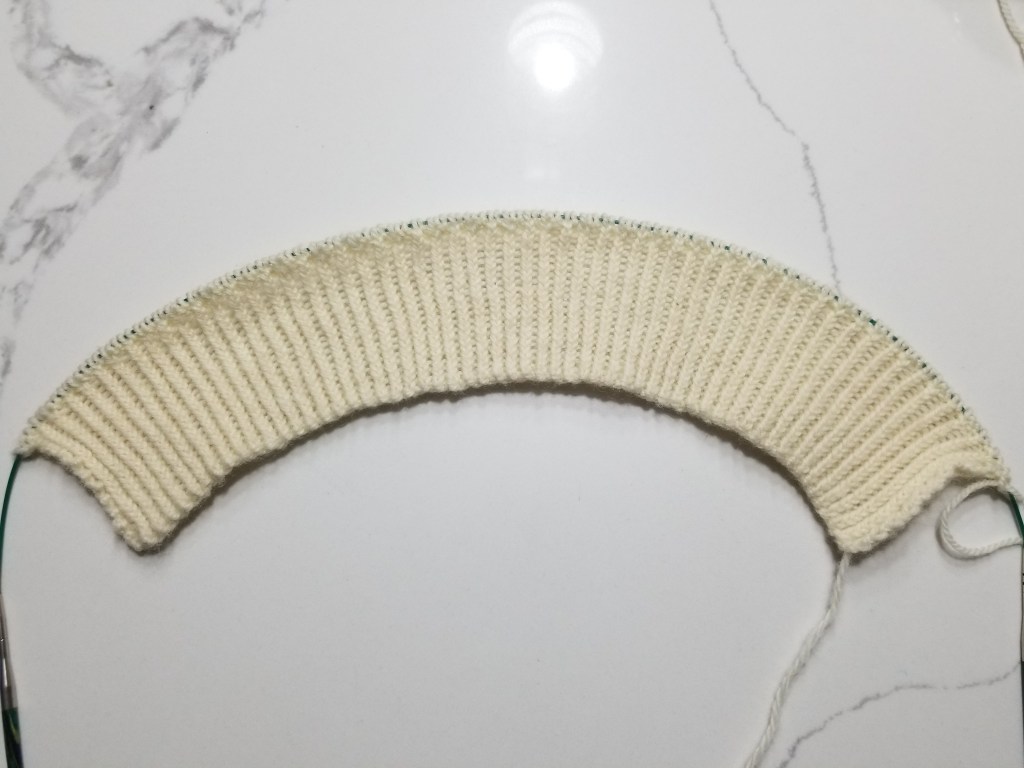
This stitch pattern is super easy as it’s just like the normal 1×1 ribbing, done by alternating between K (knit) and P (purl) for RS (right side). The “twisted” part comes from working the K’s tbl (through the back loop), forcing those stitches to twist, making the stitches tighter and the resultant ribbing lines thinner as well. Then on the way back on WS (wrong side), just K the K’s and P the P’s as usual, but working the P’s tbl.
The stitch pattern is the following 2 rows alternated (odd number of sts):
- Row 1 (RS): *k1 tbl, p1, rep from * to last st. k1 tbl
- Row 2 (WS): *p1 tbl, k1, rep from * to last st. p1 tbl
Sadly, ribbing always reminds me of my sad life circumstance as a western throwing knitter because of all the extra hand motions just to switch the yarn between front and back 😞.
Last Row Increase
On the last row of the twisted ribbing, the pattern calls for an evenly spaced increase of 29 sts interspersed among the existing 115 sts. Then we switch to the larger needles for the rest of the piece.
I’ve done plenty of increases before, but I know that the specific increase that I choose might leave eyelets or holes which would look bad on the final product. So I took the opportunity to sit down and look into different kinds of increases and learn the pros and cons for each.
I read through this guide from Nimble Needles, and I would HIGHLY recommend that anyone else refer to this page to learn about different kinds of increases.
Here’s what the piece looked like after knitting a bit past the increase row:
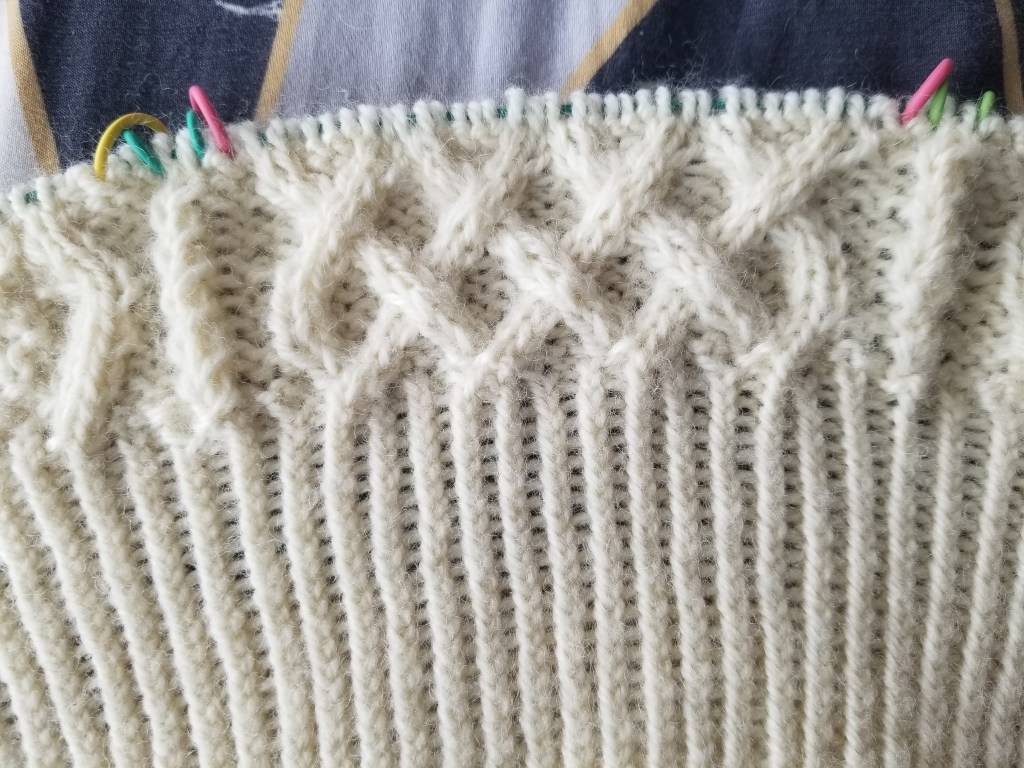
Look between the ribbing and the cable section… the increase is SO INVISIBLE 🤩
The increase that I went with was a KLL (knit left loop) increase to make it as invisible as possible. Check this tutorial from the previous site for a tutorial. This was definitely better than increasing by knitting the same stitch twice, using a yarn-over, picking up the strand in-between, or casting on mid-row. Those would all leave some noticeable amount of hole or gap.
What’s Next?
Next up is the main section of the back piece, which is pretty much just a ton of cables (my favorite!!)

One thought on “Aran Sweater 1 [Part 01] – Twisted Rib”