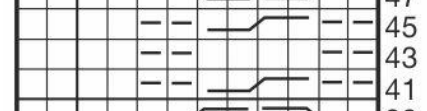
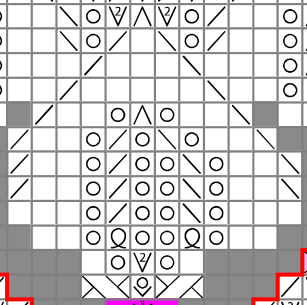
Soooo I was near the middle row (43) of this part of the pattern:
The even rows are pretty much just knit-the-knits and purl-the-purls, which means rows 42-44 were identical. I had stopped somewhere around there and wasn’t totally sure if I’d noted down the correct row number for where I stopped. I tried the next row and kept checking my work to see if I was doing it right or knitting a duplicate row.
It turned out I was fine, but I ended up forgetting one of the cables in the row because I was so distracted. Then while I was undoing the last row, one of my needles slipped and I dropped a bunch of stitches 😭.
By that point, since I was already pretty uncertain about whether I was doing it correctly, I just decided to start over 🤷♂️
Current State
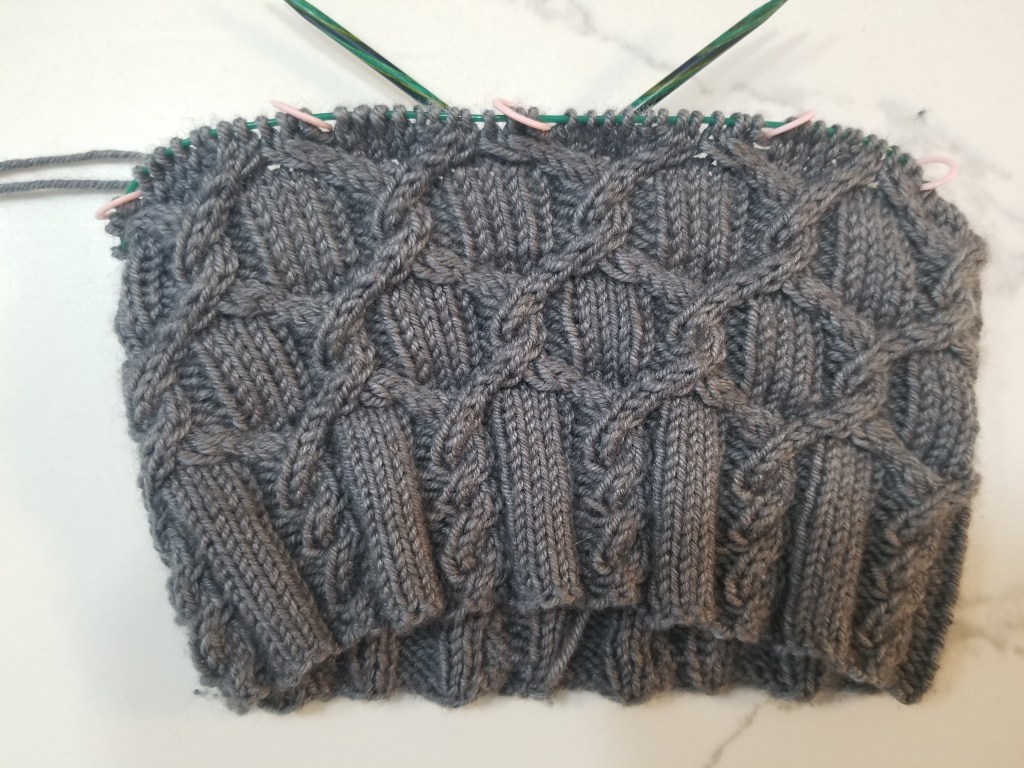
I restarted and got back up to basically the same place that I was at last time.
Hopefully there are no more issues like that from now on 😩
I had a few false starts on this project since I was worried about the gauge and sizing.
I had settled on following the pattern for a size Medium, since that fit the desired head size. The pattern suggested using needles of size US 6 and 7. However, when I tested out my gauge with the larger needles, my swatch was a lot larger than expected. Since I didn’t want the hat to come out unnecessarily big and floppy, I decided to switch down my needle size to US 5/6. With that smaller needle size, my gauge swatch still came out a bit big, but I felt it was alright just from eye-balling it.
Knitting in the Round
Joining
In-the-round is definitely my favorite needle style, and I even prefer to use circular needles when the project isn’t in-the-round. So you’d think I would be pretty good at joining at the beginning, after casting-on, to continue the piece in-the-round. But for whatever reason, I always find myself redoing the cast-on and join since I end up with a bit of a gap at the join.
Initially I was doing the following to join:
Cast-on 1 more stitch than the pattern calls for
Slide the first switch on the right needle (the first that was cast-on) along the circular needle, up to the tip of the right needle
Slip that switch over to the left needle, so the first and last cast-on sts are adjacent on the left needle.
Work those two sts together as the first st of the pattern
I had seen this method of joining online and thought it would work here, but I kept seeing a gap at the join as I knit the later rows.
So I looked up other methods and ended up liking the one where you basically *swap* the first/last sts to link the ends together. This way of joining ended up producing no noticeable gap, so I’ll definitely default to that one in future projects.
Cord Length
Another issue I kept hitting was with the length of cord between the circular needle ends. Initially I used a longer cord than necessary (24 inches I think?) and kept having to bunch the sts and cord up in weird ways to slide them up to working position. Eventually I switched the cord to a shorter one (15 inches) and that worked out much better!
Cable Pattern
I really like the look of the cable pattern here, which has the look of a chain-link fence!
I was trying to account for cable splay near the edges of the cables, but it turned out to be a big hassle to focus so much on my tension as I went. After I had finally restarted enough times, I just ignored the cable splay and let it turn out however it would. But looking at the picture above, I’d say it really isn’t that noticeable (except maybe to other cable-knitters 😁).
What’s Next?
Continue Pattern
Most of the remaining rows are just repeats of what I’ve already done, so that’ll just take a few days to complete.
Decreases
The last bunch of rows is where the beanie gets closed up with decreases.
Looking ahead in the pattern, the decreases seems to just be k2togs, so nothing fancy.
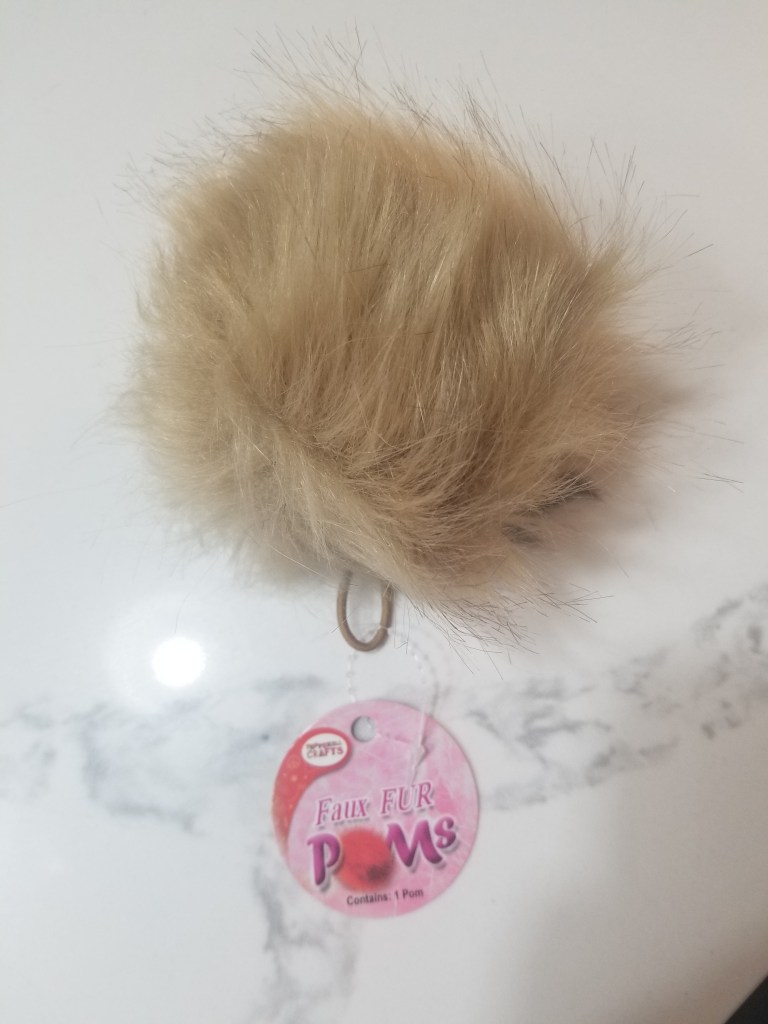
Pompom
I received the faux fur pompom in the mail:
There’s a little loop which I can use to attach it to the apex of the beanie.
Right now I don’t know exactly how I’ll attach it, but I’ll deal with that when I get closer to the end 🤷♂️.
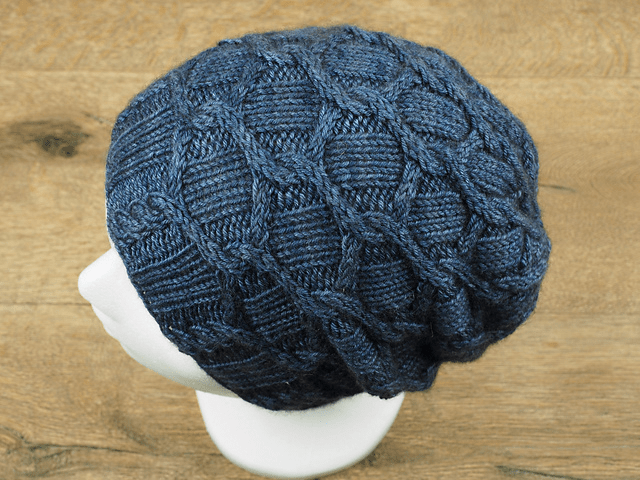
I was looking for a beanie with some cabling, and this one really has a nice look!
I’m planning on making two of them in different colors, but first is gray.
Example Project
The plan was to make on in a nice gray color, so that the cables would be more visible. Initially, I was going to get the same yarn brand as mentioned in the pattern, but turns out they are in Europe and don’t ship to the US.
However I found a user project on Ravelry that had the color I wanted. Also it had the same yarn material composition as the pattern, which is something I wanted.
Since my previous post, I (very slowly and tediously) sat down and wove all of the ends in.
That part wasn’t too difficult, but there were quite a few loose ends due to the multi-part nature of the sweater.
Neckband
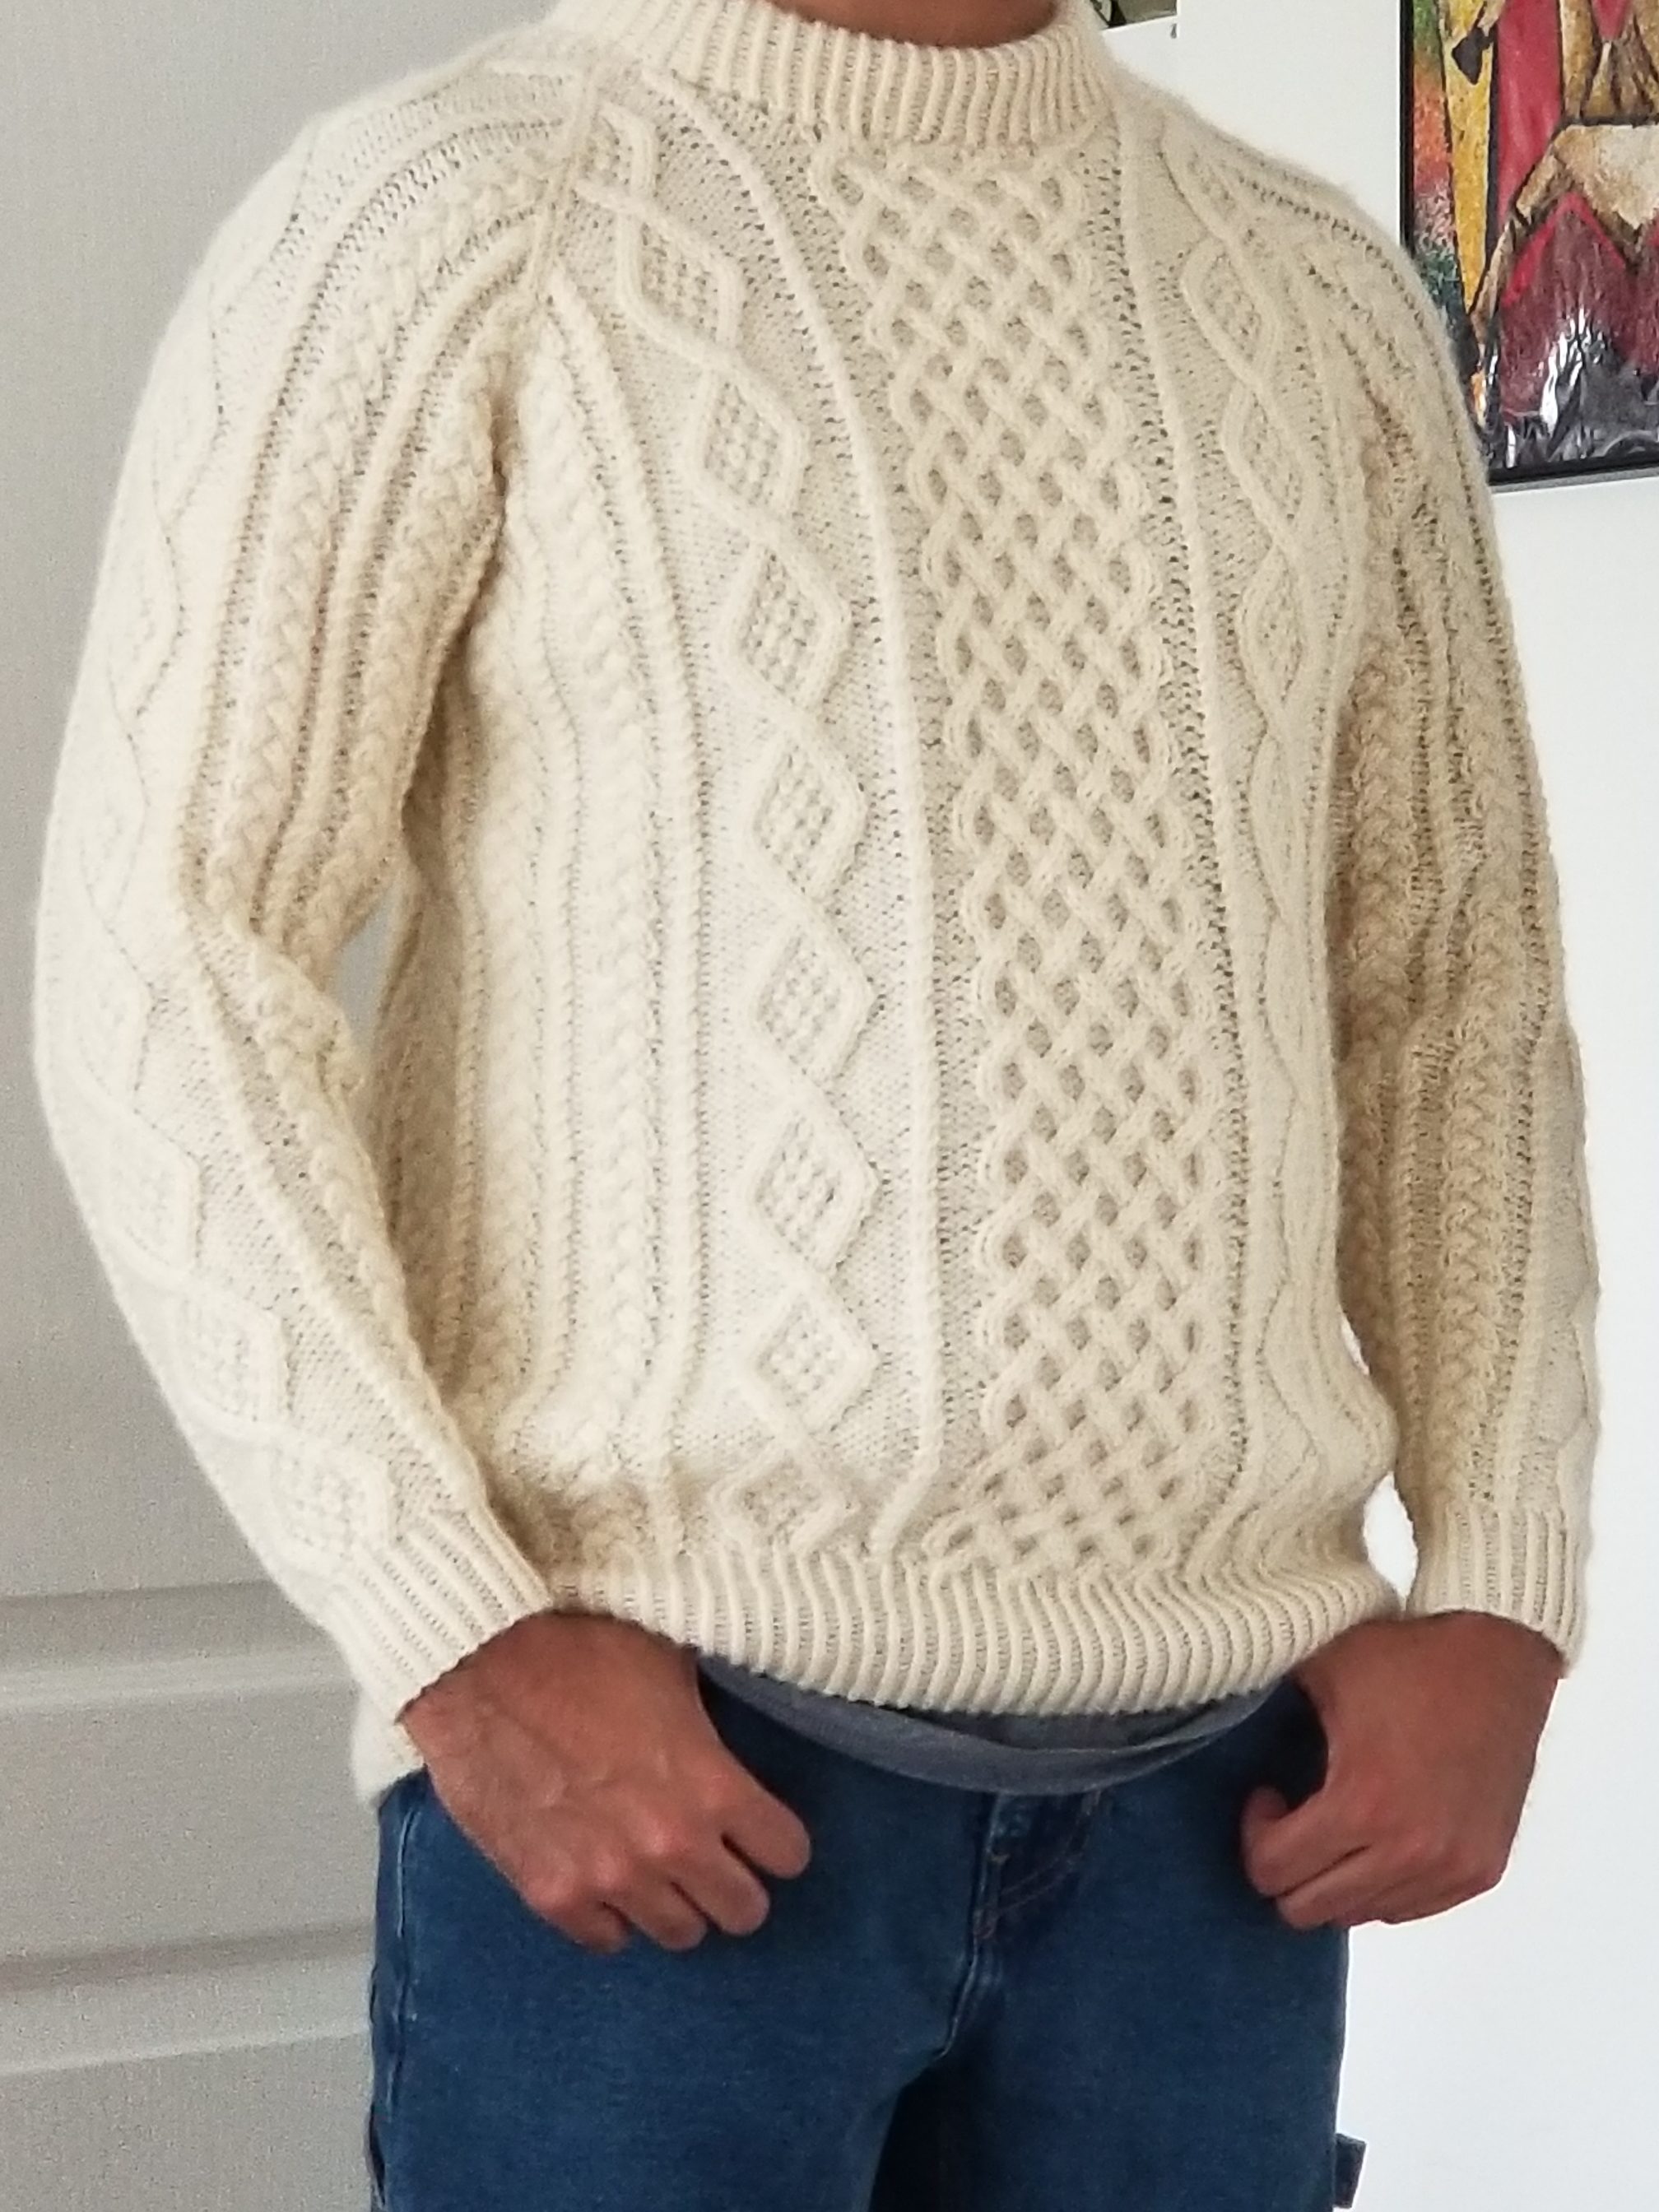
I had been considering whether I should undo the neckband bind-off since it came out a bit tight. I ended up deciding not to re-open it and just let it stay as it was. That turned out to be a good decision because the collar loosened a bit over time! Even though it’s still somewhat tight, it’s not difficult to get my head through anymore. And also the tightness of the collar actually makes the fit more snug overall, which I think is a good feature for a sweater to have 👍
The pattern also called for the neckband to be folded and sewn down, but I just did this with the yarn itself and it turned out pretty well!
Final Thoughts
This was definitely a fun project and very straightforward to follow!
The pattern document itself was very well-written and nicely formatted too.
Also, since the cable patterns here aren’t very difficult, it’s a good project for beginners to get into cables.
I haven’t posted at all yet this year! Can you believe it??
In the meantime, I was slooooowly getting the seaming done, and now I’m nearly finished!
While I was getting the seaming done, I was a bit worried about whether my pace was even. Also the sleeve cuffs seemed like they might end up too tight, but I’d say everything turned out fine.
Remaining Steps
Weave in Ends
Lots of loose ends to weave in and hide in the mesh…
Not too difficult, but far from my favorite part of any project 😩
Fix Neckband
When I finished the last knitting step and bound up the neckband, I didn’t do it very loosely. So now the collar is a bit tight, and I may have to reopen it (snip ✂️ snip ✂️).
The neckband is also supposed to be folded inwards and sewed to its bottom, so that it becomes half its current height. But I think this will be difficult to do with the bind-off being tight, and it’ll probably make the collar even tighter. However, I’ll push off the decision on reopening the neckband until I’m done weaving in the rest of the ends.
Almost There!
Time to weave in those ends!
Here’s hoping I don’t procrastinate again and end up posting months from now… 🤞
Once again, it has been some time since my last post!
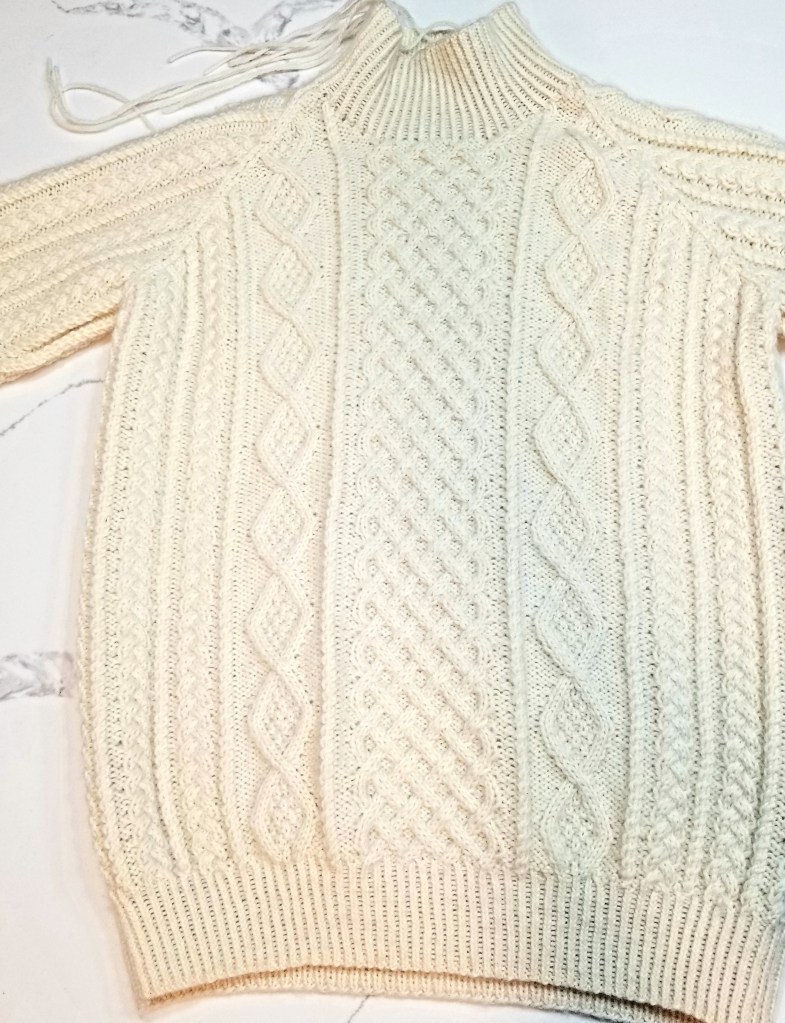
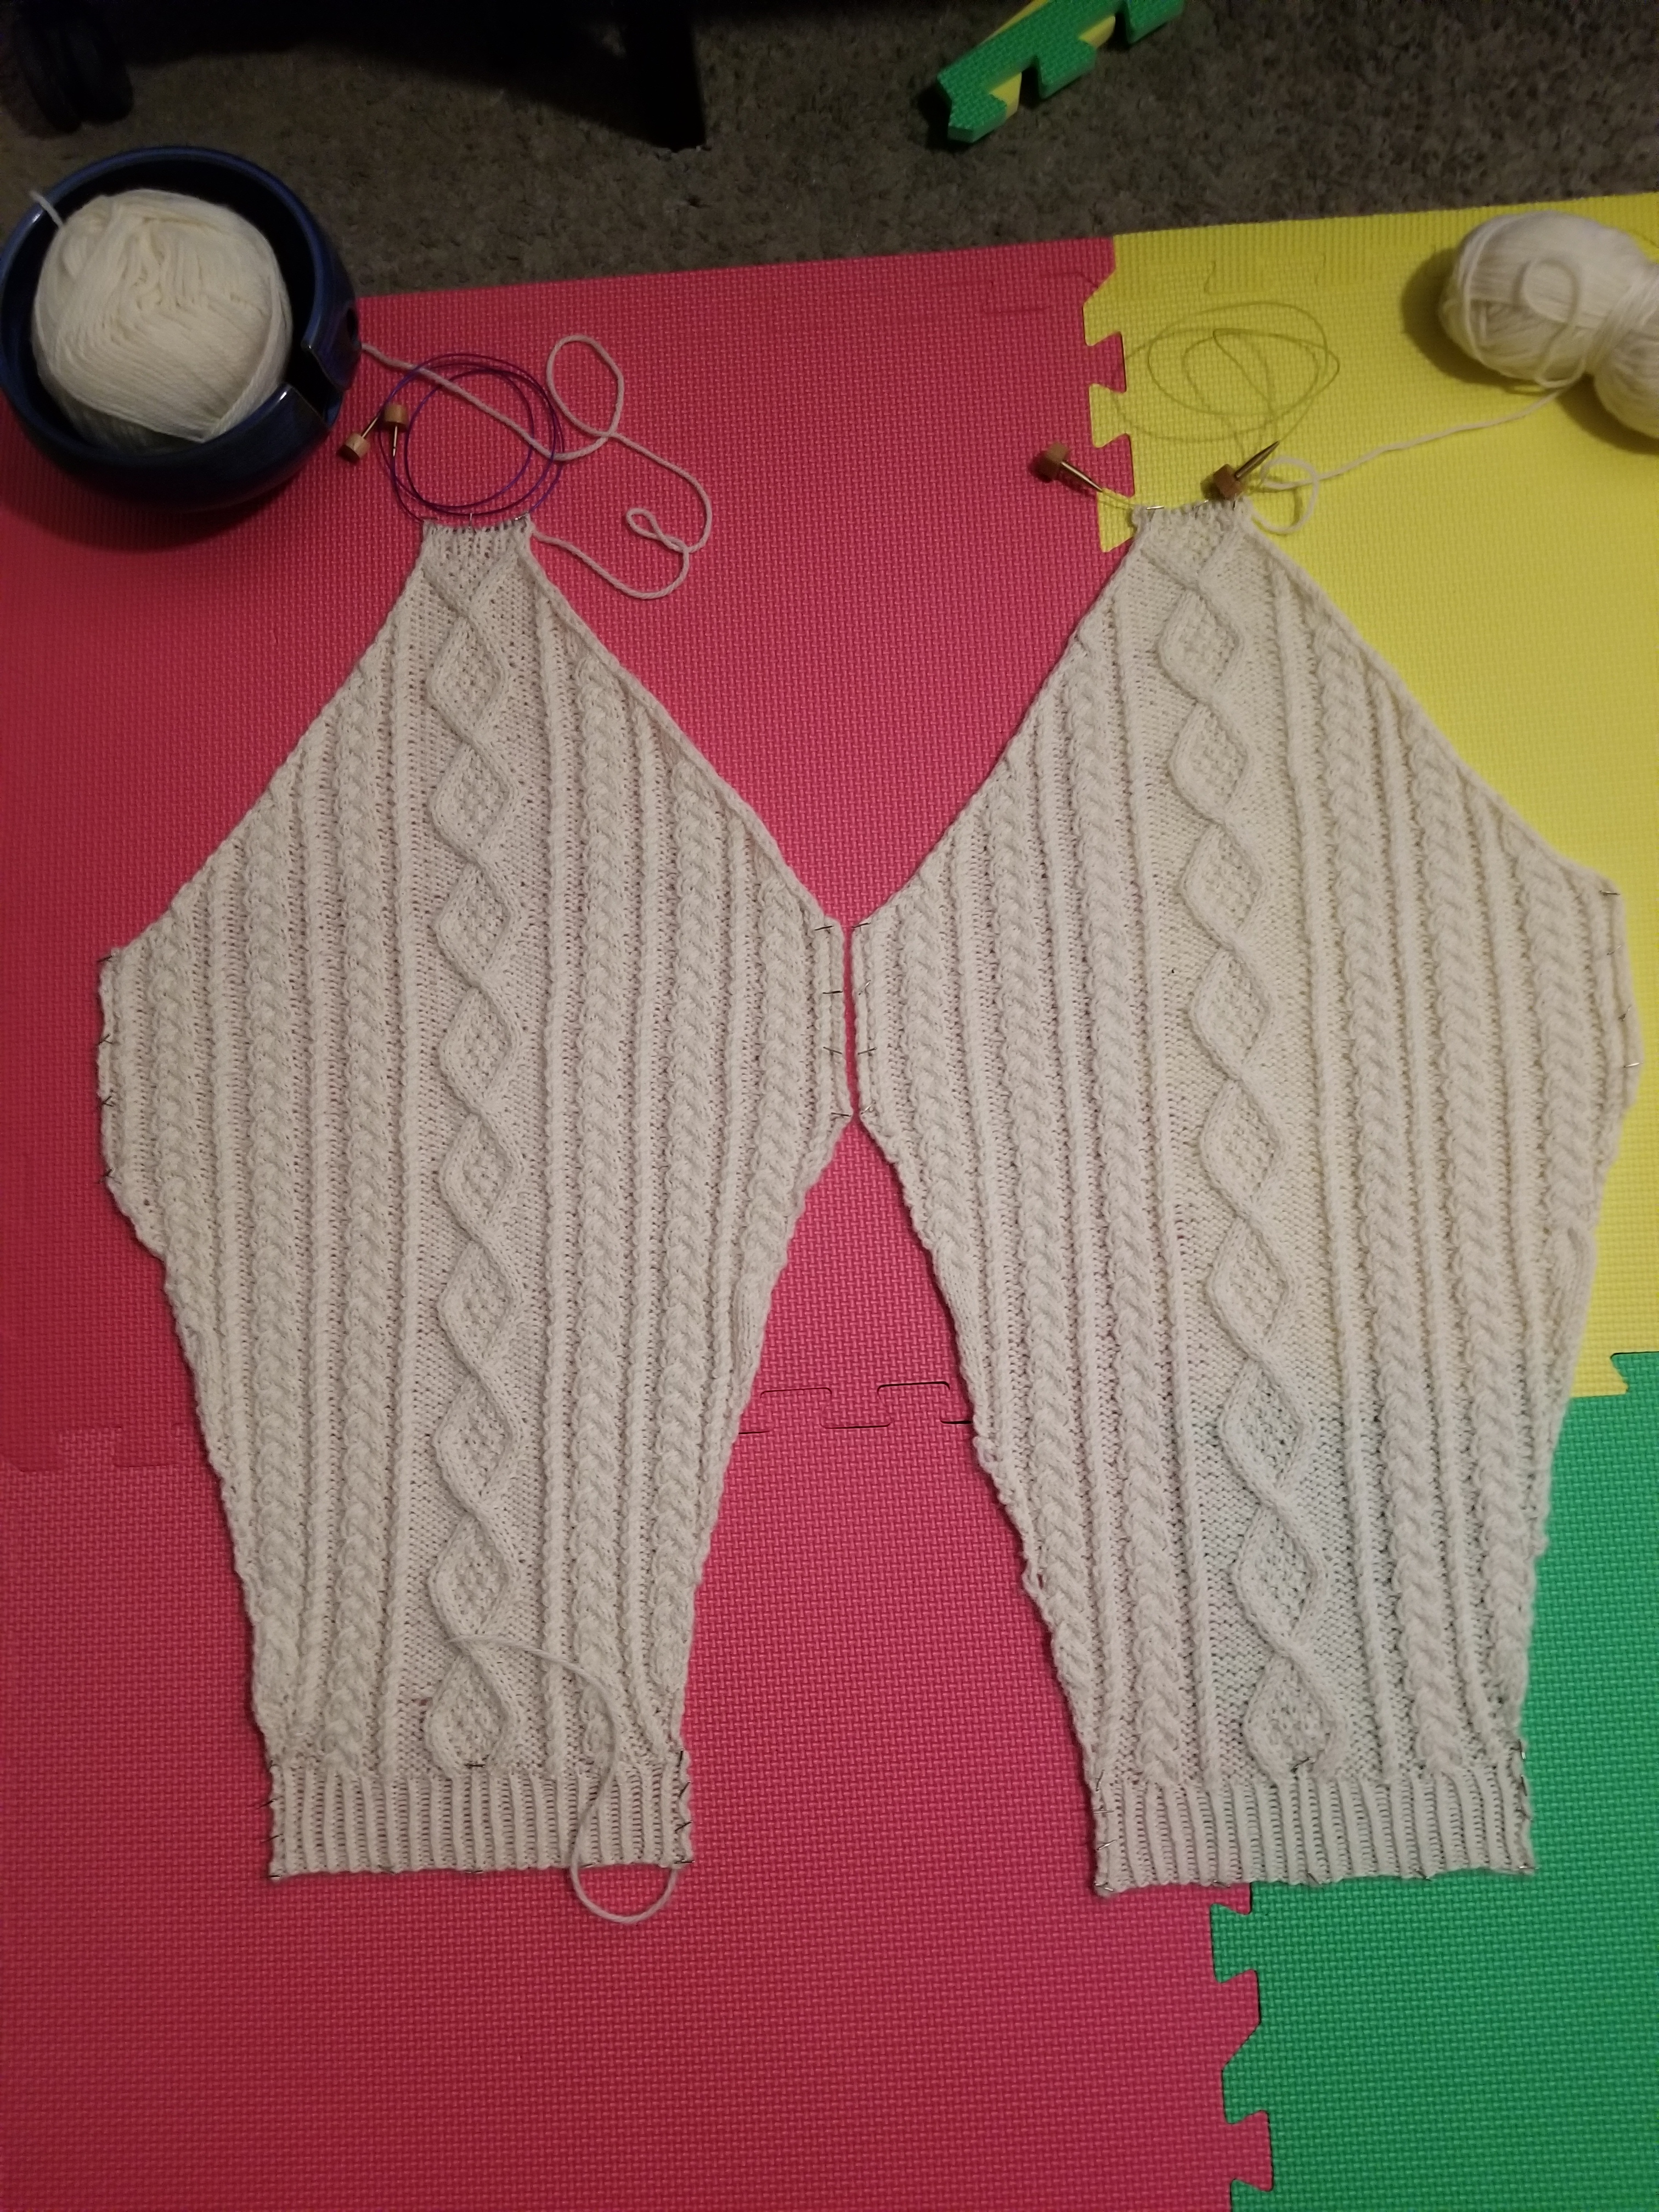
The separate pieces of the Aran sweater had been sitting around while I procrastinated the seaming.
But with December ending soon, I’m hoping to get it done within the year 🫡
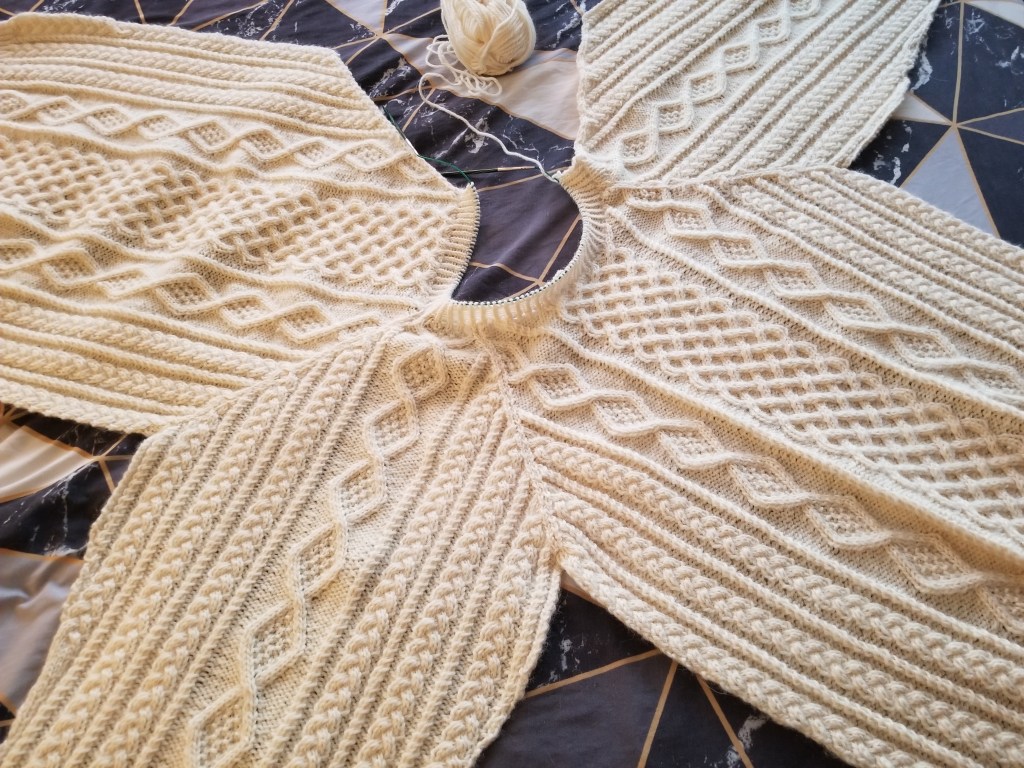
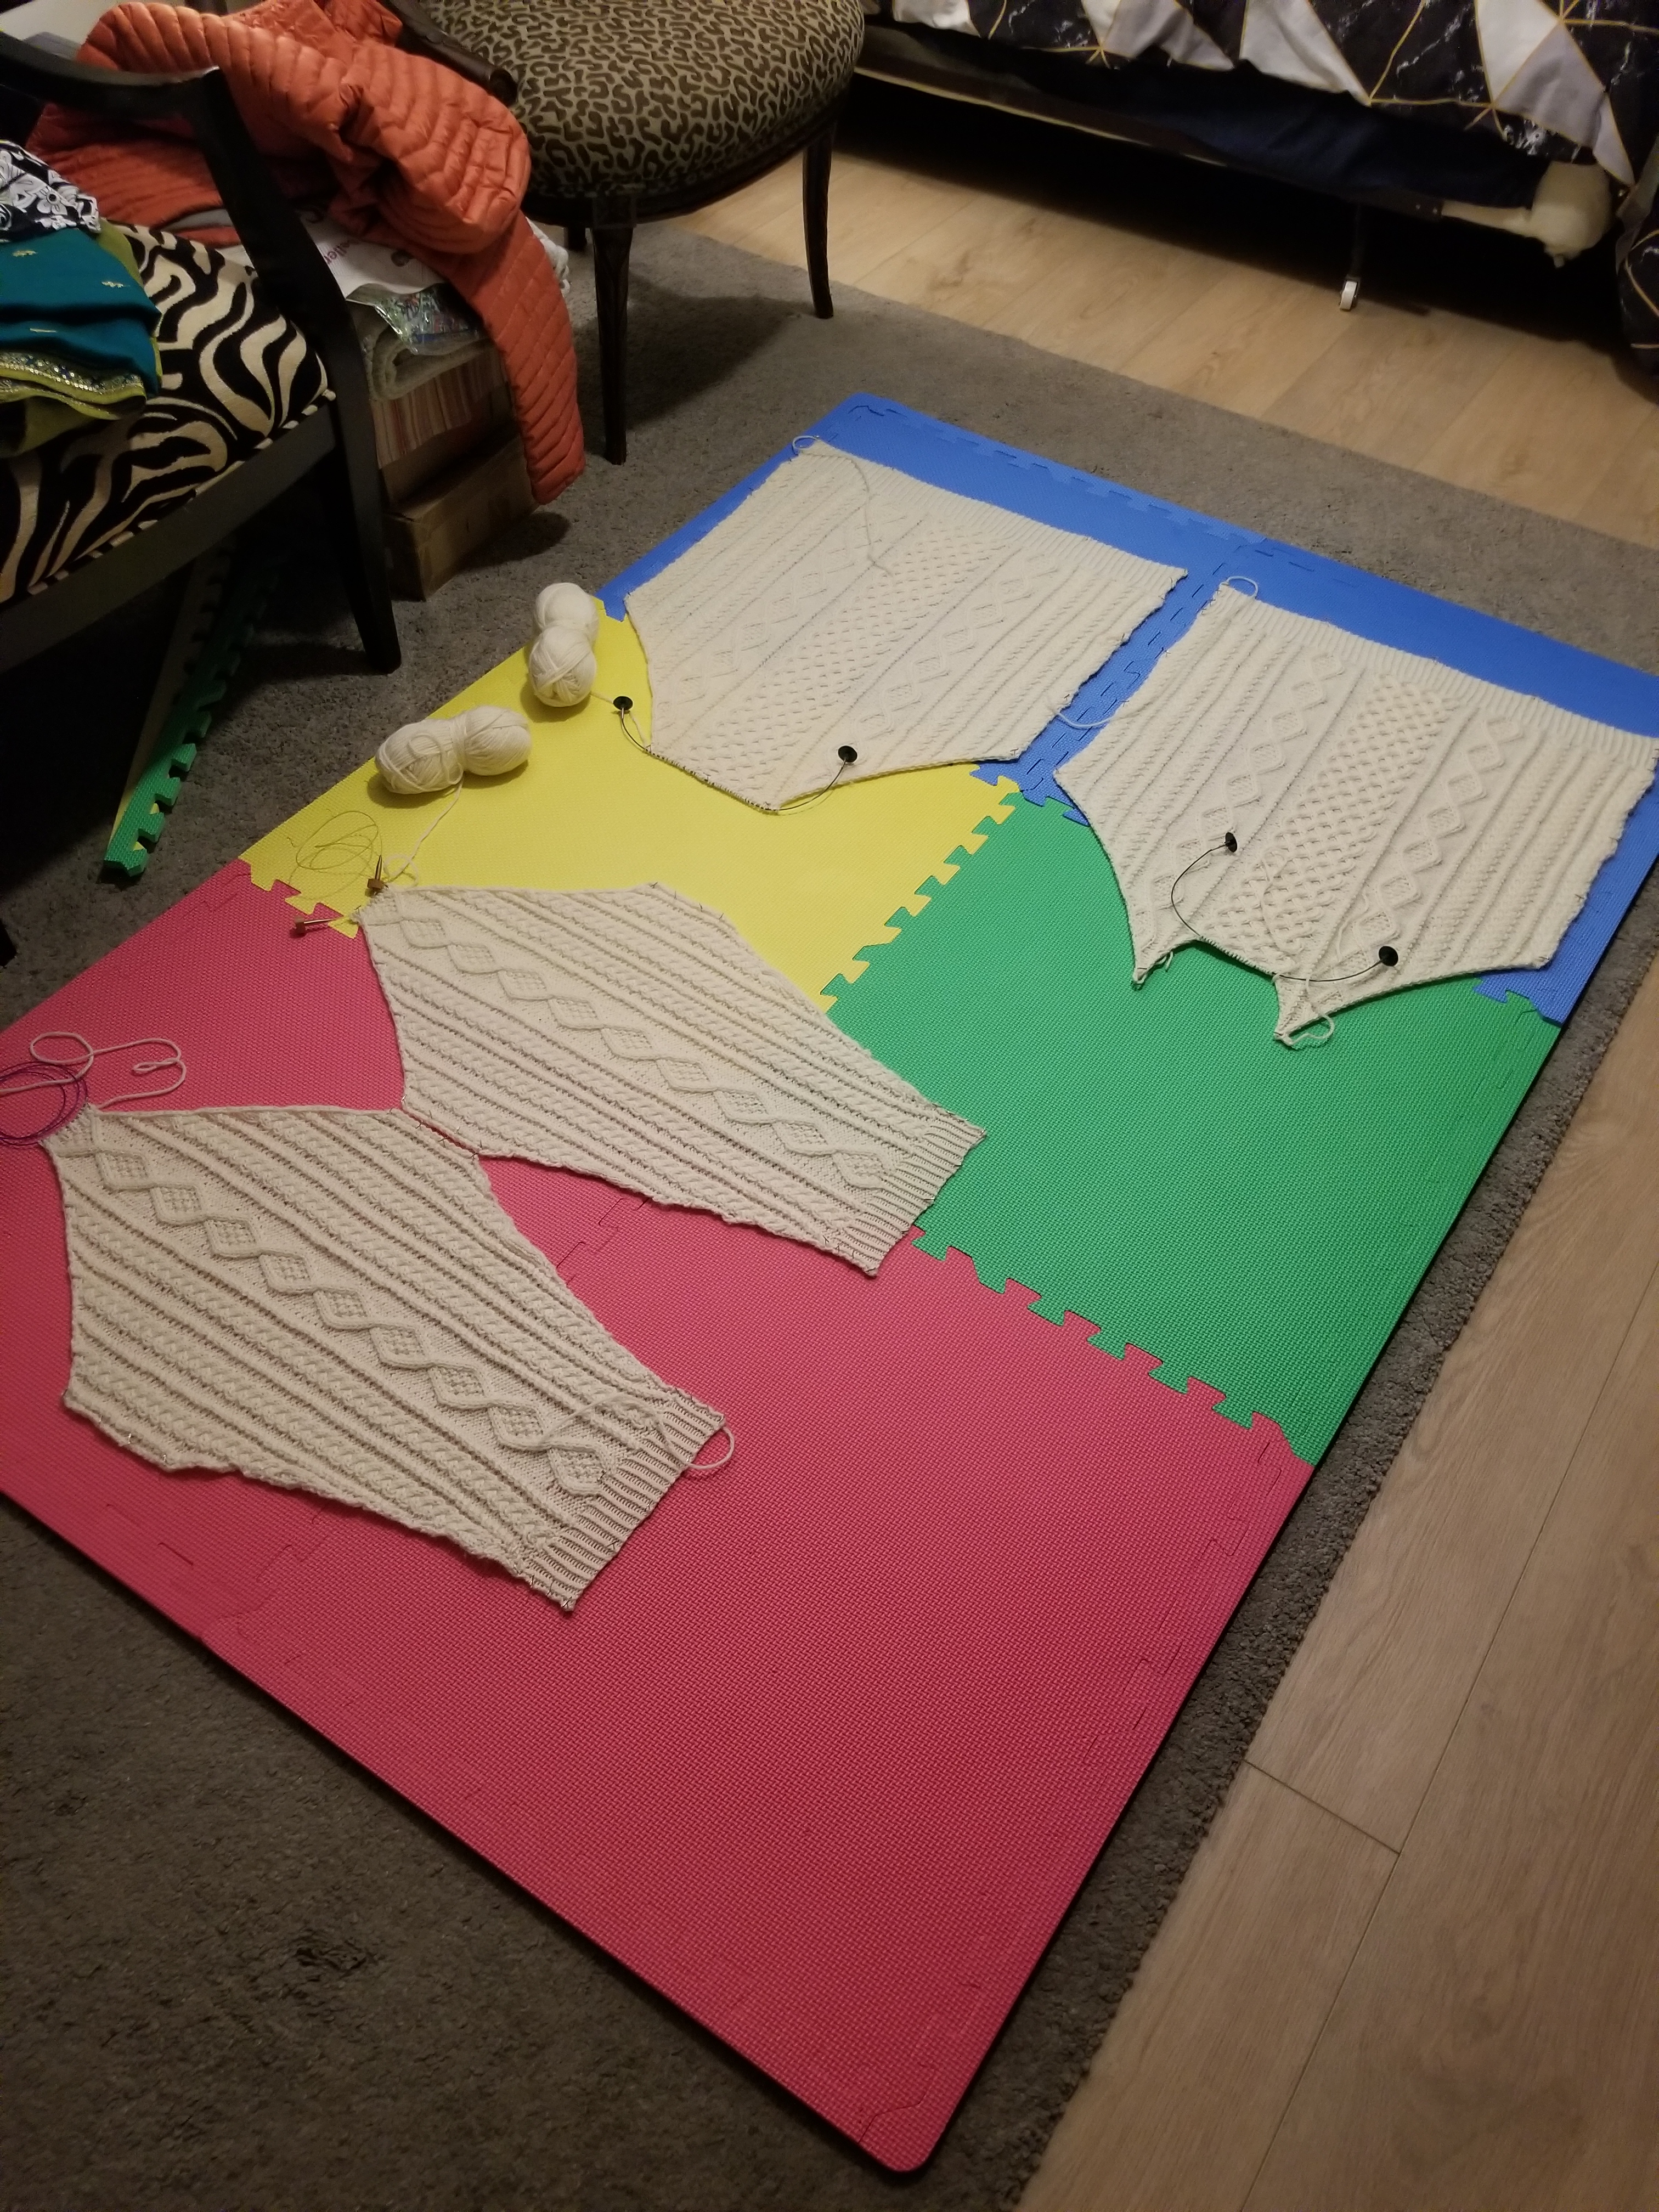
I’ve just completed the seaming for (almost) all of the slanted boundaries where the raglan-style sleeves link up with the main front/back pieces. One seam (the back-left) is left open to be seamed later on.
Here’s what it looks like now:
Now things are a bit tidier since all 4 pieces are connected up into a single item.
There are still loose ends everywhere though 🥲 gonna be fun weaving those in at the end.
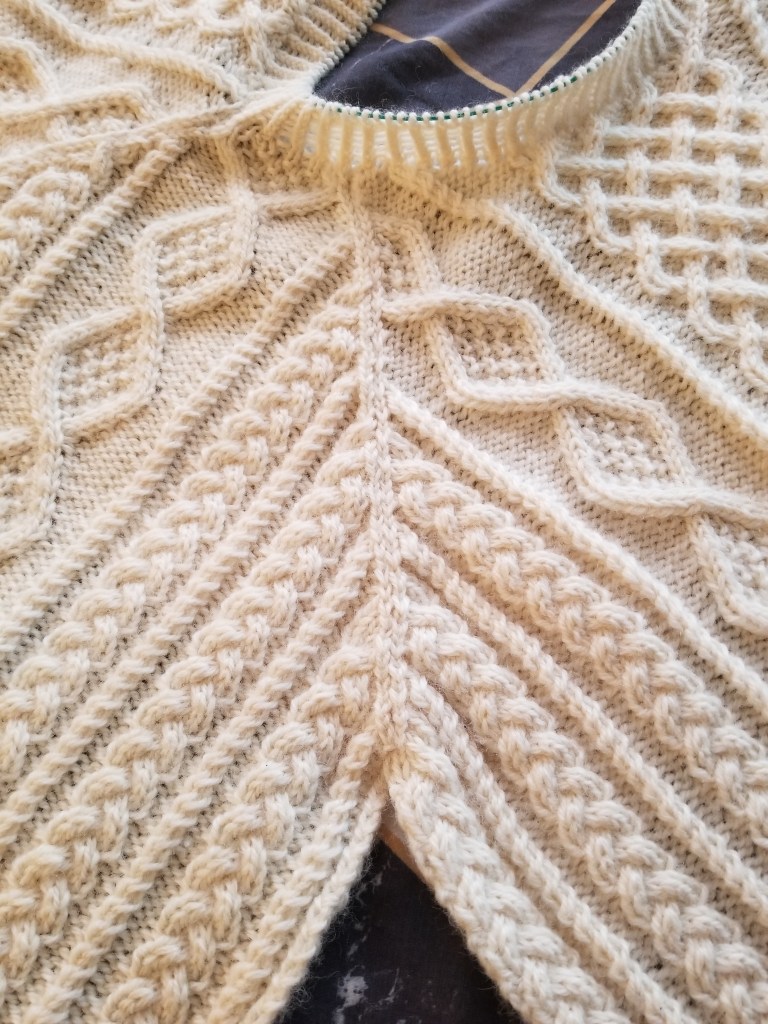
Seam Technique
I think my seaming generally comes out okay, but I could definitely work on that in the future.
To be honest, I’m not even sure I do it correctly, but I like the way the slanted boundary came out here so… 🤷♂️
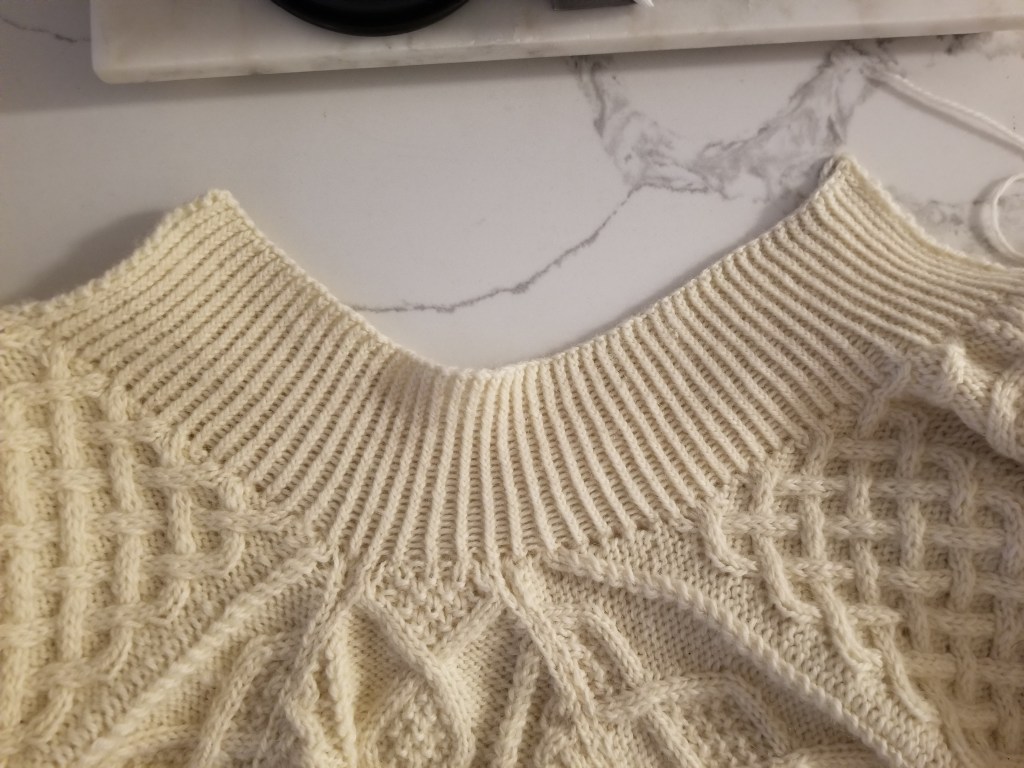
Neckband / Collar
One of the last steps is making the neckband, which needs to be done to all the pieces at once.
That involves picking up the stitches that had been left on stitch holders, as well as picking up new stitches from any closed/cast-off edges.
I started on that and have done a bit of it, so hopefully that part will be done in a few days.
After that little neckband digression, the last part will be to seam everything up and weave in ends.
Then I’ll finally be free from this project and done with the year 😭
It has been a while… but I’ve returned to finish up the Aran sweater I’ve been working on!
I was a bit distracted with the Swan Shawl project that I picked up in the meantime 😅
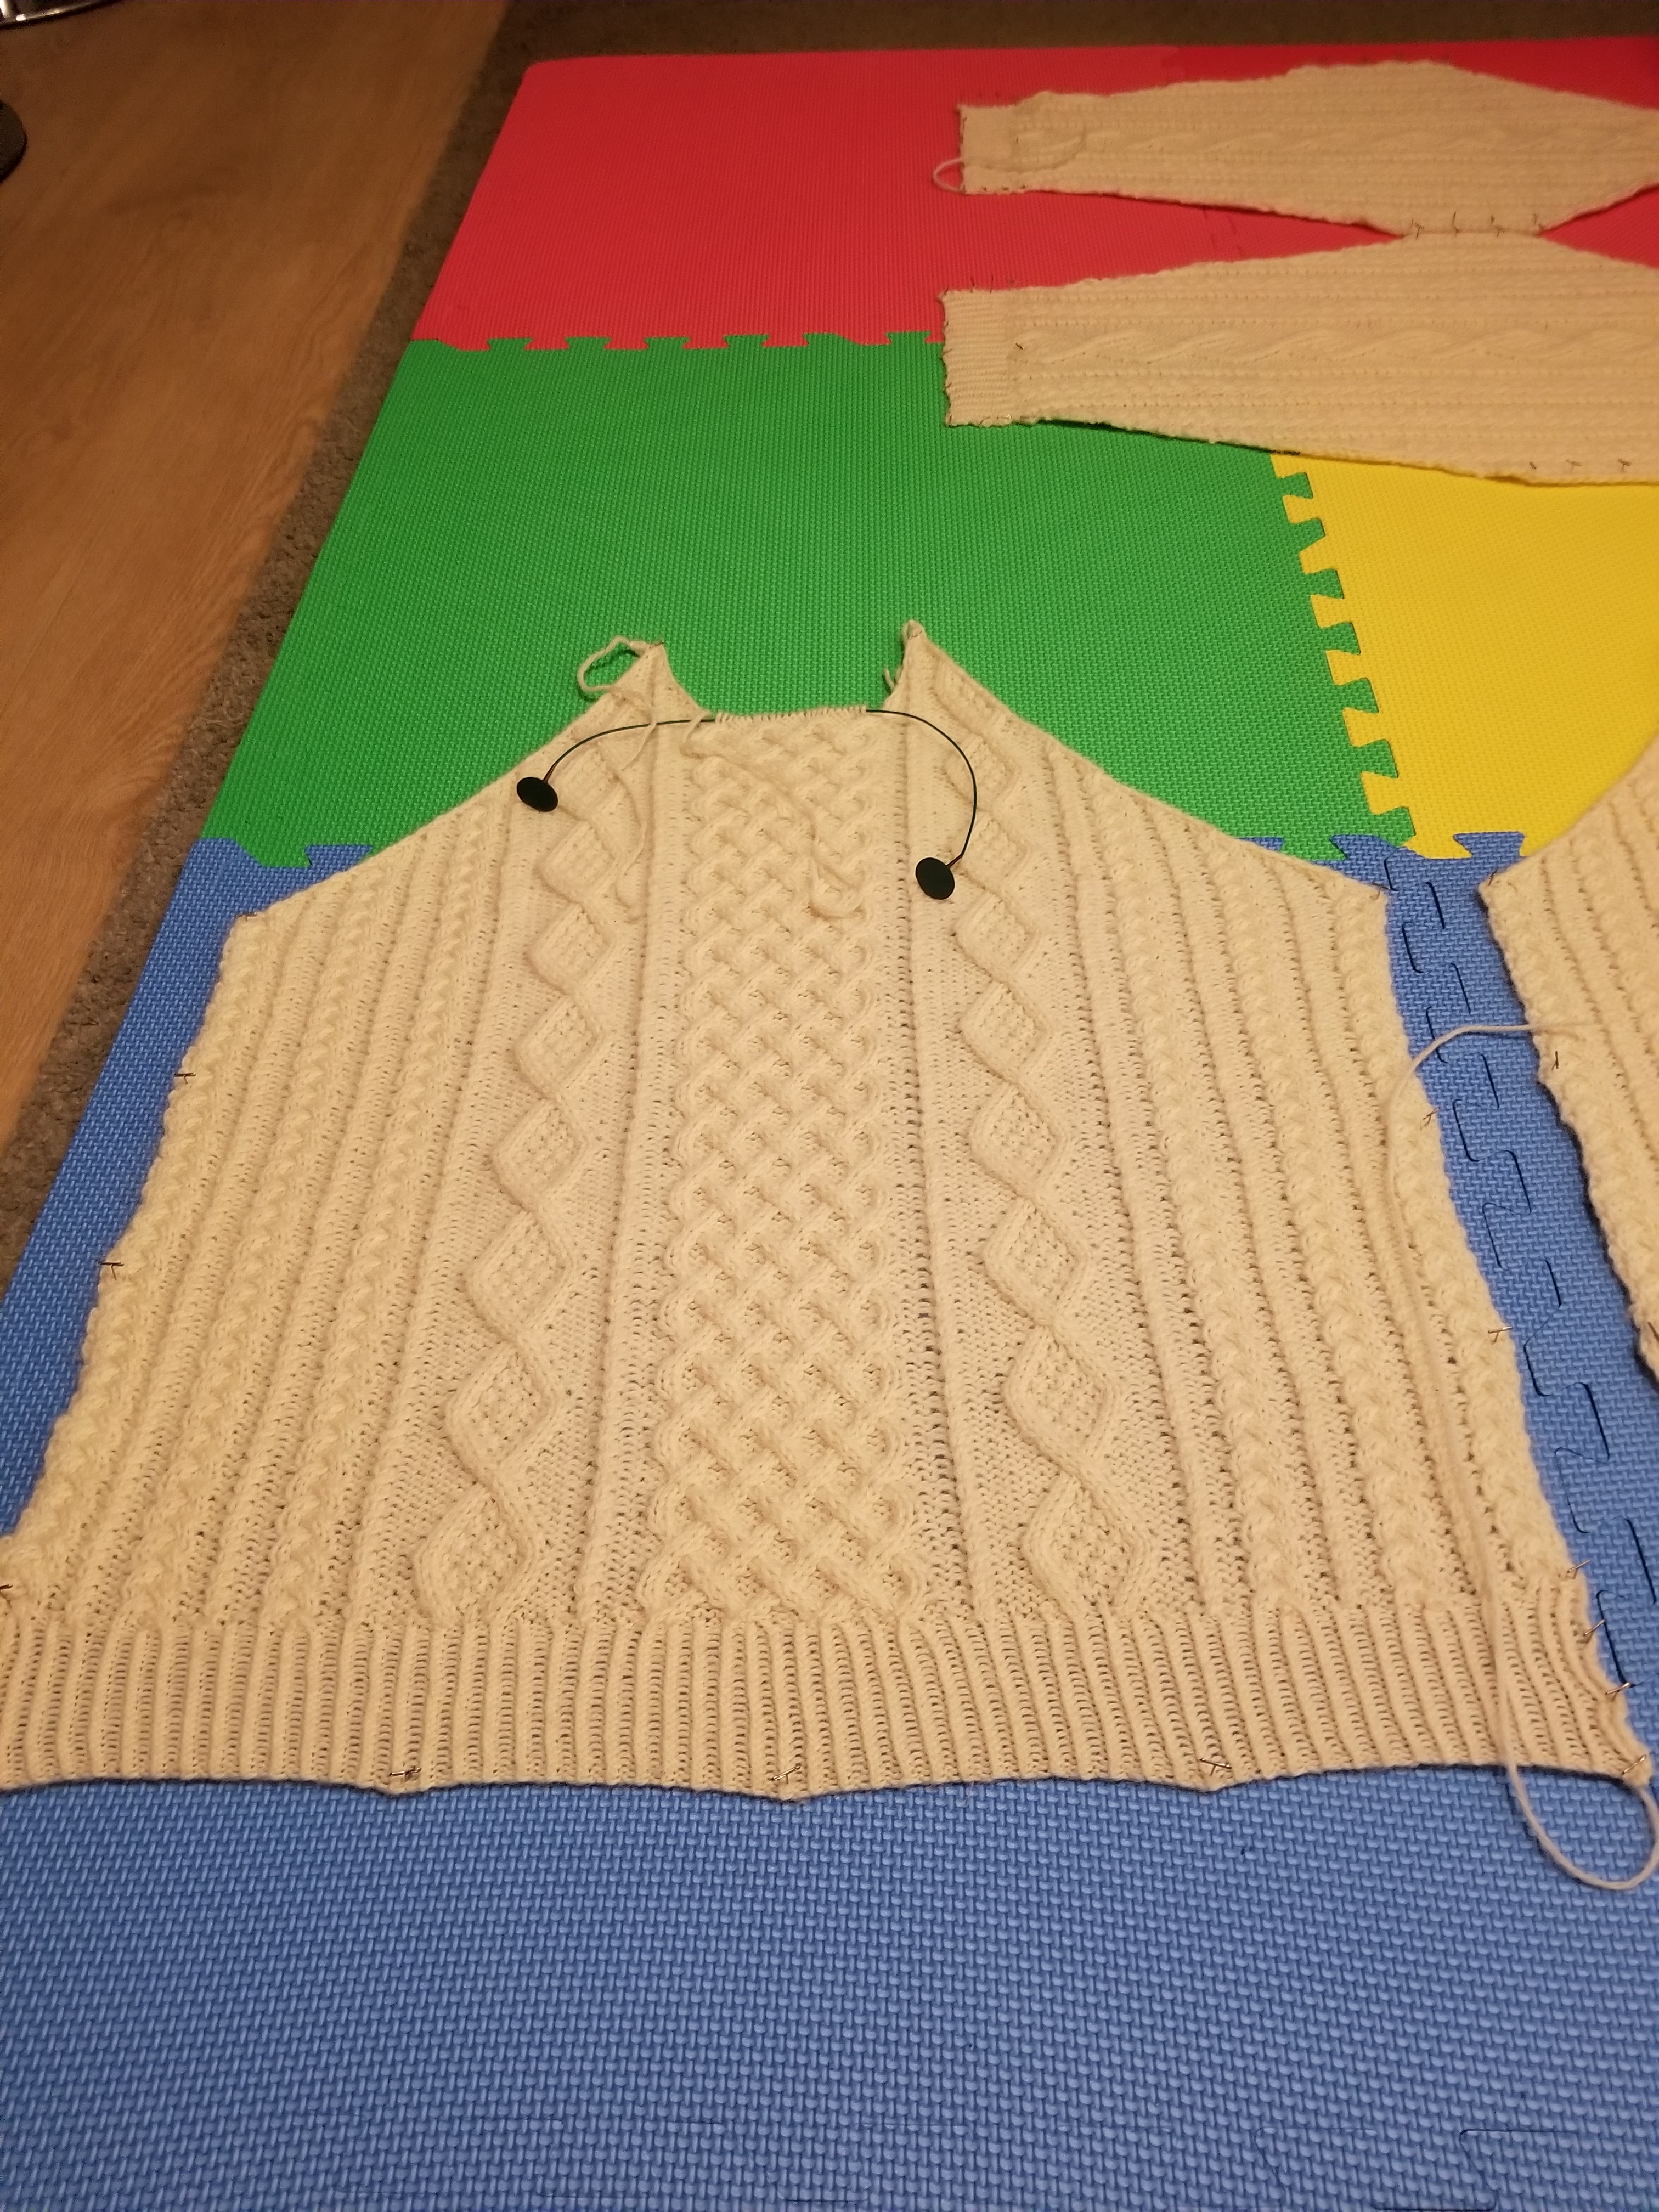
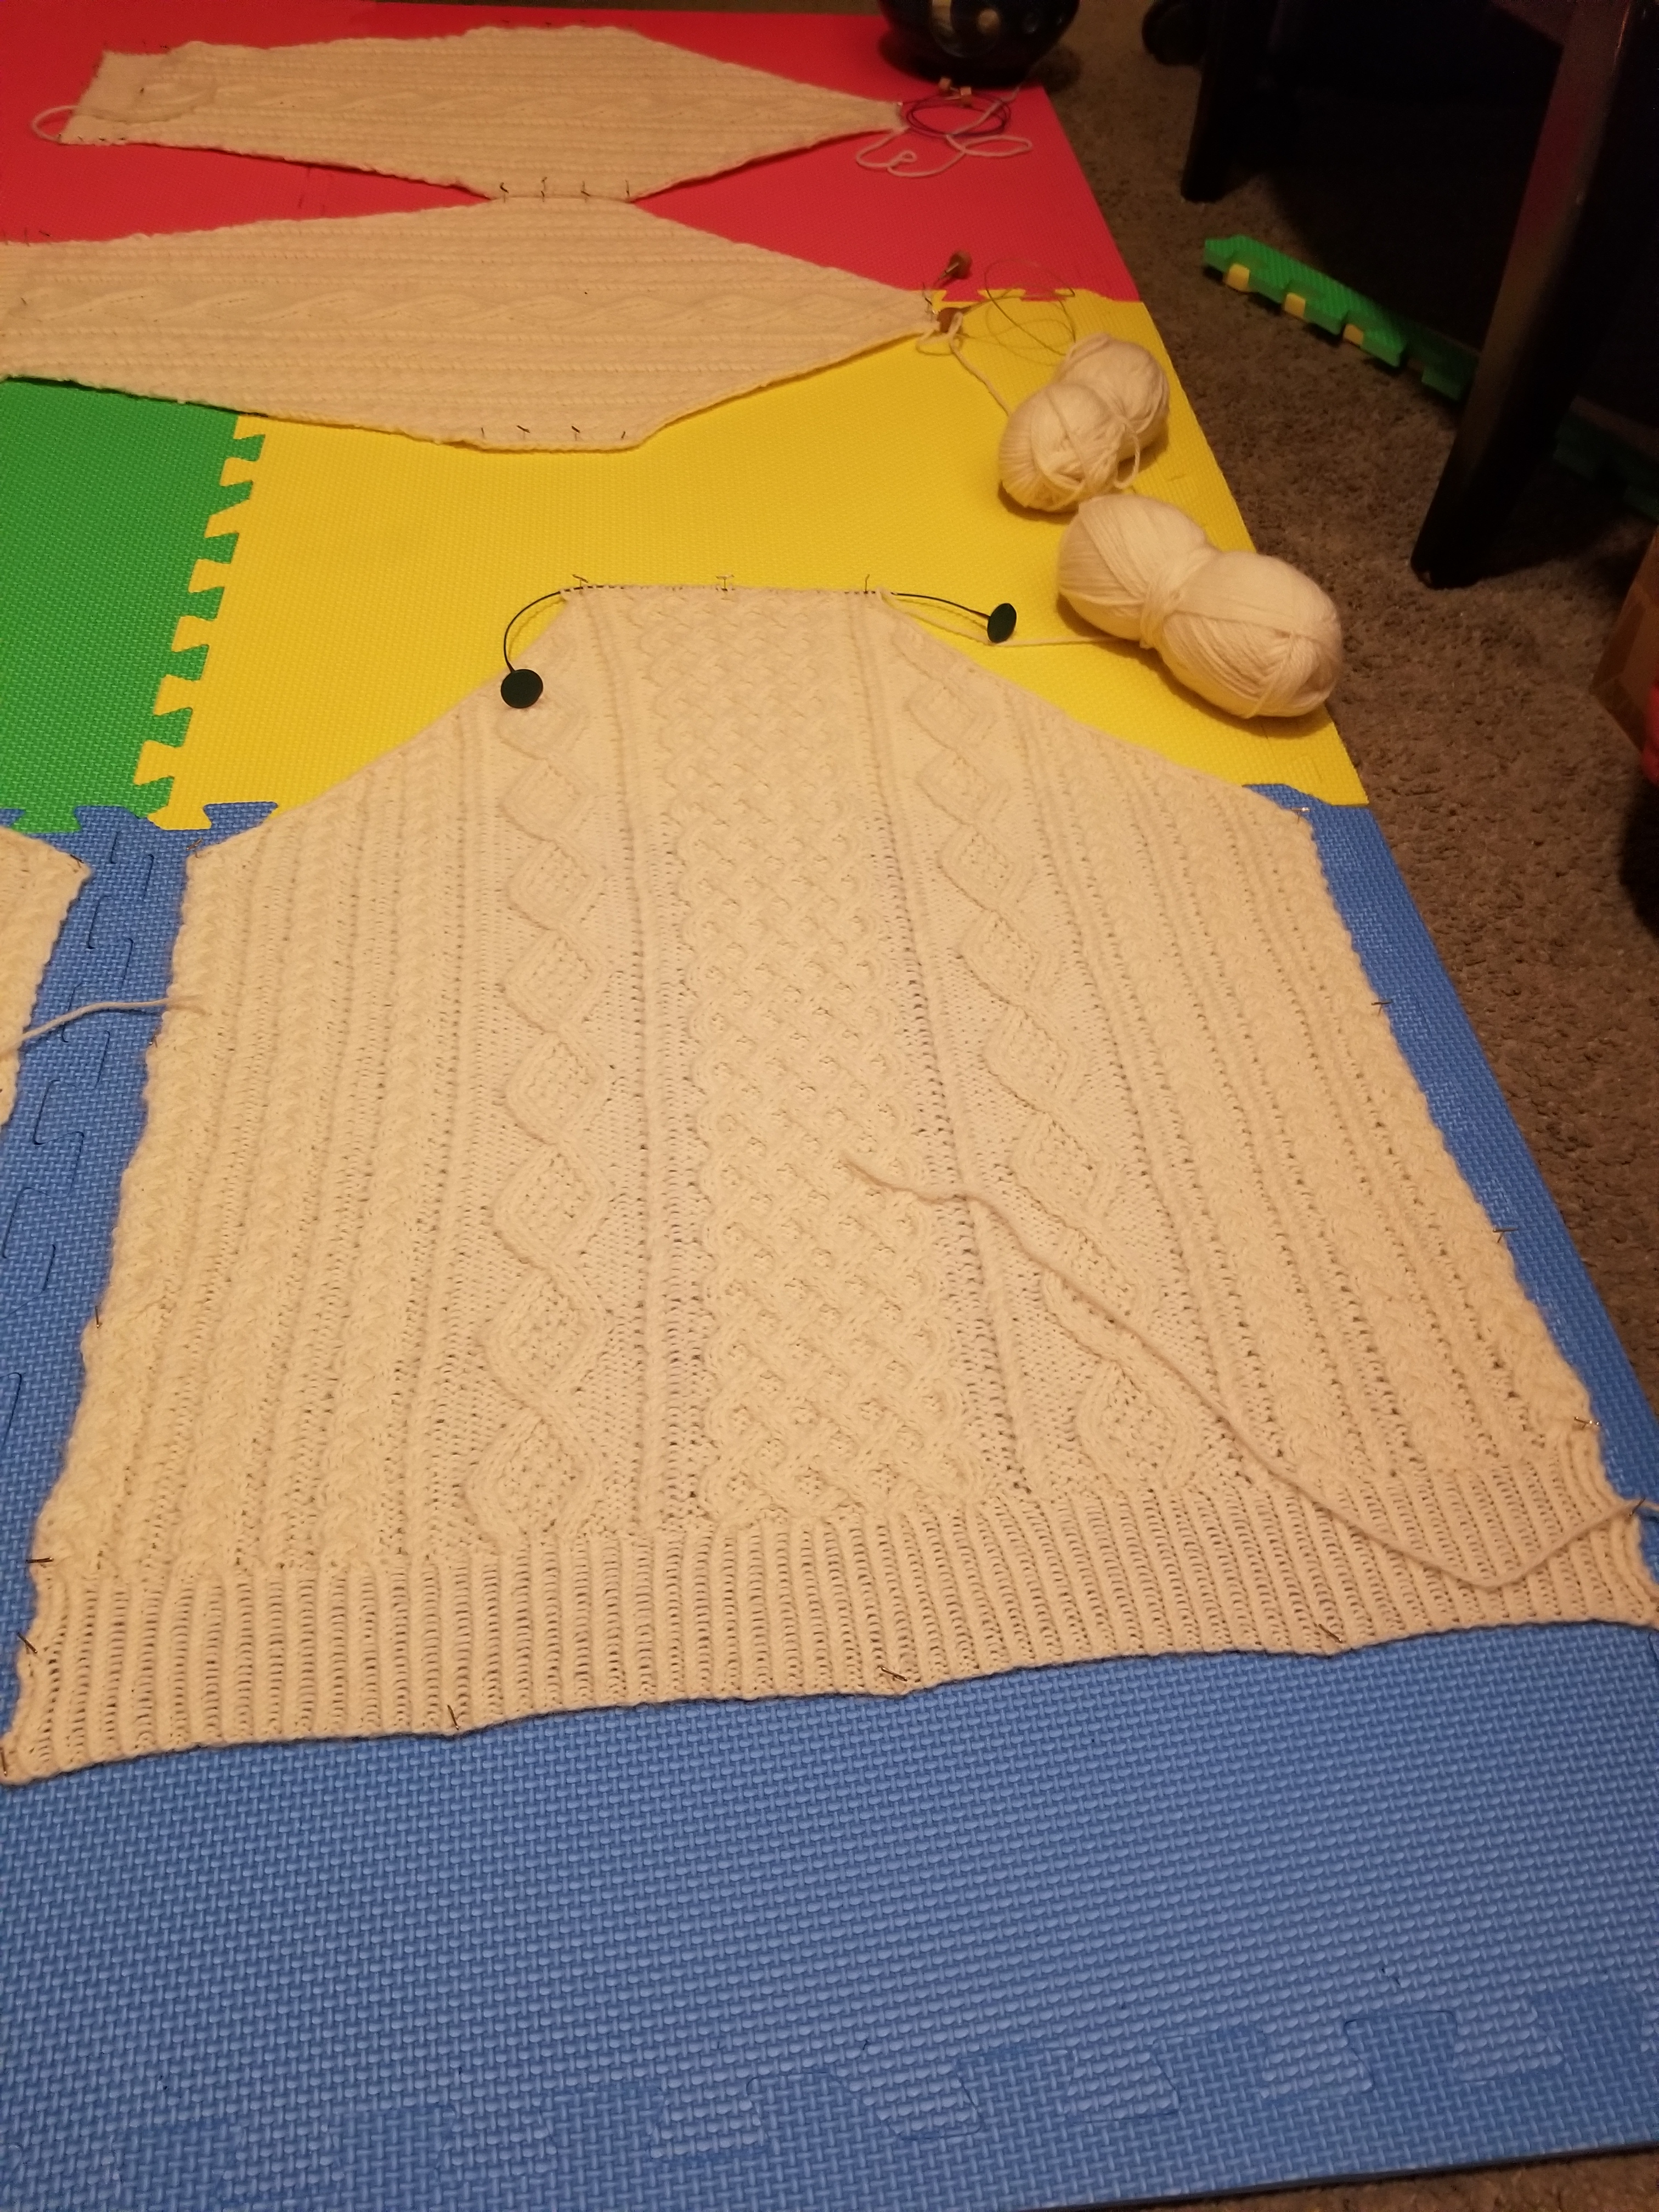
All Pieces Complete
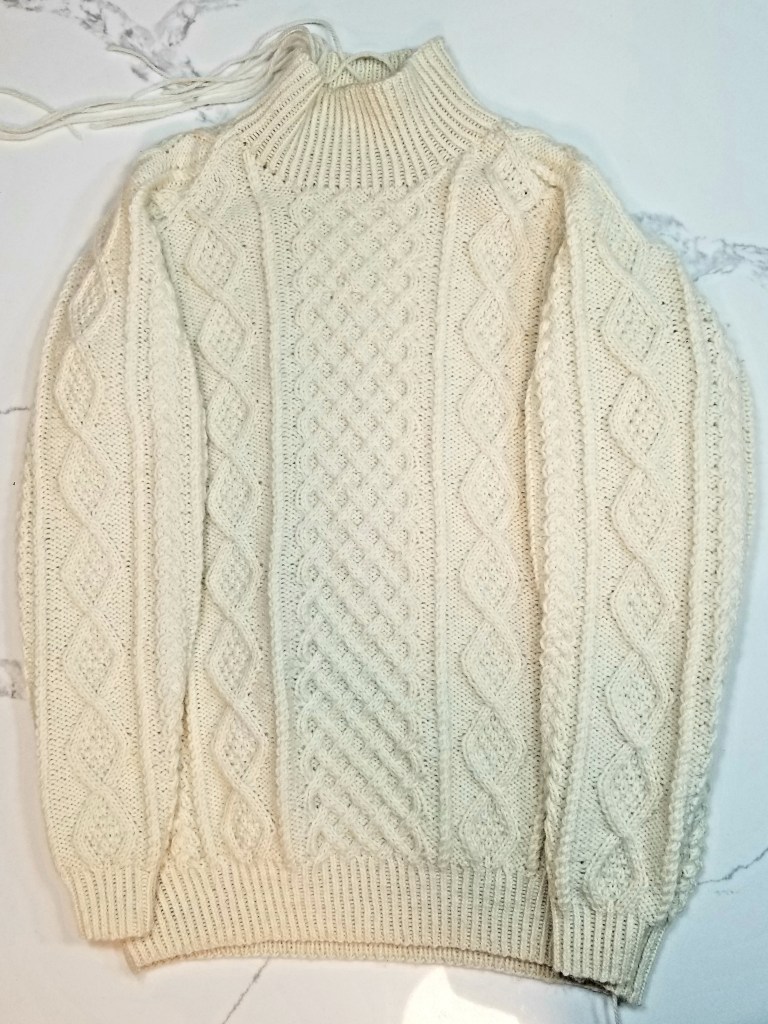
I finished the 2nd sleeve, so now all of the pieces of the sweater are complete!
I considered washing and blocking the parts to make them fit the measurements, but I was a bit worried that it might end up stretching it out and making the sweater baggy. The pieces already seemed to have the right measurements, so I felt that washing was unnecessary. So I ended up just pinning them to confirm they were the right size and make them fit the measurements neatly.
Last Steps
All that’s left to do now is seam all of the pieces together.
That’s definitely my least favorite part of the project 😔 might take me a few attempts.
Oh and I also have to knit the neckband to finish up once everything is connected up.
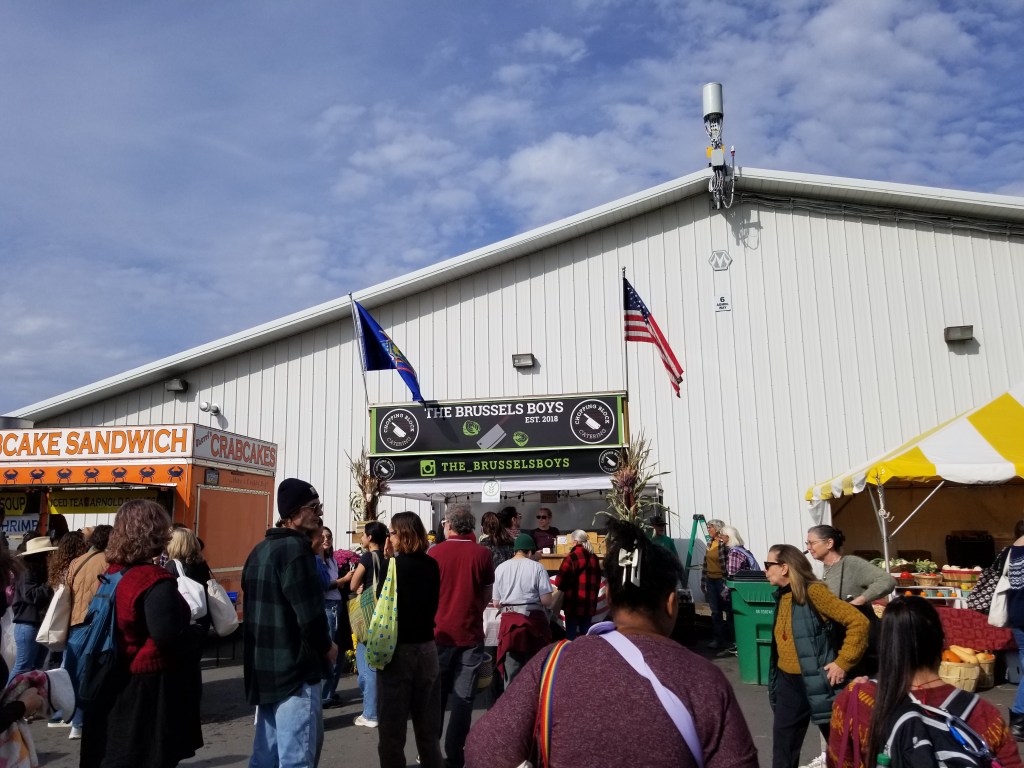
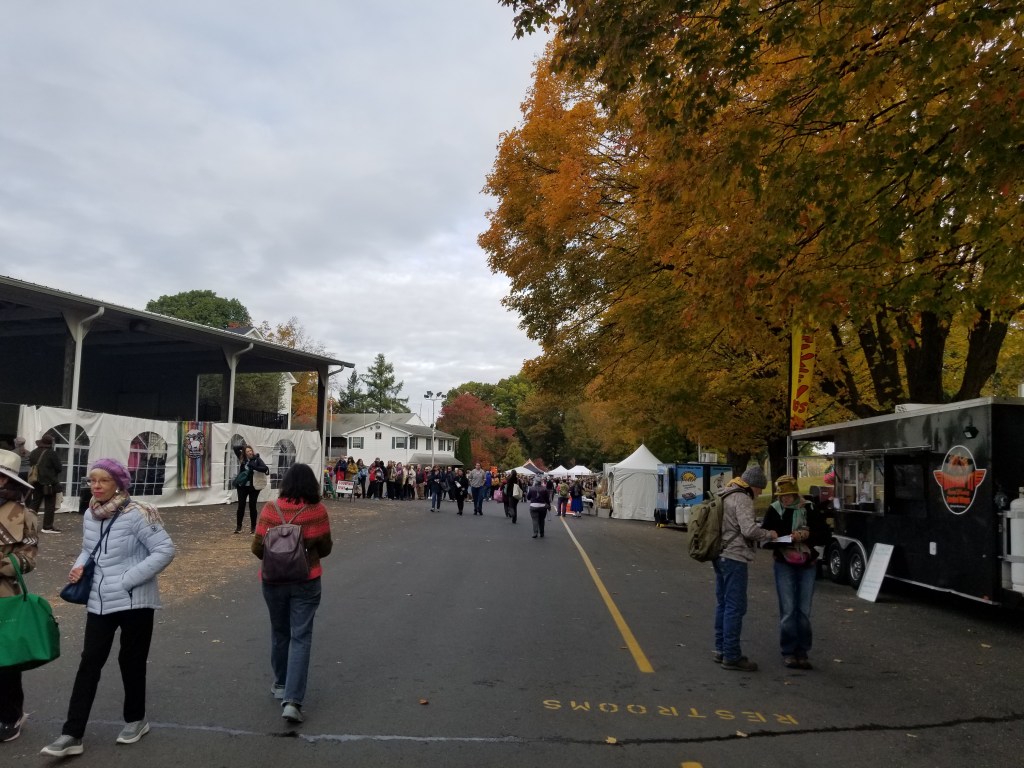
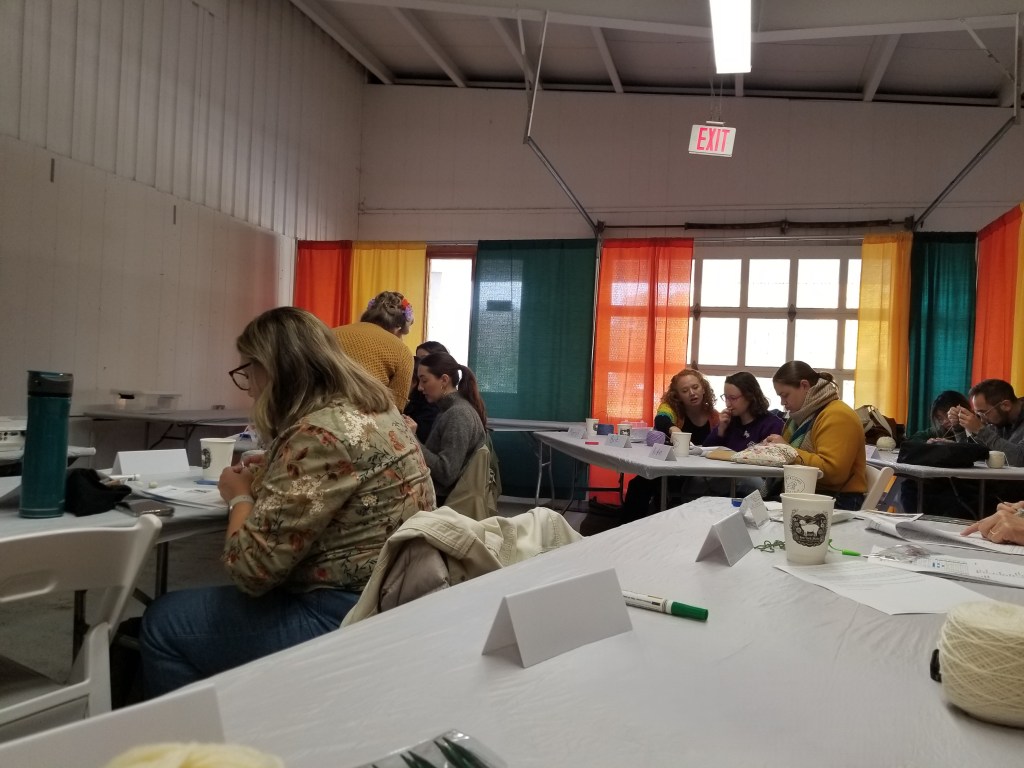
This past weekend, I attended the New York Sheep and Wool Festival (also called Rhinebeck, after the town in which it takes place). It was the first time that I had attended Rhinebeck or any yarn/crafting festival, and it was a really fun experience! I wanted to dedicate a post to talking about my experience with it this year.
The Plan
The festival officially takes place over two days: Saturday and Sunday. There are also events that happen on the preceding Thursday and Friday, but those are considered unofficial.
For this visit, I was only planning on attending for one day. Even though I very much enjoy knitting, I wasn’t certain I’d want to spend two full days walking around and shopping 😋, so I planned to only go on Saturday.
I also went with the local knitting group I started, now named the Jersey City Stitch Society, and we arranged to rent a mini-van and drive a group of us there and back. Originally I was planning to drive with some other group members, but the mini-van was a good choice since it was able to fit everyone who was planning to go together into one car.
The festival goes from 9 am to 4 pm, and we knew there would be traffic at the end of the day, so the plan was to show up early and leave early to avoid the traffic exiting the fairgrounds. I had also signed up for a workshop which went from 10 am to 1 pm.
This ended up being my timeline for that Saturday:
Meet up with group in Jersey City around 6:30 am
Drive to Rhinebeck
Arrive around 8:45 am
Browse for an hour, before workshop starts
Walk to workshop check-in
Sign-in for workshop
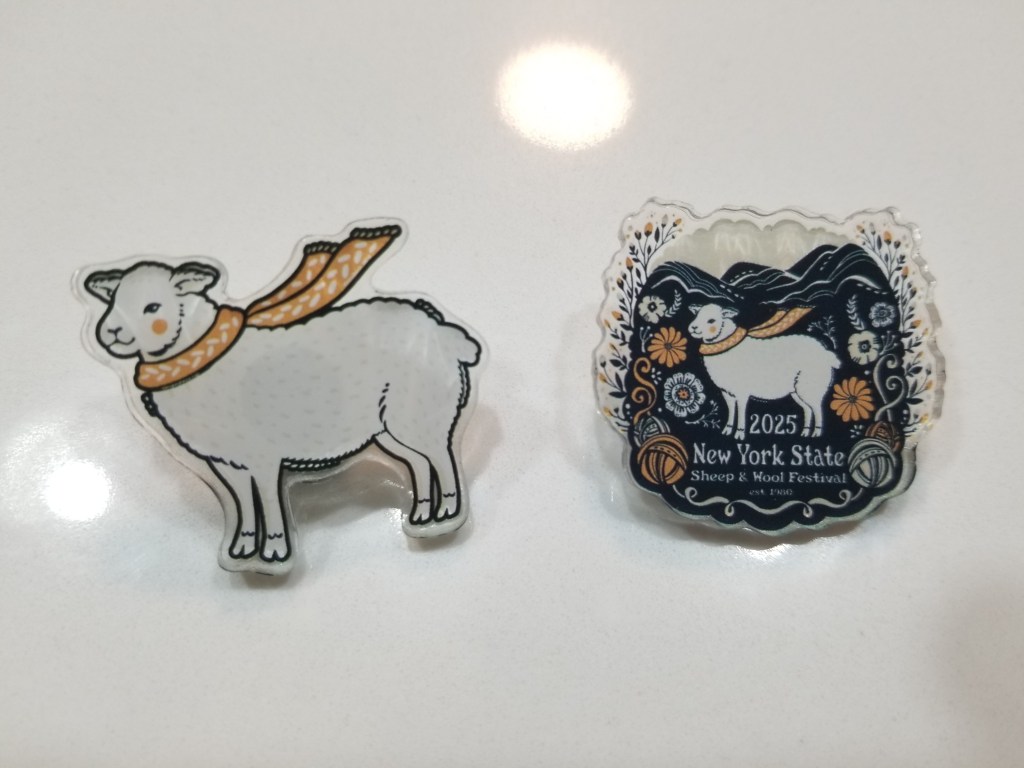
Pick up pre-ordered souvenir pin
Attend workshop from 10 am to 1pm
Browse and shop for the next hour
Meet up with group around 2pm to leave
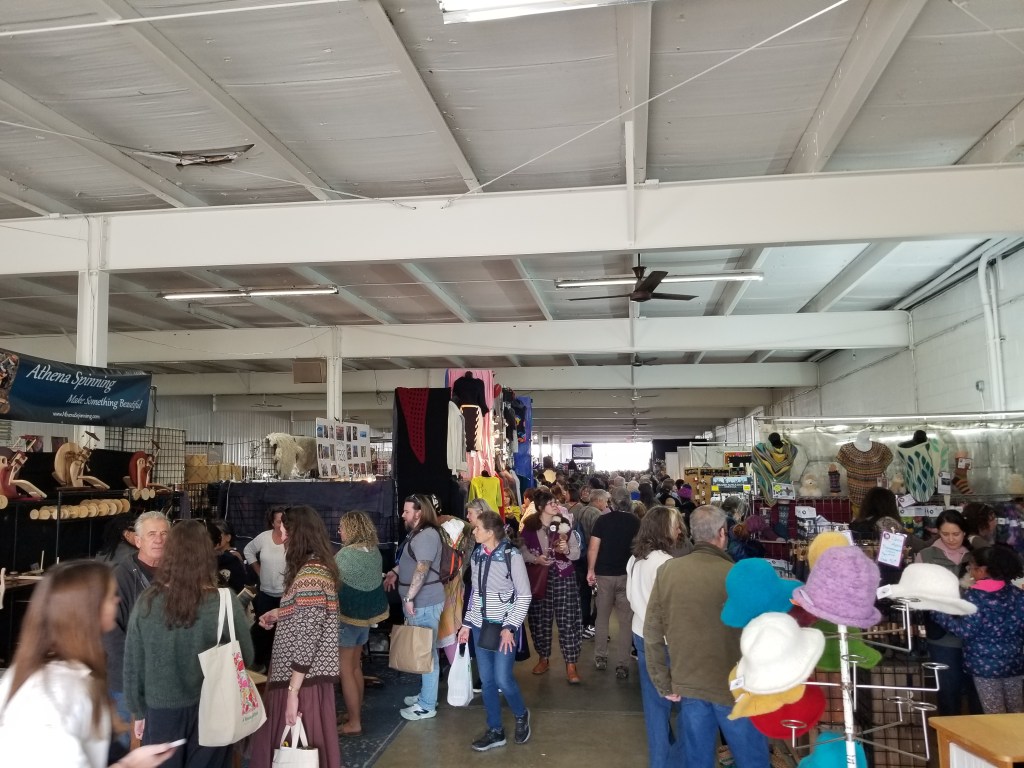
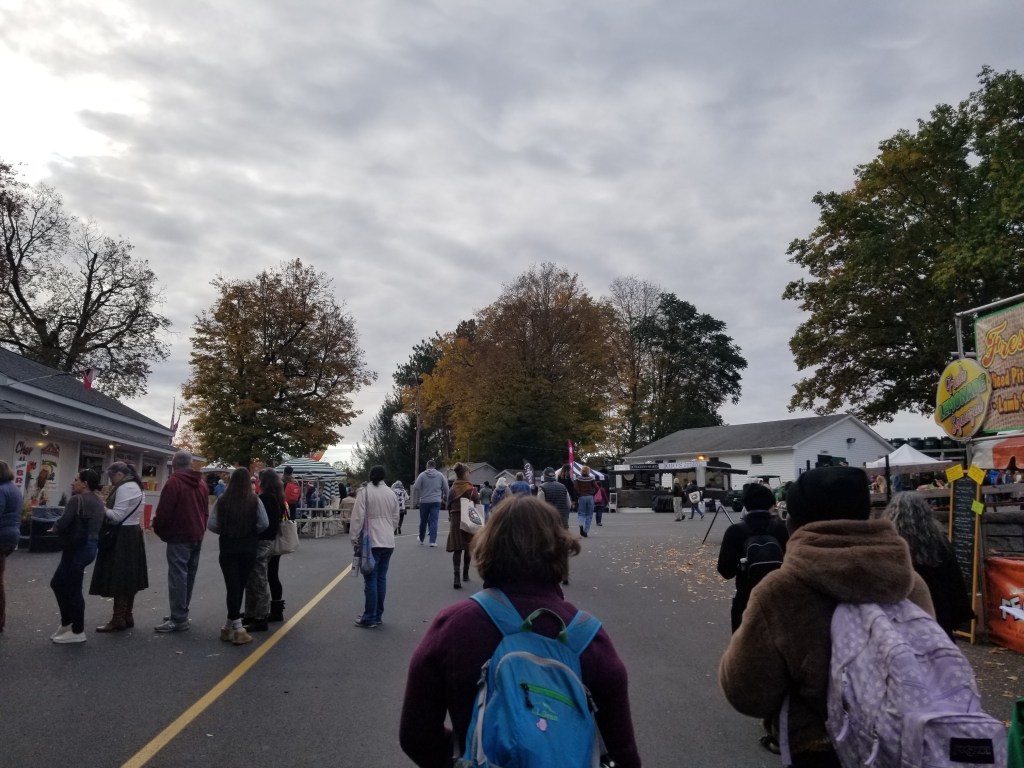
The event wasn’t prohibitively busy, but there were still more people than I expected 😅
Let’s break down the day’s happenings 😊
Workshop – Estonian Decorative Stitches
The workshop I attended was called “Estonian Decorative Stitches”, taught by Heather Storta.
Initially I was worried about whether I was stepping into something too advanced for me 😅 However, it turned out completely fine! The workshop was very informative and catered to many skill levels. I won’t give any specific details about what was taught, so you’ll have to attend one of Heather’s workshops if you want to learn 😏
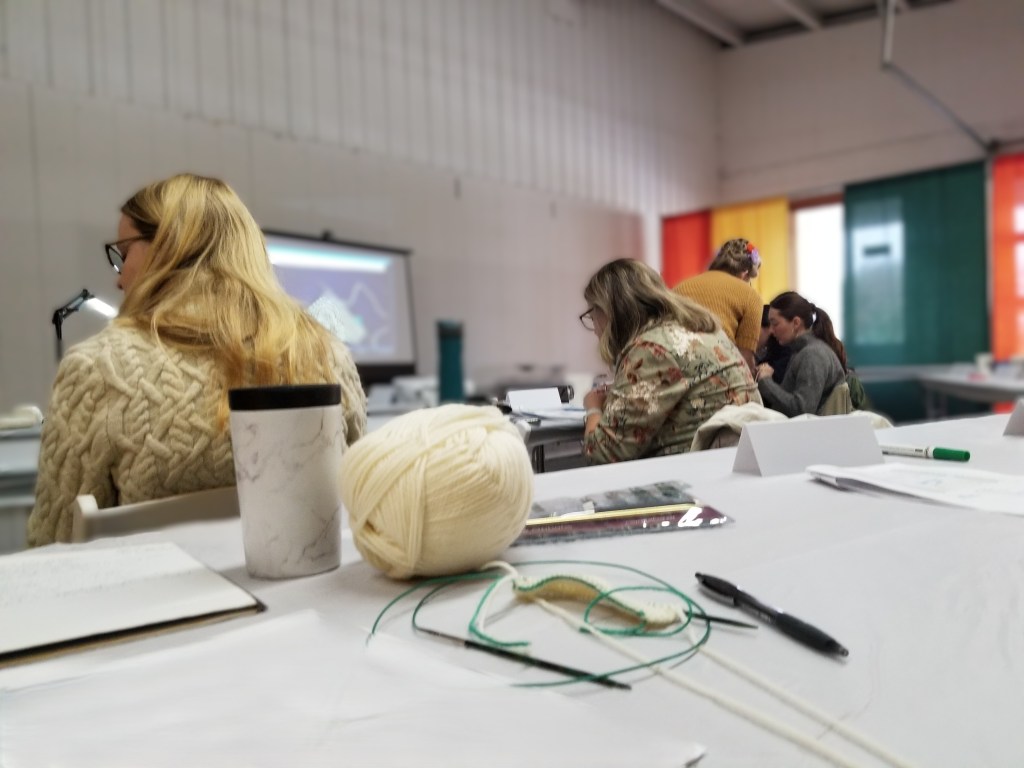
Heather also ran it very well! She came prepared with an overhead camera so she could project her work as she did it, and have people copy her in real-time. I asked a bunch of questions too, since I get hung up on particulars.
After the class, I was also able to ask Heather about TKGA certification and chart design software. I may look into getting TKGA certified in the near future 🤔 … we’ll see about that though.
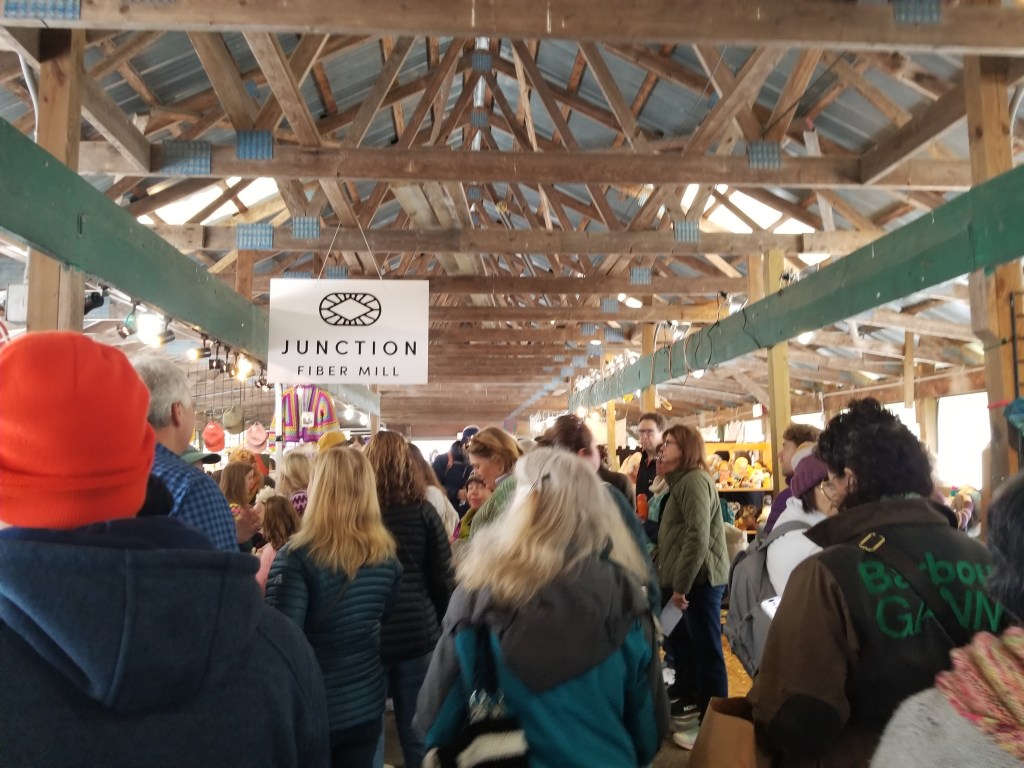
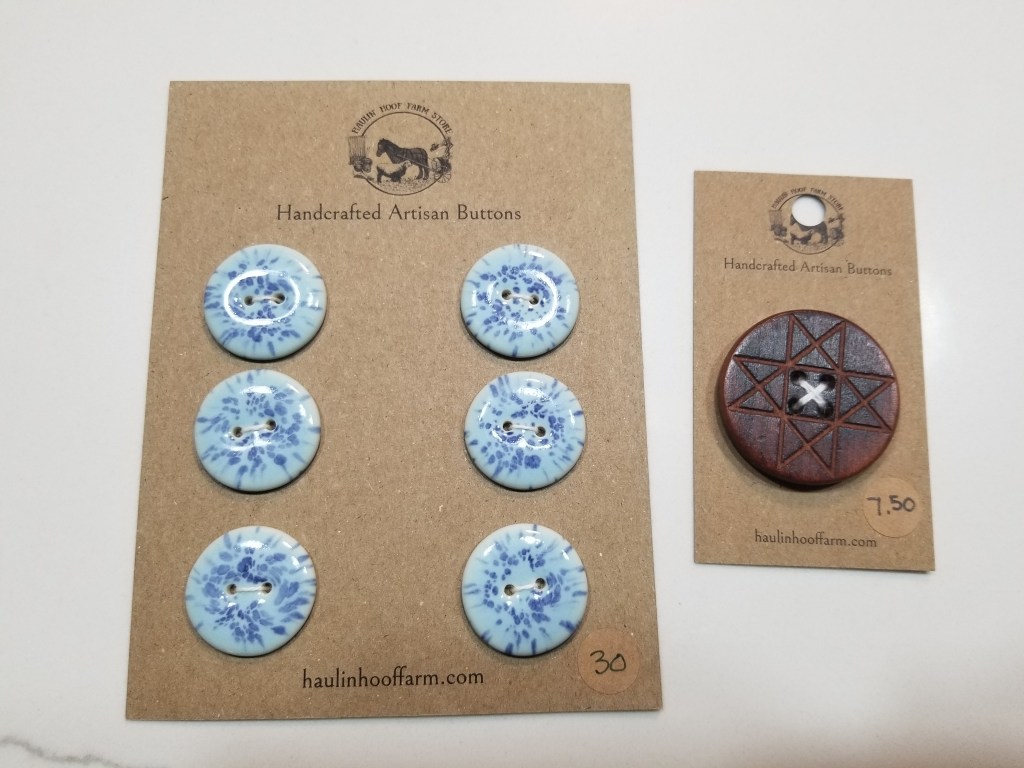
The Haul
I know other people tend to splurge and buy a bunch of yarn at events like this, but that’s just not me 🤷 I’ve never really understood the idea of buying an arbitrary amount of yarn on a whim when you don’t having a particular pattern or project in mind for that yarn. Since I didn’t have any projects in mind, I luckily didn’t end up buying a ton of yarn, or any yarn at all.
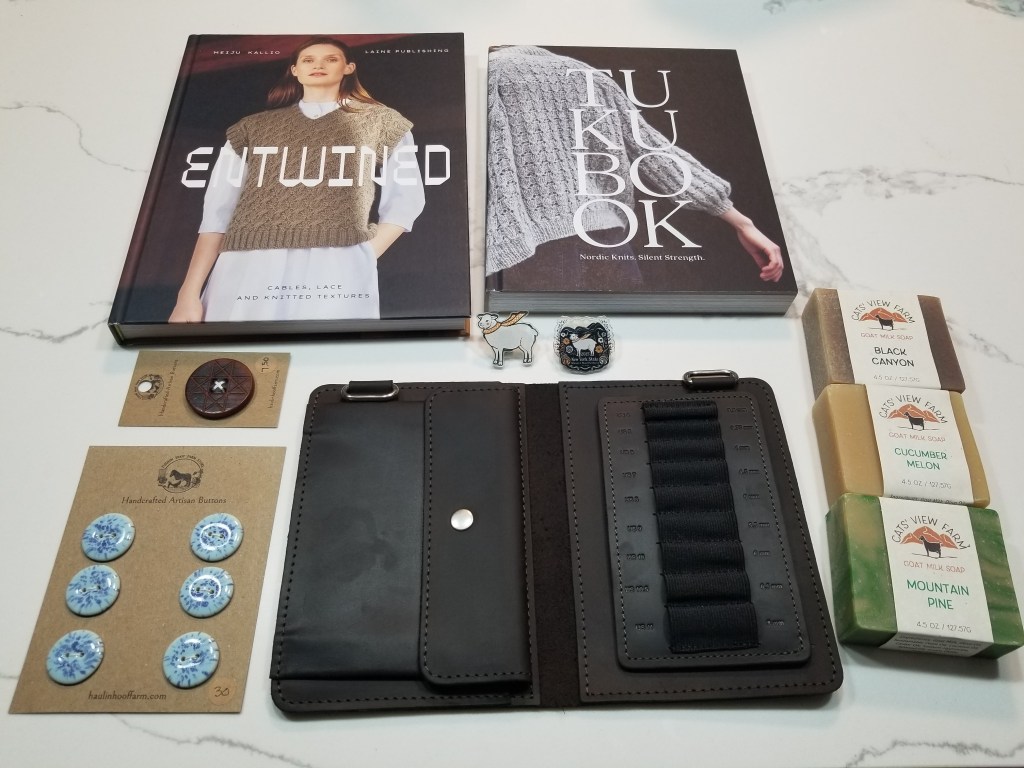
Here’s what I did get:
Please note that I am not sponsored by anyone! (But sponsors are welcome to contact me 👍)
This was the main thing that I figured I’d want to buy at the festival. Conveniently, there was a main section where most of the books and authors were all in one place.
I was also really curious if I’d be able to meet the actual authors of the books there, and I did!
They autographed the books I got 😊
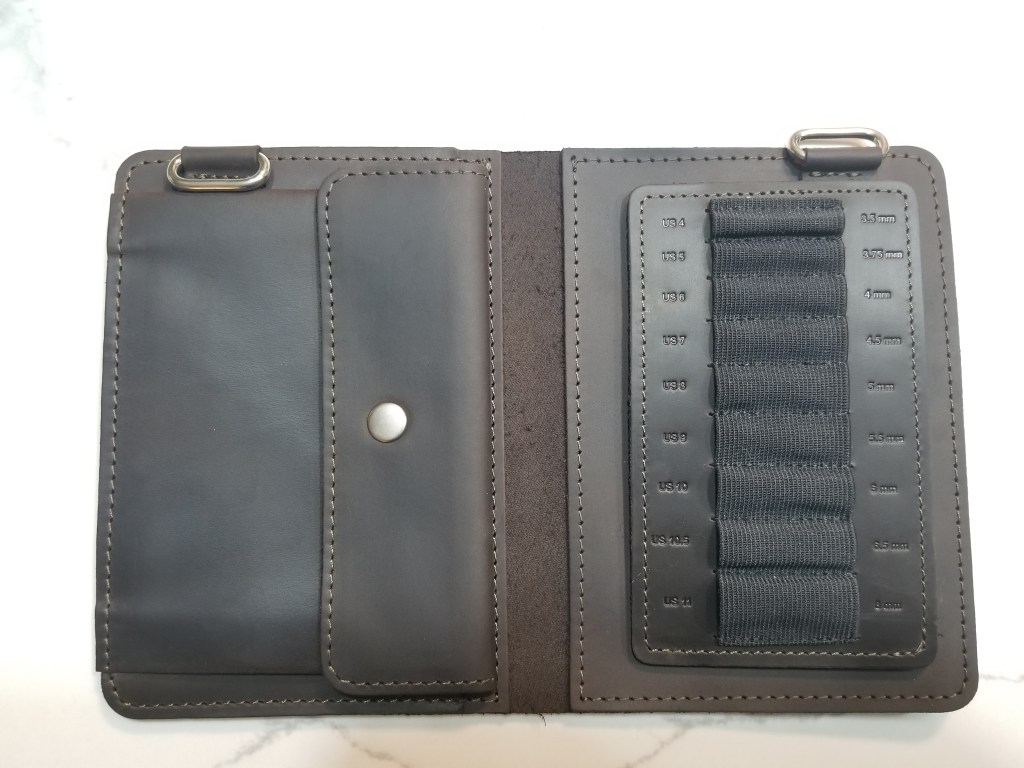
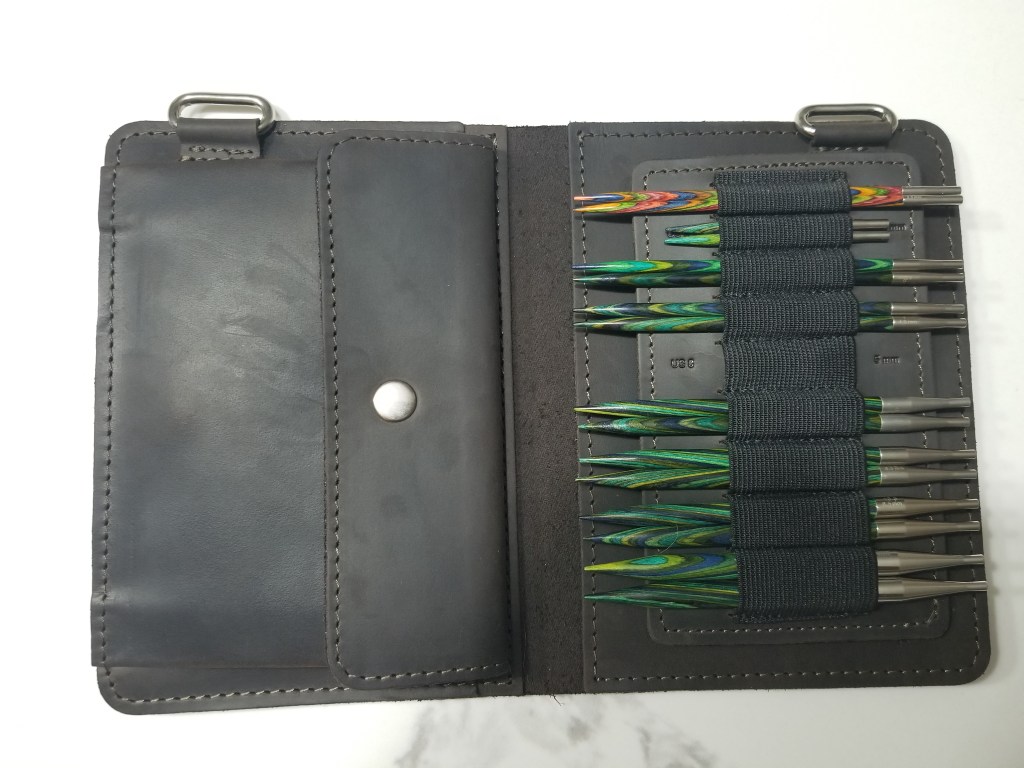
Case for Interchangeable Needle Set
This item was one I was really not looking out for at first. But once I passed by their stand and saw the nice cases, I kinda just had to get one 😭. I will probably do a review of this product once I’ve used it for a good enough amount of time. The company that makes them is called Thread & Maple.
I was very impressed with the sellers. They are really organized in terms of their product offerings, which made it a lot easier for me to finally decide to buy from them. I’ve had an interchangeable circular needle set from KnitPicks for a while and just kept it in the plastic sleeve that I had bought it in. When I met the Thread & Maple vendors, however, they asked exactly which set I had (manufacturer and specific product set) and were able to give me a case that would hold exactly that set of needles.
I moved my needles over to the case, and so far, it looks and feels great:
We’ll have to see how well it holds up over time…
I have high hopes for it to last me forever, though 🤞
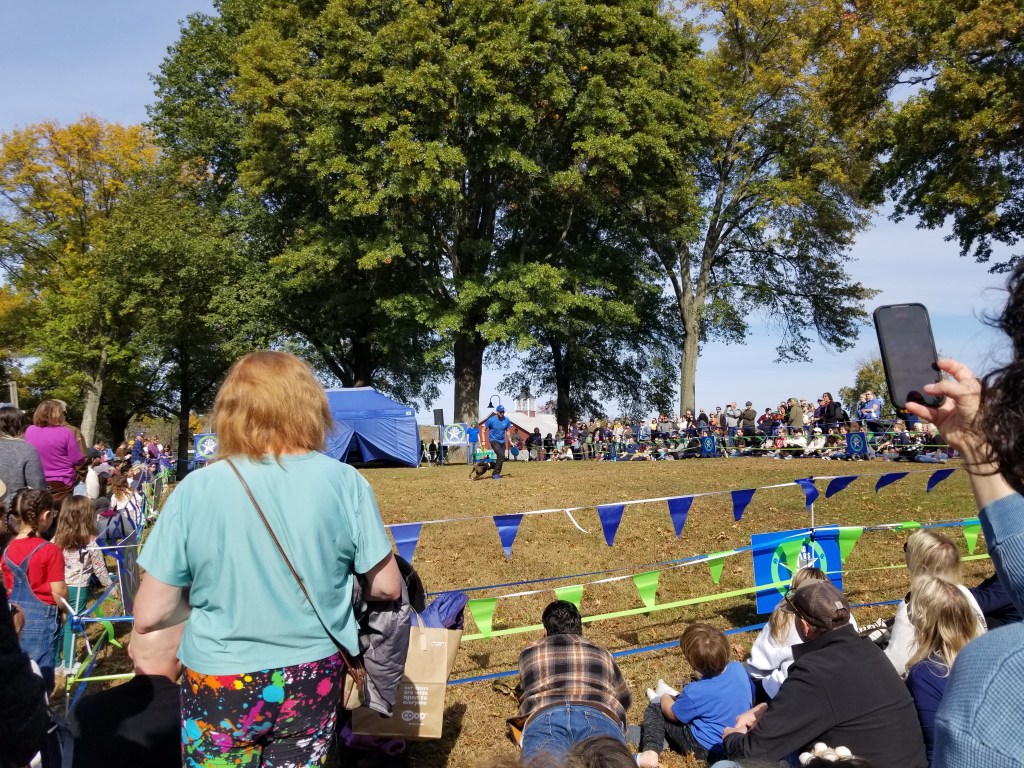
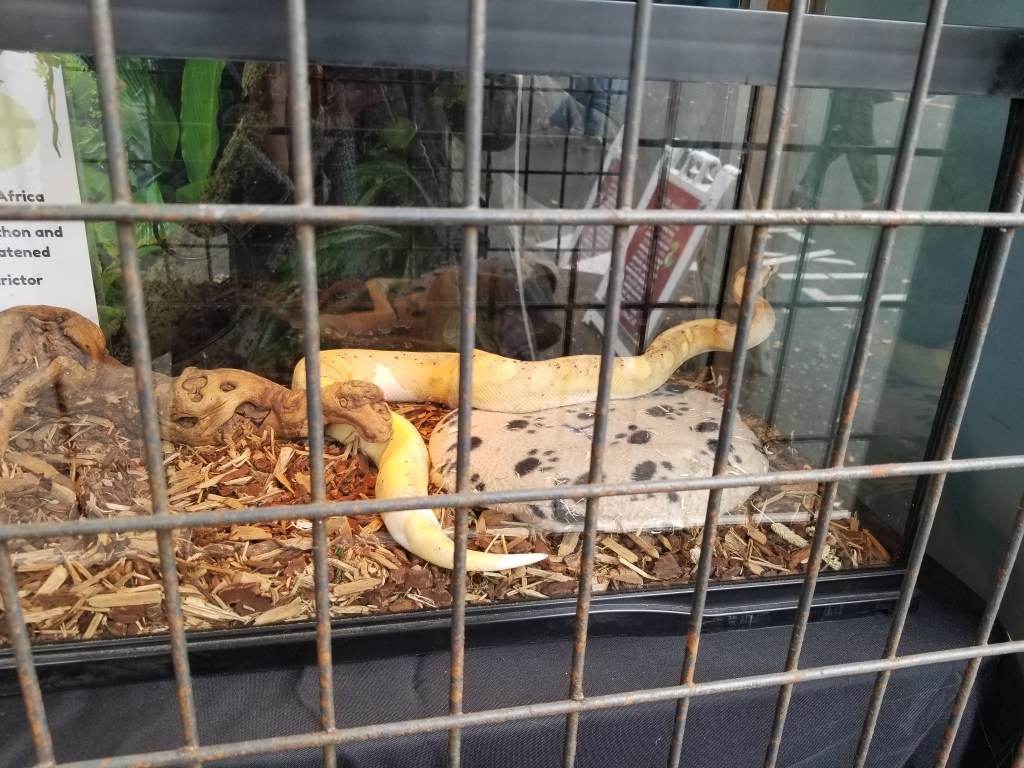
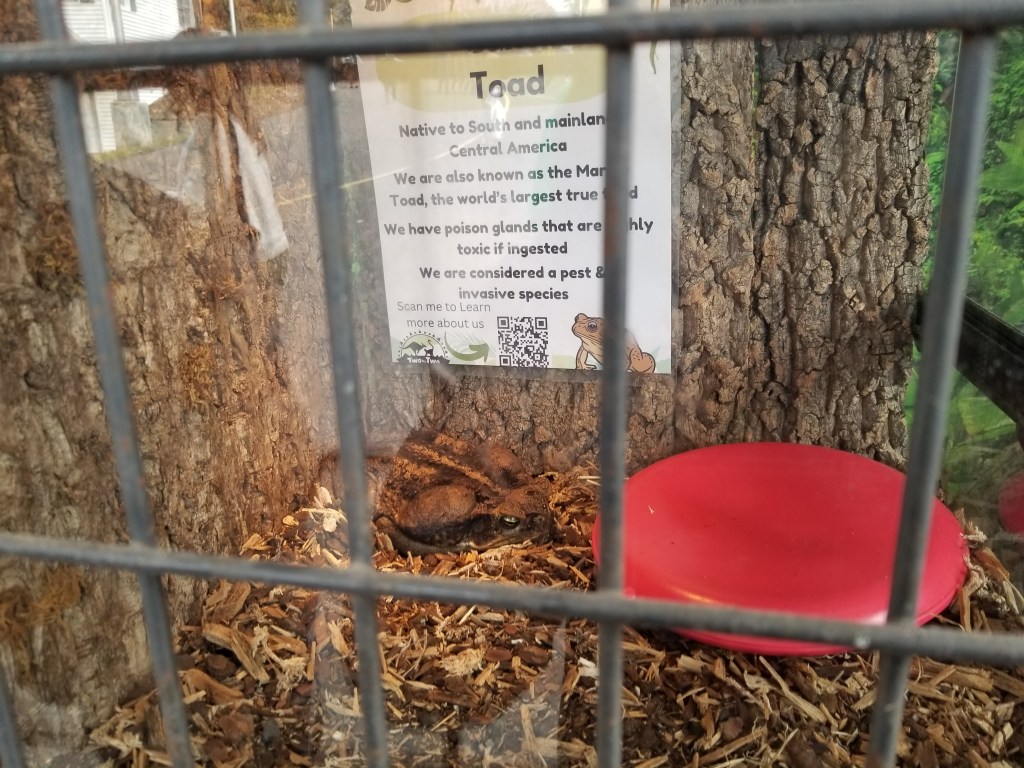
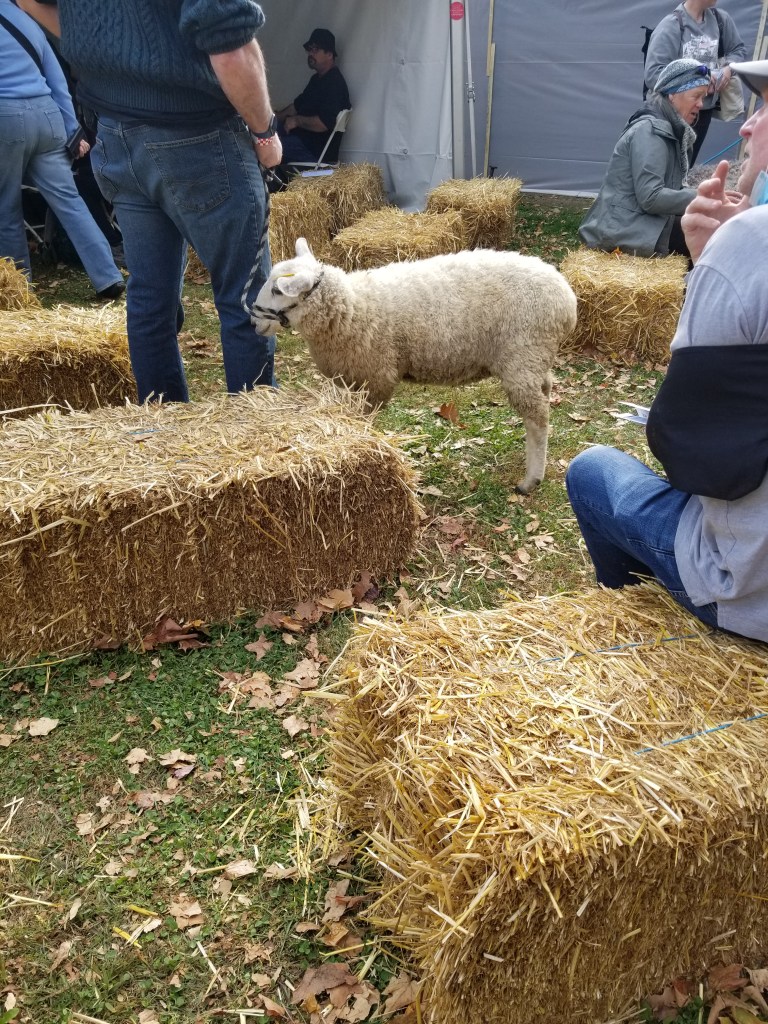
Animal Displays
One of my regrets for this trip was that I did not get enough time to browse the shows, specifically the animals.
If I had had more time, I definitely would’ve gone to see more of the animal displays.
Here’s some of what I did see:
There were various sheep and goat events throughout the day, but the workshop took up most of my time 😔
Maybe one day I’ll come back with a family and spend the day petting sheep instead!
Final Thoughts
It was absolutely a great idea to make myself come out to the event for the first time and participate in the wider yarn world. I might even look into other similar festivals around the country!
Workshops *definitely* seem like the type of thing I’d want to continue attending at these.
For future festivals, I may plan to stick around for more time to shop and see the shows.
This time, at least, I got a taste of the event’s offerings and will be able to plan better in the future.
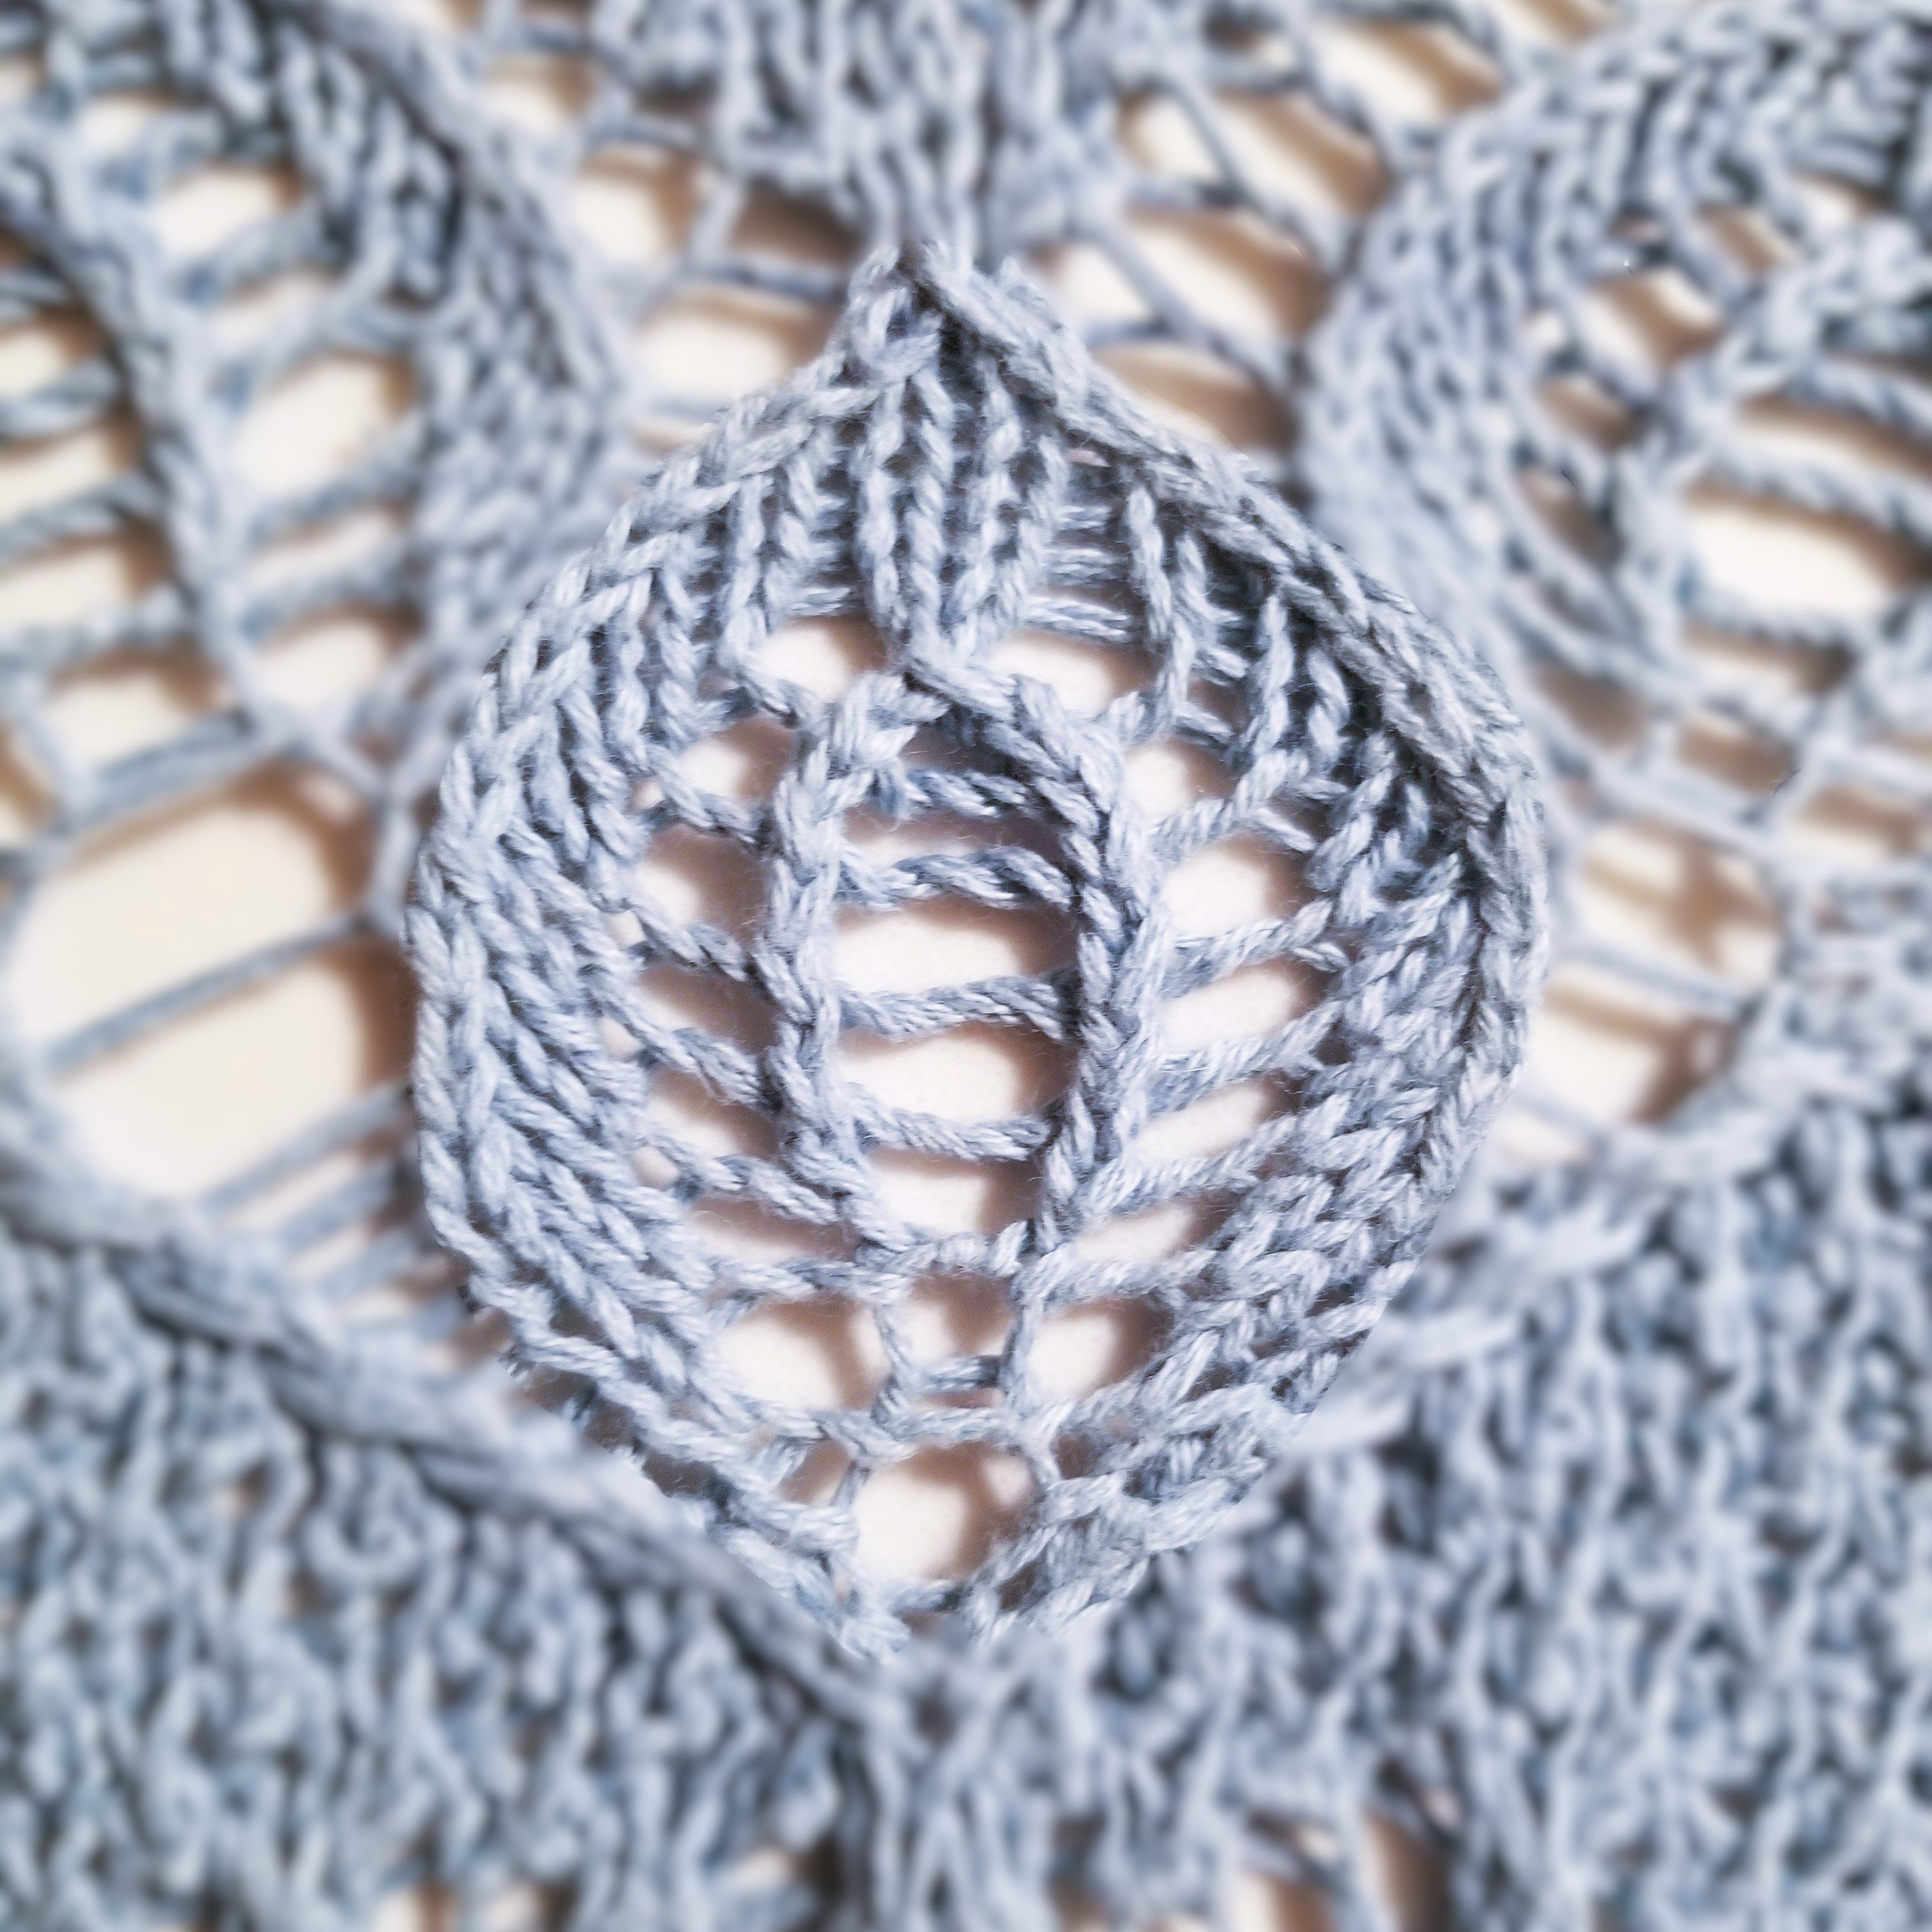
Here’s one last retrospective post on the 🦢 Wild Swan Shawl 🦢 pattern I just completed!
One of the major visual motifs in the pattern is the reoccurring “feather” seen here:
Let’s pick apart the individual stitches that make this pattern so striking and picturesque!
Hard Lines
There are two places where we see a hard border, which creates the outline and shape of the feather:
Outside shape of the feather
Inner section at the center
Both of these are created using decreases (k2tog and skp).
Knitting 2 stitches into 1 creates a line which is distinctly heavier than the surrounding stitches.
Also, we see that the direction of those decreases is towards the center of the feather.
This creates the desired curvature of the feather’s outline as the stitches lean in the desired direction.
And finally the feather is “closed” at the top by a double-decrease (sk2p) which collapses the left and right borders into a single stitch, creating the “point” at the top of the feather. Note that this same “closing” stitch is used to complete the inner section in the same way.
Inner Gaps
Yarn-overs are used here to great effect, as they provide a looser “hollow” texture to the inside of the feather.
Since decreases were used to created the hard lines, as mentioned above, there is, of course, a need for increases to prevent the feather from shrinking after every row. The specific choice of yarn-overs, as opposed to another less “holey” increase, creates the holes inside the feather and produces a notable internal pattern, rather than a simpler “filled-in” texture. Specifically in the inner “mini-feather”, the use of double yarn-overs makes the center feel very open and airy, as there is a larger gap between the two decreases.
The double yarn-over in the center is directly adjacent to the surrounding decreases, so the inner section is “self-contained in that sense. The increases are done immediately next to the decreases, so the rest of the feather is unaffected.
Outward Flare
Note that there are also yarn-overs happening just outside of the “mini-feather”. These yarn-overs are increases intended to balance the decreases forming the outline of the overall feather.
Since these yarn-overs happen away from the outline decreases, the knit stitches in-between have a distinct slant towards the outline of the feather. This is because the outline decreases are “eating” the knit stitches, pulling the knit stitches towards them, causing an outward “flare”. The new stitches that replace the “eaten” ones are produced in the center, which further accentuates the inner “mini-feather”, as the hard inner lines are boldened by the yarnover gaps on either side of them.
Major Takeaways
Reflecting on the construction of the feather, I can imagine using the same idea to produce any other self-contained shape as desired. Just use those decreases (k2tog and skp/ssk) to form a hard outer border. Perhaps also use them to make lines inside the shape. Then just supplement those with increases to balance the decreases. Yarn-overs can be used as the increases to produce holes and add texture.
I shall keep this in mind in the future… Thank you for the lesson, Swan Shawl 🤝