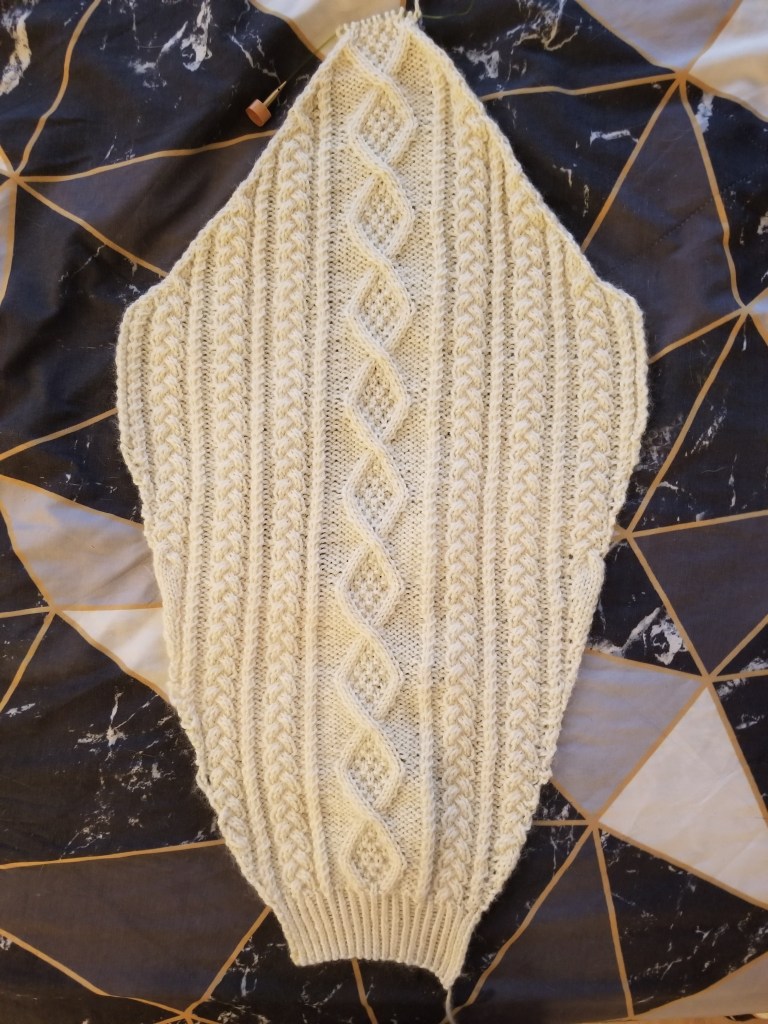
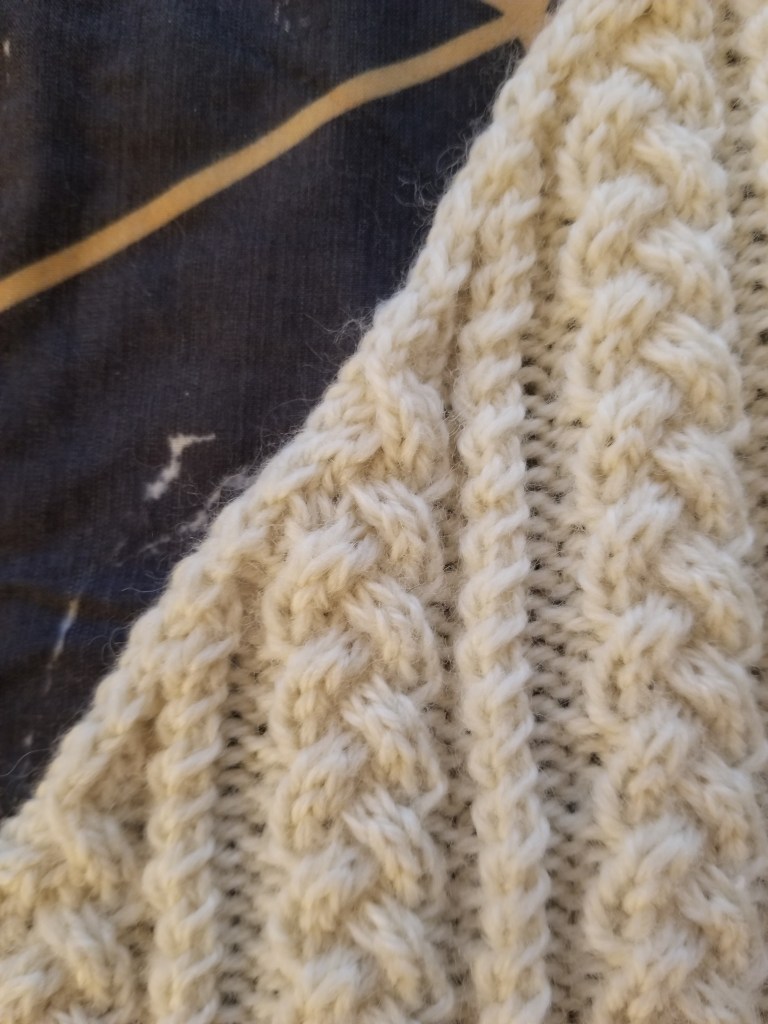
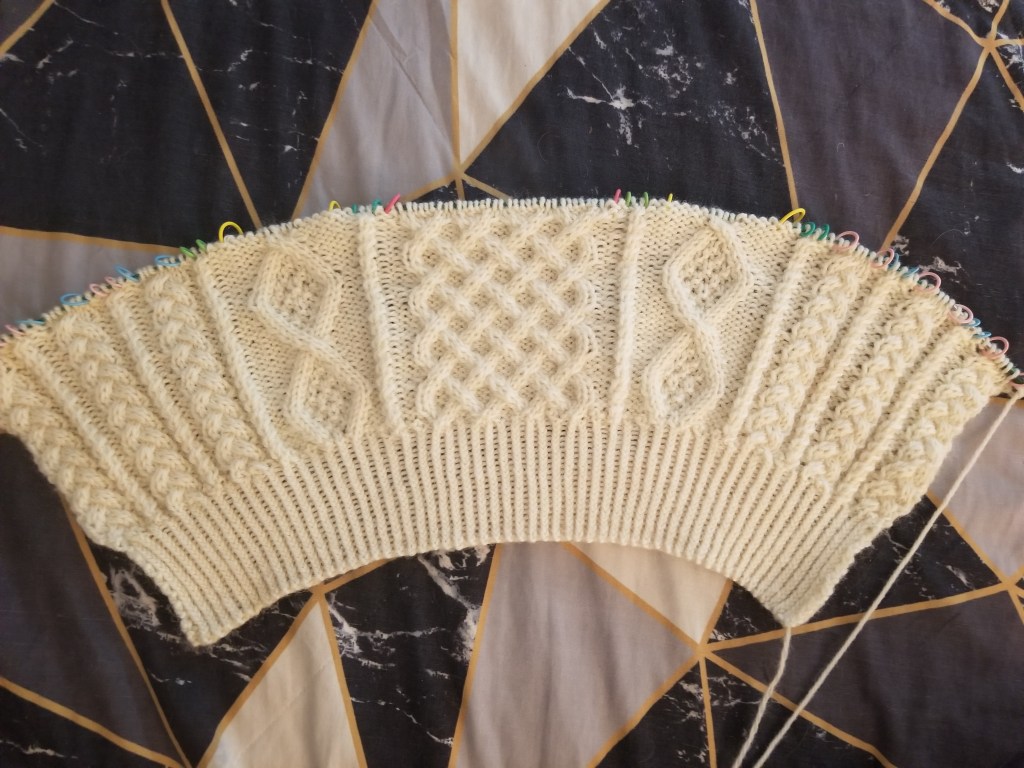
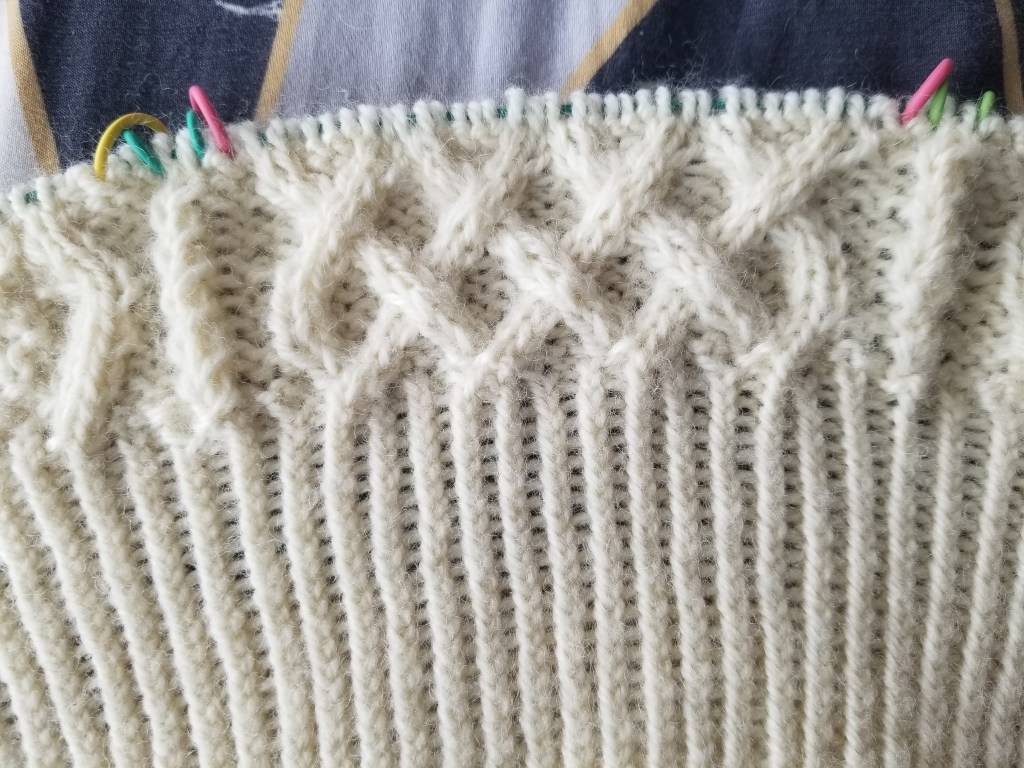
I’ve just completed the neckband, seen here:
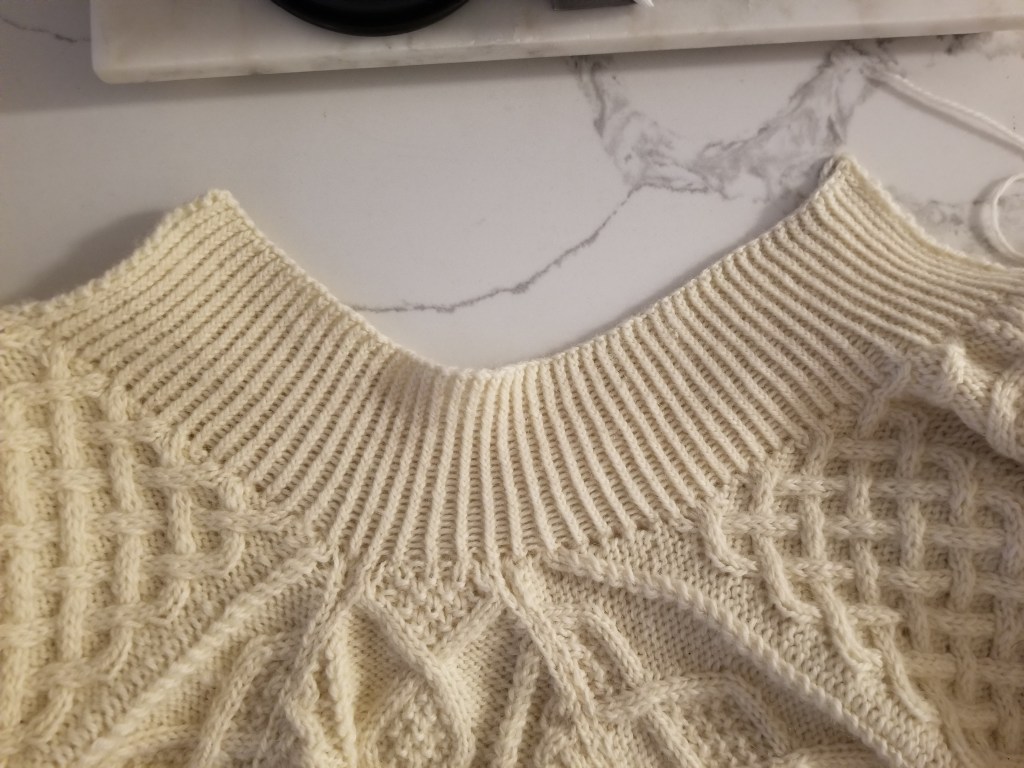
It’s a pretty simple twisted ribbing (so didn’t take too much time)!
Last part is the seaming to close up the whole thing 😩
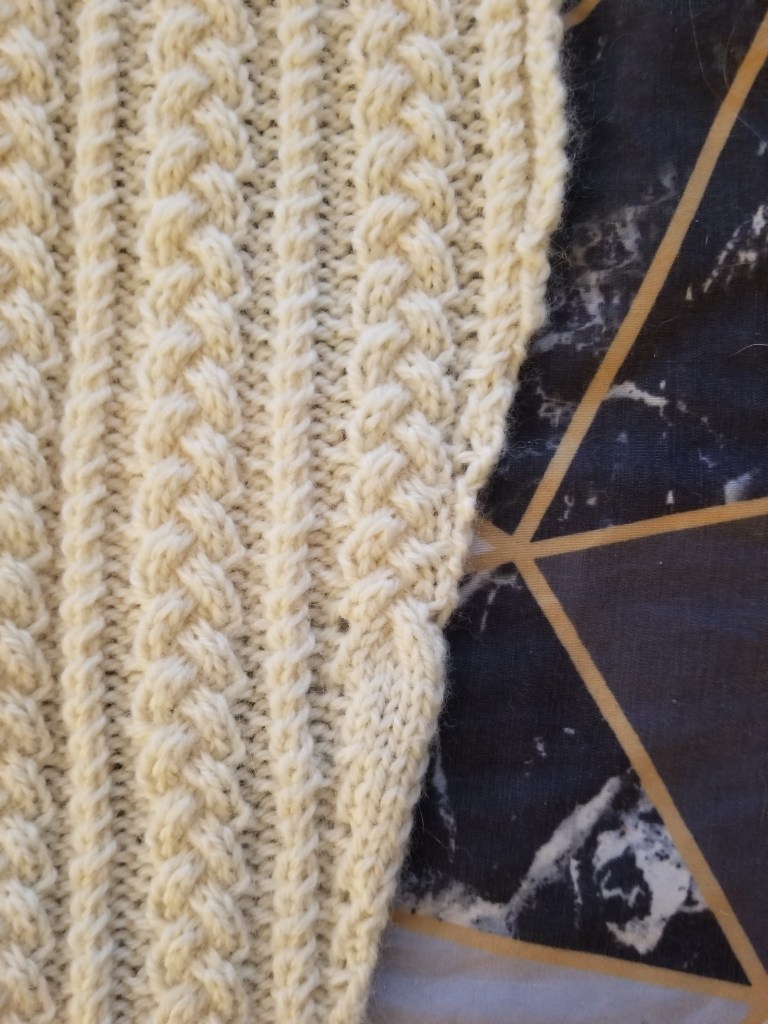
I’ve just completed the neckband, seen here:
It’s a pretty simple twisted ribbing (so didn’t take too much time)!
Last part is the seaming to close up the whole thing 😩
Once again, it has been some time since my last post!
The separate pieces of the Aran sweater had been sitting around while I procrastinated the seaming.
But with December ending soon, I’m hoping to get it done within the year 🫡
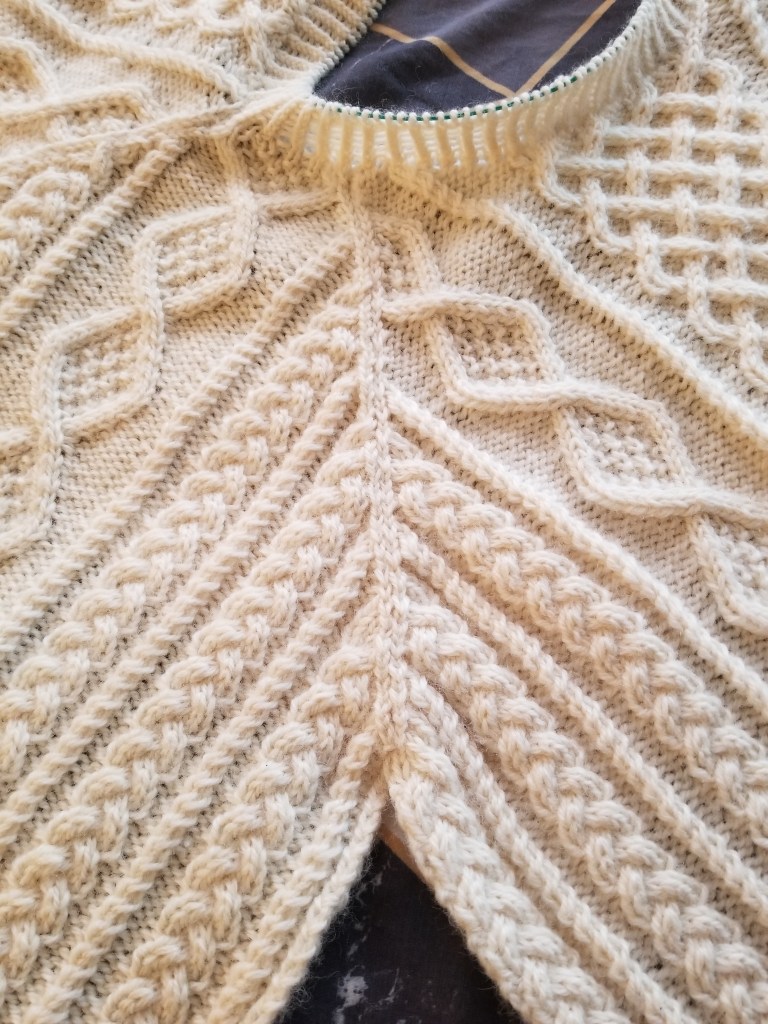
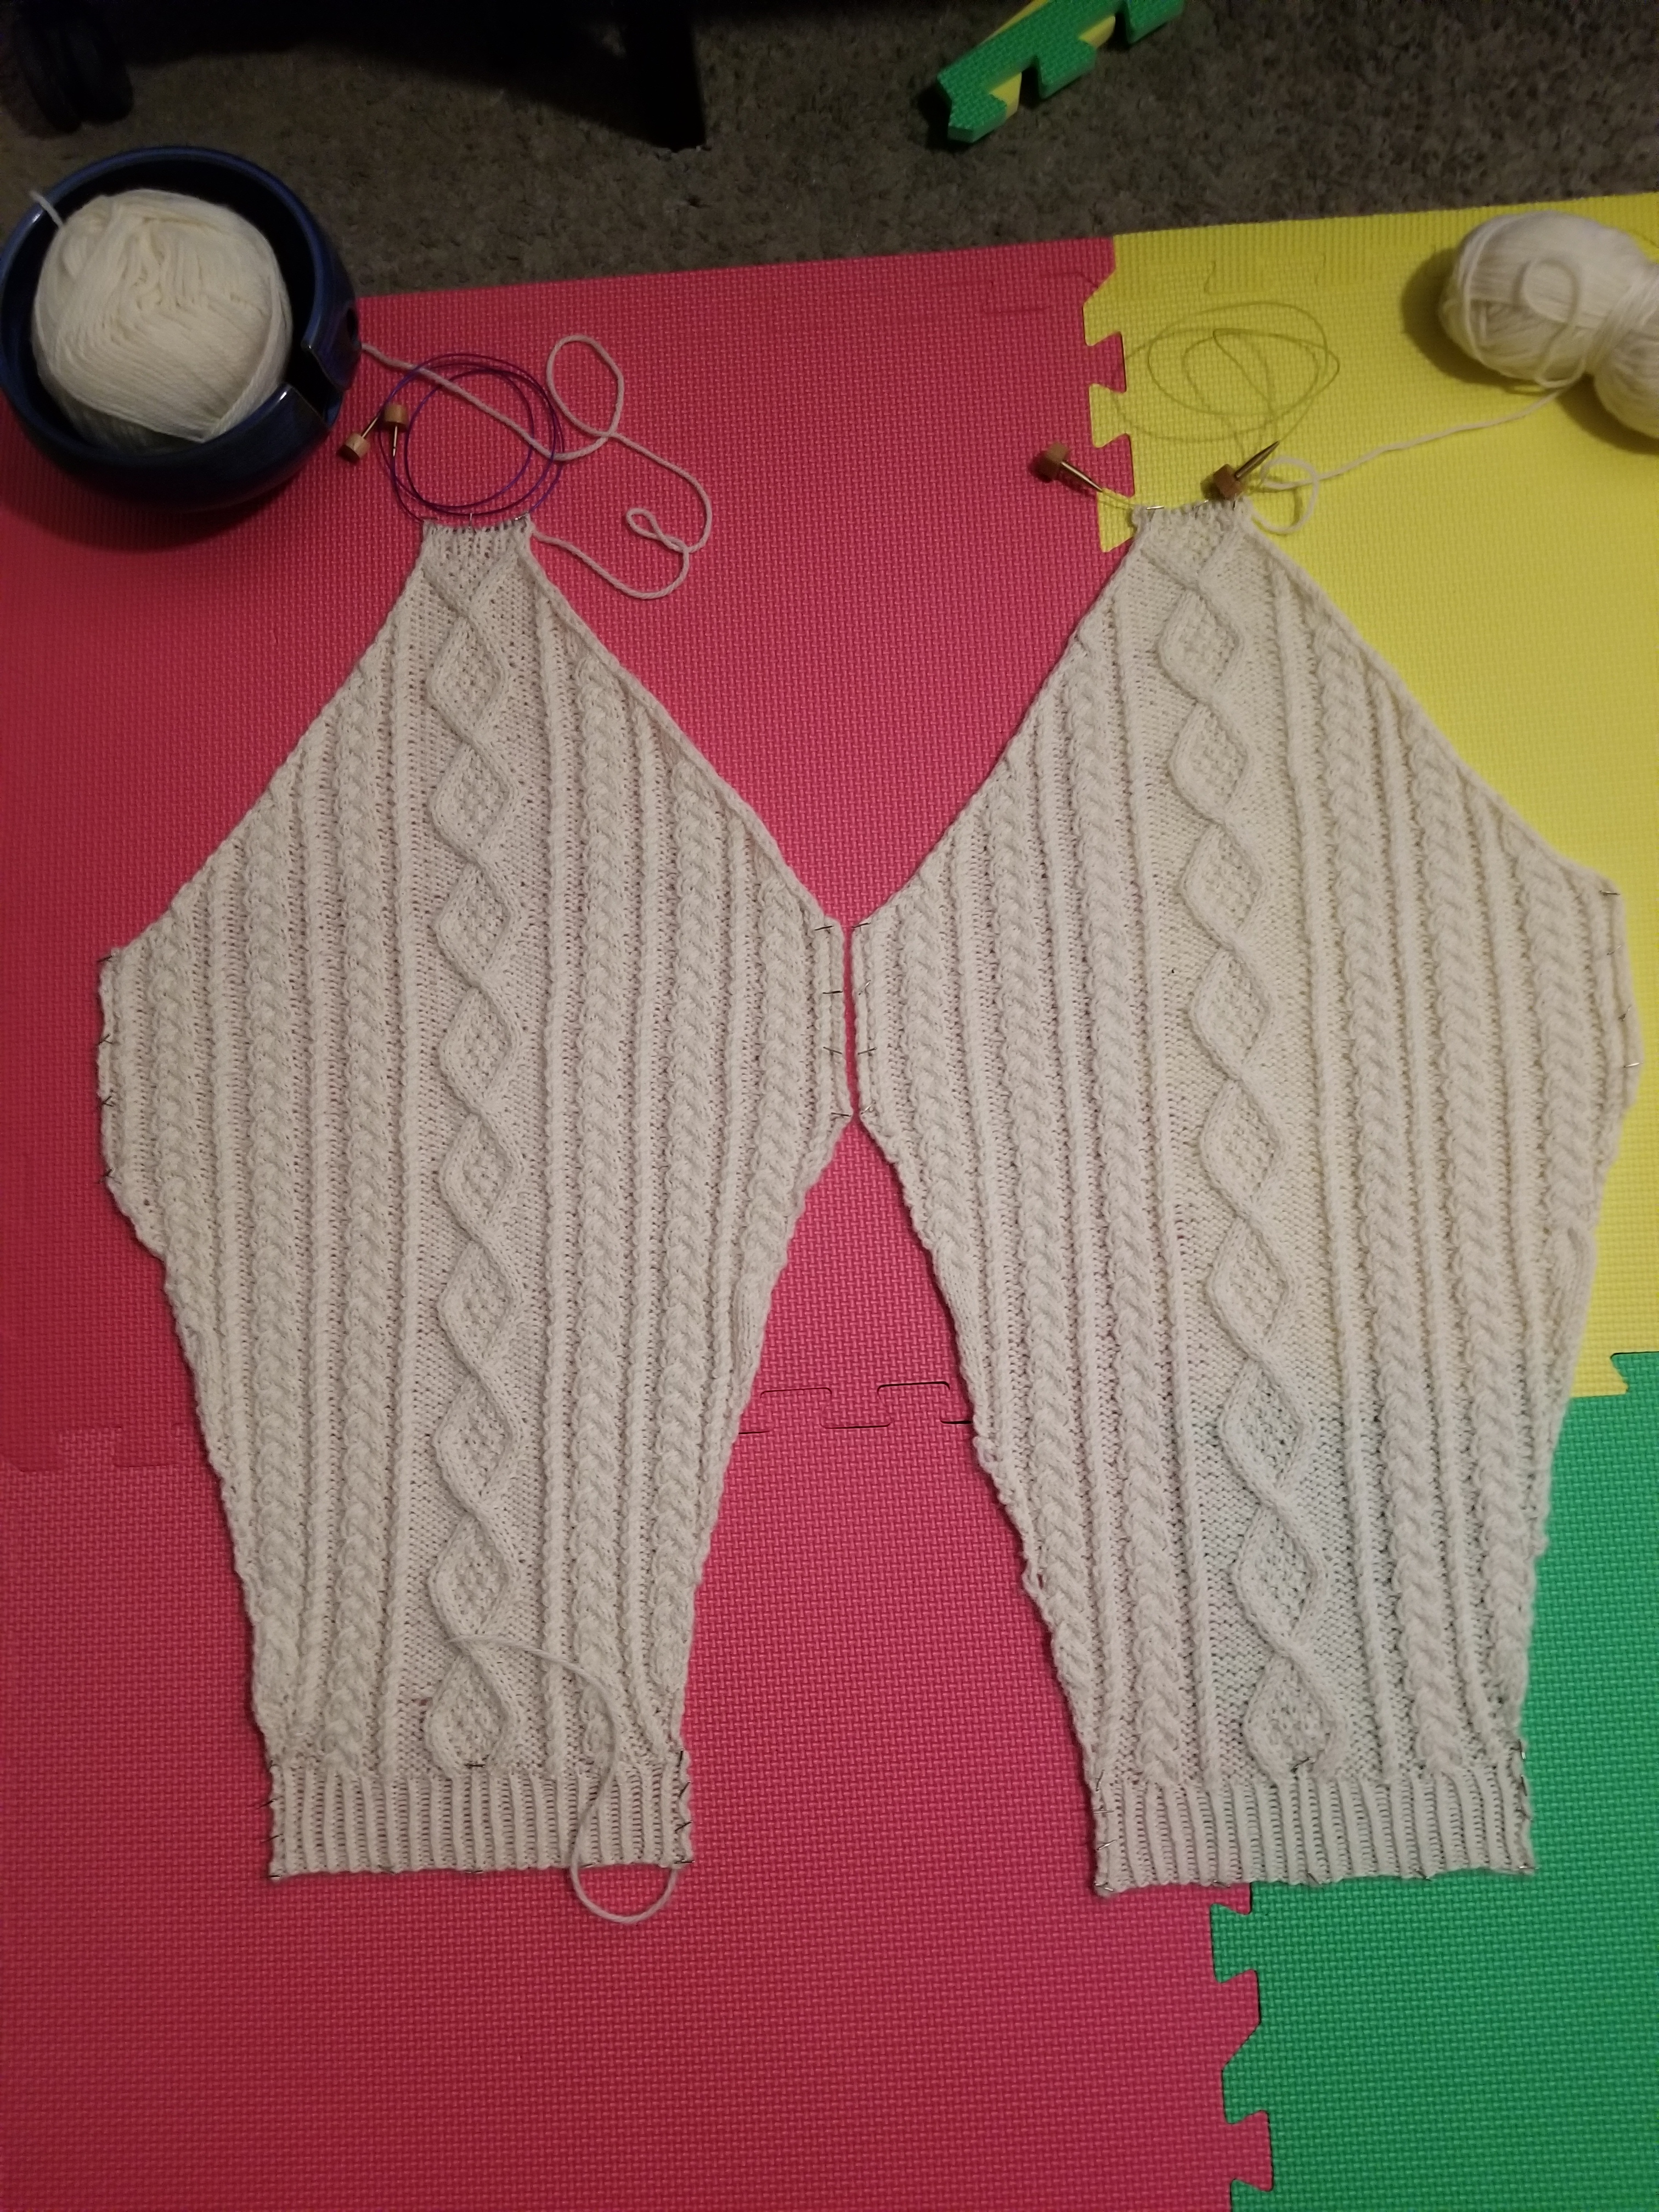
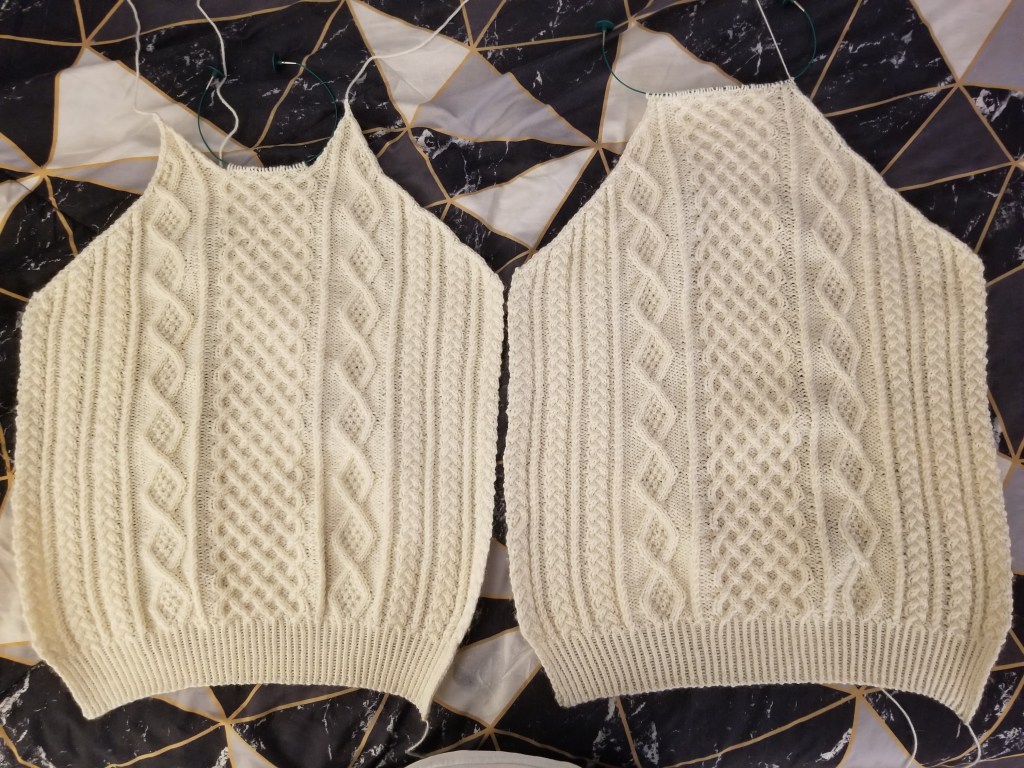
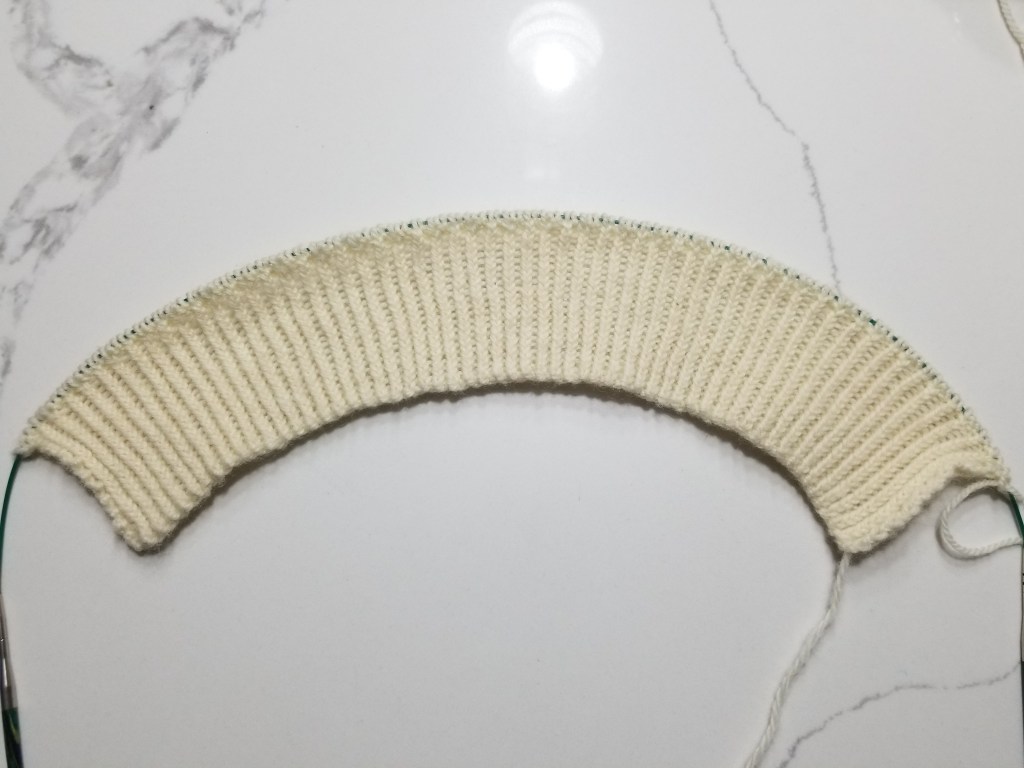
I’ve just completed the seaming for (almost) all of the slanted boundaries where the raglan-style sleeves link up with the main front/back pieces. One seam (the back-left) is left open to be seamed later on.
Here’s what it looks like now:
Now things are a bit tidier since all 4 pieces are connected up into a single item.
There are still loose ends everywhere though 🥲 gonna be fun weaving those in at the end.
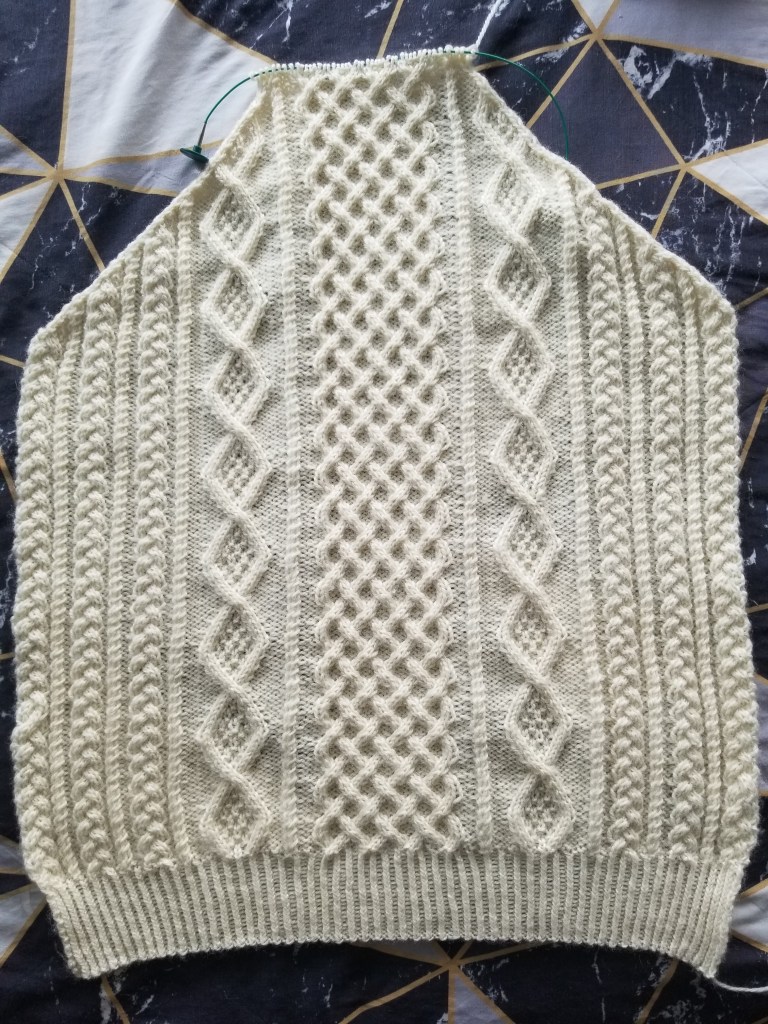
I think my seaming generally comes out okay, but I could definitely work on that in the future.
To be honest, I’m not even sure I do it correctly, but I like the way the slanted boundary came out here so… 🤷♂️
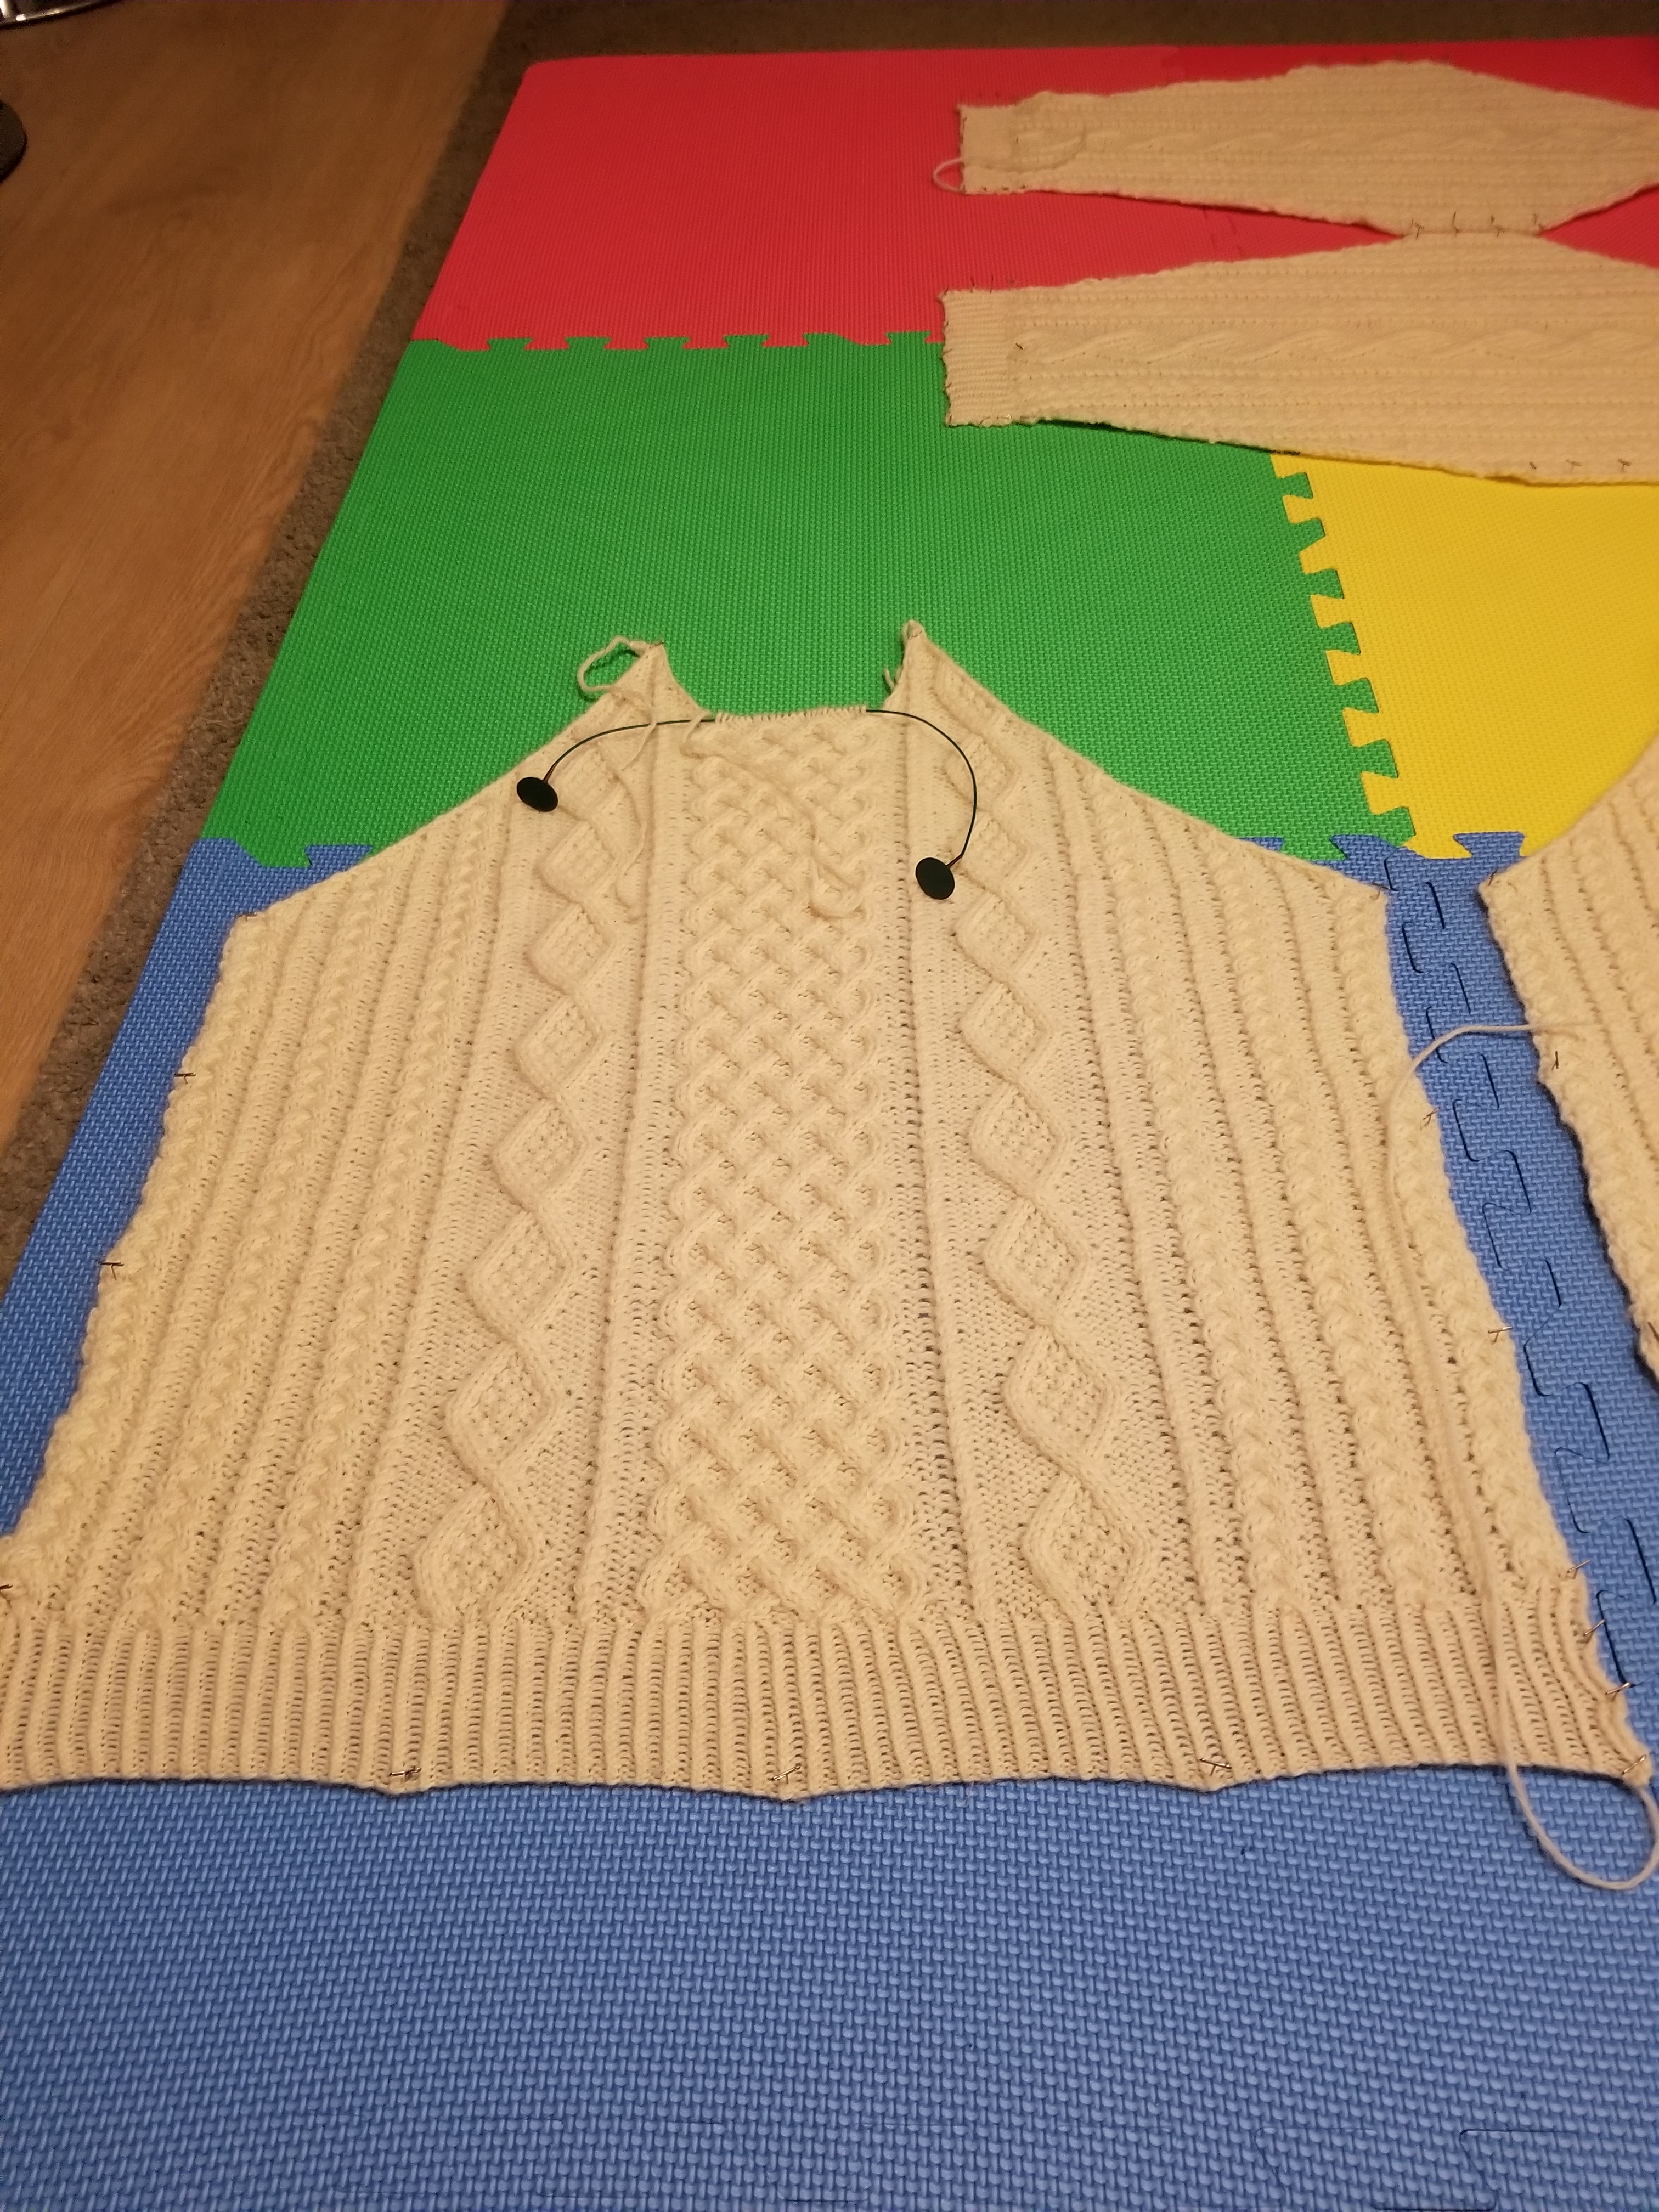
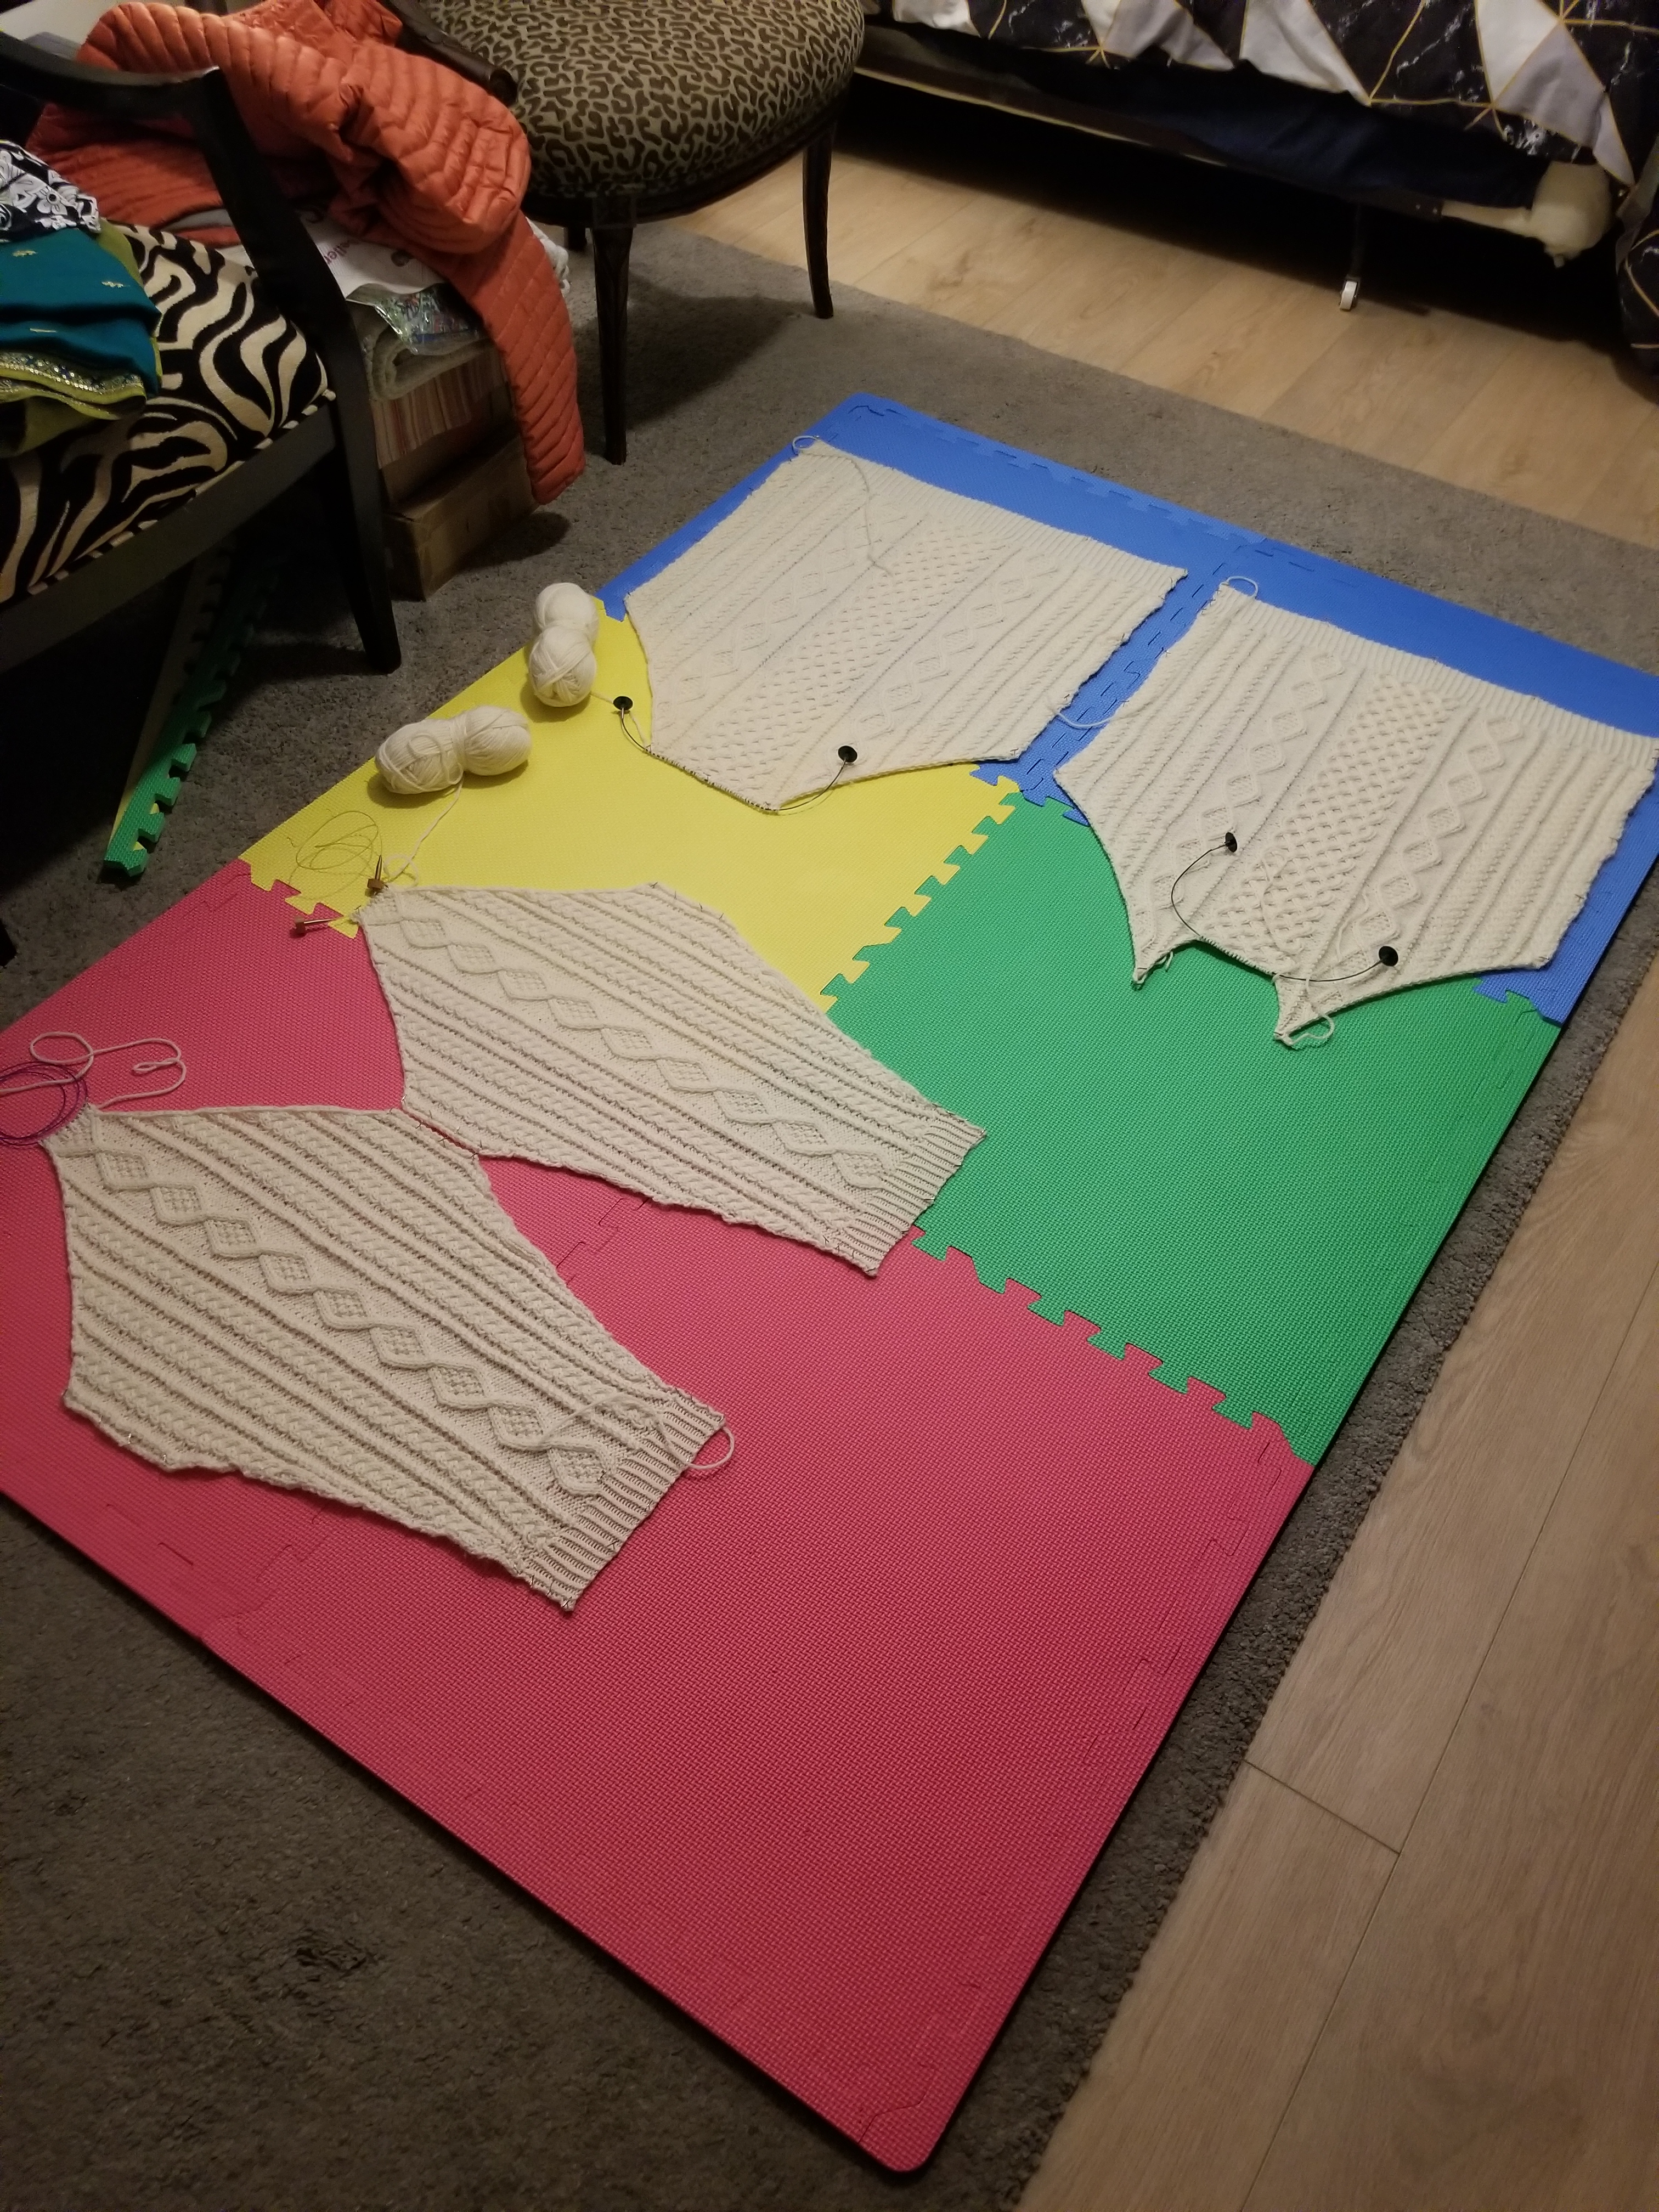
One of the last steps is making the neckband, which needs to be done to all the pieces at once.
That involves picking up the stitches that had been left on stitch holders, as well as picking up new stitches from any closed/cast-off edges.
I started on that and have done a bit of it, so hopefully that part will be done in a few days.
After that little neckband digression, the last part will be to seam everything up and weave in ends.
Then I’ll finally be free from this project and done with the year 😭
It has been a while… but I’ve returned to finish up the Aran sweater I’ve been working on!
I was a bit distracted with the Swan Shawl project that I picked up in the meantime 😅
I finished the 2nd sleeve, so now all of the pieces of the sweater are complete!
I considered washing and blocking the parts to make them fit the measurements, but I was a bit worried that it might end up stretching it out and making the sweater baggy. The pieces already seemed to have the right measurements, so I felt that washing was unnecessary. So I ended up just pinning them to confirm they were the right size and make them fit the measurements neatly.
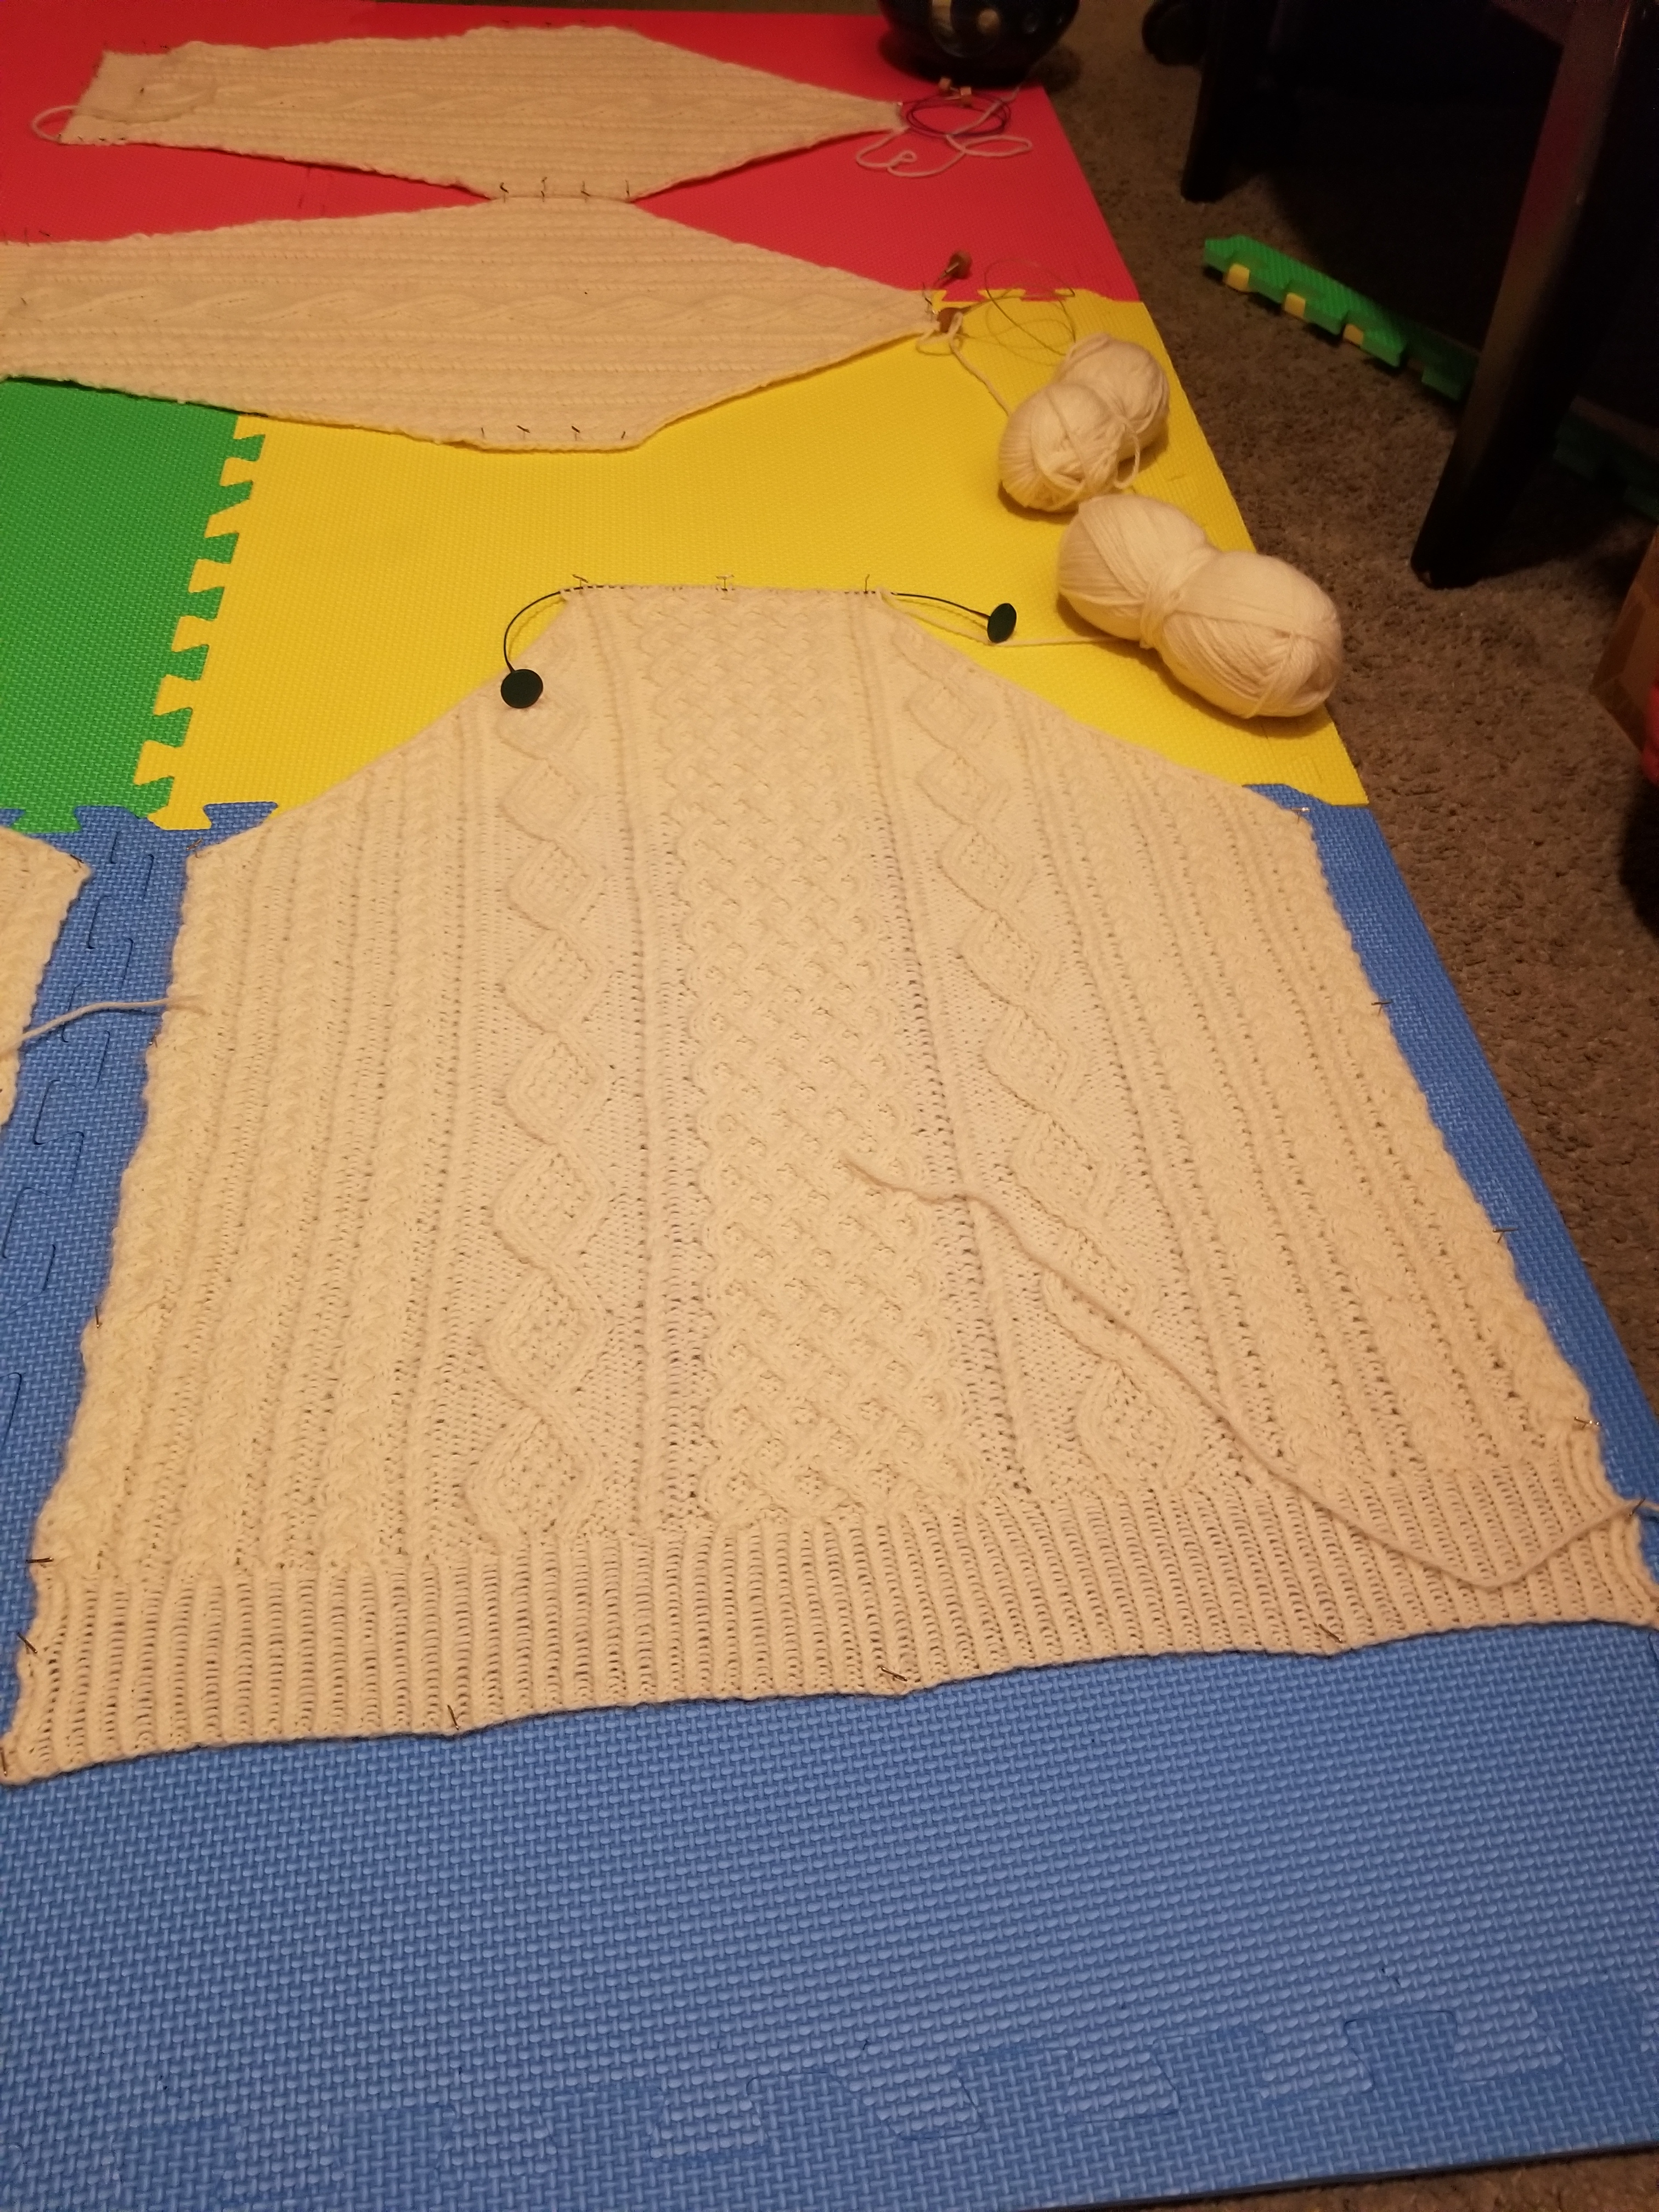
All that’s left to do now is seam all of the pieces together.
That’s definitely my least favorite part of the project 😔 might take me a few attempts.
Oh and I also have to knit the neckband to finish up once everything is connected up.
Here’s the latest update on the Aran sweater…
I’ve just completed the first sleeve!
Seems like it came out well!
Just looking at the unattached sleeve, the width and taper come off as a bit questionable to me.
But I figure it’ll make sense once I fit the individual parts together and see how the raglans fit.
Also, this is similar to what the sleeves on my previous cardigan project looked like, so that’s reassuring.
I did have one issue come up while knitting this sleeve.
The pattern called for increasing and decreasing stitches while maintaining the pattern.
This caused minor conflicts whenever the twist of a cable happened at the same time as an inc/dec.
Check out these examples:
On the left, you can see the cable twisting directly into a decrease.
On the right, you can see that the braid couldn’t start until enough of the increased sts were added.
For those situations, I had to decide whether to…
I made those decisions as they arose, and I think it generally turned out fine.
Luckily, these happen at the inner seam of the sleeve, which means they won’t be very visible.
Anyway, the seaming will eat up a bit of the width, as the edges will get curled in.
That will hopefully help hide those confusion spots 🤷♂️
The last piece is the other sleeve, which should be similarly easy.
What I’m reeeeeally dreading is seaming the pieces together 😒 (my least favorite part of any project).
Another update on the Aran sweater…
In addition to the back piece, I’ve now completed the front piece!
Initially, I was working 4 rows per day, which was about 1/2 of an inch per day, but that felt too slow, so I doubled the pace!
I had one mishap in the middle panel where the yarn broke and unraveled a bit, but I managed to salvage it and tie it up before any serious damage happened. Luckily it affected one of the behind cables in a cable-cross, so the issue is obscured a bit by the front cable of the pair.
Hopefully no more unraveling happens in the future though 🤞
Next up are the sleeves!
Just a quick update on the Aran sweater…
I’ve completed the back piece!
Overall, it came out pretty well (apart from that one mistake, but let’s not bring that up…)
Next up is the front piece, which should be similar.
Progress update on the sweater:

So far it looks pretty good!
I’ve been keeping a pace of 4 rows ≈ 2/3” per day.
Just need to continue another ~6 inches in this pattern, and then the raglan shaping will start.
BUT… can you spot the mistake? 🤔
Look along the braid on the left edge:

I must have been working the cable absent-mindedly and cabled towards the back instead of front.
Ugh 😓 I hate when this happens!
I would have just frogged it so I could redo it from there, but I was already a bunch of rows ahead of it.
Usually I’m a perfectionist about things like this, but I’m just gonna leave it in.
It’s not a huge deal anyway since the sweater is for myself.
Plus since it’s at the side of the piece, it won’t be as noticeable as if it were in the center of the piece.
People don’t usually notice cable mistakes when there’s LOTS of cabling going on, especially near the seams.
Anyway 🙄 … to be continued
In my last post, I’d started off the back piece of the sweater with a twisted rib, ending with increases interspersed throughout the final WS row of the ribbing.
Now we’re getting into the fun part! ~~> Those delicious CABLE panels 🧶
Here’s where I’m at so far:
My tension at the cabled sections was initially unstable, but it evened out once the pattern was established.
The cables are looking pretty clean, if I do say so myself!
I’m only about a third of the way through this stage of the pattern. Since the row-counts for the 3 cabled sections are 4, 8, and 18, the panels do match up nicely on multiples of 4, even though the 18 messes that up. I’ve just been keeping track of rows in a notebook so I don’t get mixed up. Plus I’ll definitely want to have the same row-count for the front piece, so good I’m keeping track.
Luckily it has been easy to go into auto-pilot once the pattern for the cable panels was established. This portion of the sweater continues like this until the point where the raglan sleeves would be joined in. After that, the pattern is continued, but worked with decreases at the sides for the sleeves.
I’ve noticed a few places where the cables look a little bit messy.
The boundary K st of a cable will sometimes be loose because of the P st before or after it:

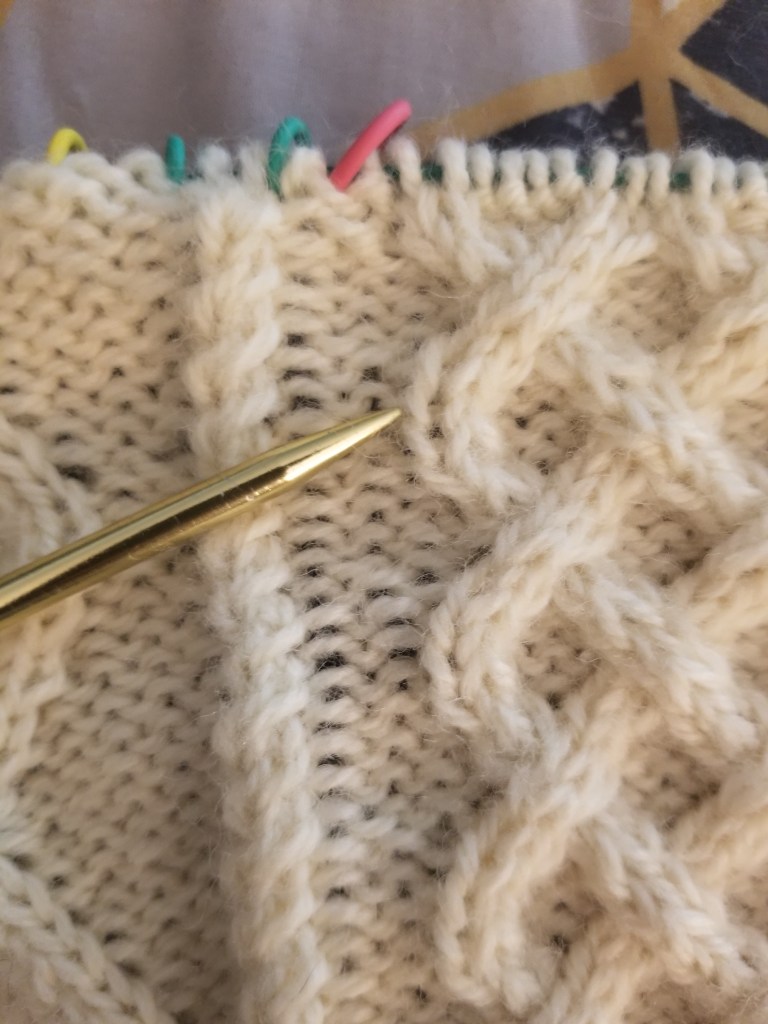
This seems to mostly happen at the outermost st of a cabled panel, rather than the internal ones.
I remembered reading about a tip for this specific situation in this book by Judith Durant:
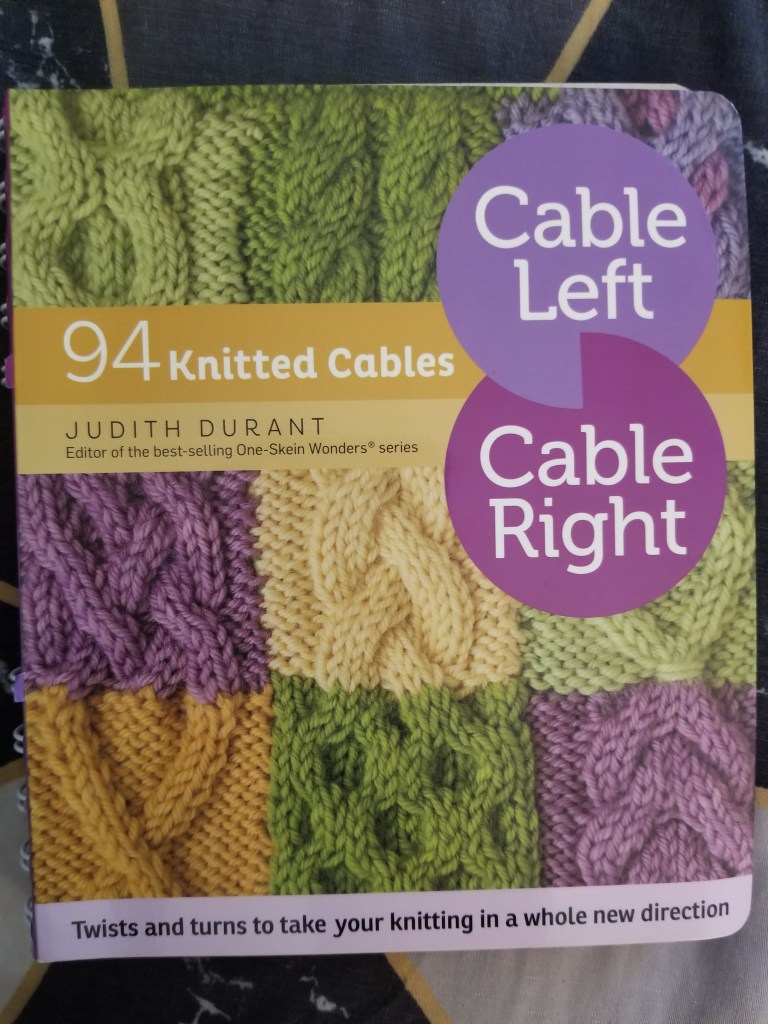
She suggested two possible fixes:
I’m trying out the second option since it has worked for me in the past, and it’s a more concrete fix than adjusting tension, which can be wishy-washy.
I typically don’t prefer to make tension changes when I’m midway through a pattern, but I don’t think anyone (except for me) will really notice such a small change, especially after washing and blocking everything out.
At least it’ll be a good test!
I’ll figure out whether that improves the appearance of the cables and reduces looseness.
Finally got started on the project!
First up is the back piece section of the sweater, so let me record some notes on my progress here.
The section starts with a simple twisted rib (w/ the smaller needles) for the bottom boundary of the sweater:
This stitch pattern is super easy as it’s just like the normal 1×1 ribbing, done by alternating between K (knit) and P (purl) for RS (right side). The “twisted” part comes from working the K’s tbl (through the back loop), forcing those stitches to twist, making the stitches tighter and the resultant ribbing lines thinner as well. Then on the way back on WS (wrong side), just K the K’s and P the P’s as usual, but working the P’s tbl.
The stitch pattern is the following 2 rows alternated (odd number of sts):
Sadly, ribbing always reminds me of my sad life circumstance as a western throwing knitter because of all the extra hand motions just to switch the yarn between front and back 😞.
On the last row of the twisted ribbing, the pattern calls for an evenly spaced increase of 29 sts interspersed among the existing 115 sts. Then we switch to the larger needles for the rest of the piece.
I’ve done plenty of increases before, but I know that the specific increase that I choose might leave eyelets or holes which would look bad on the final product. So I took the opportunity to sit down and look into different kinds of increases and learn the pros and cons for each.
I read through this guide from Nimble Needles, and I would HIGHLY recommend that anyone else refer to this page to learn about different kinds of increases.
Here’s what the piece looked like after knitting a bit past the increase row:
Look between the ribbing and the cable section… the increase is SO INVISIBLE 🤩
The increase that I went with was a KLL (knit left loop) increase to make it as invisible as possible. Check this tutorial from the previous site for a tutorial. This was definitely better than increasing by knitting the same stitch twice, using a yarn-over, picking up the strand in-between, or casting on mid-row. Those would all leave some noticeable amount of hole or gap.
Next up is the main section of the back piece, which is pretty much just a ton of cables (my favorite!!)
Today, I announce the first project for my blog: an Aran Sweater!
It has definitely been some time since I dedicated myself to a large personal project! I’ve worked on some smaller items recently, but none required all that much thought, time, or yarn. And I’ve especially not made anything lately just for myself. Finally I can stop flaking out of my knitting group meet-ups and have a consistent WIP (work in progress) to bring to the party 😋
The last large project of mine that I was really proud of would probably be this fancy cable-knit cardigan:
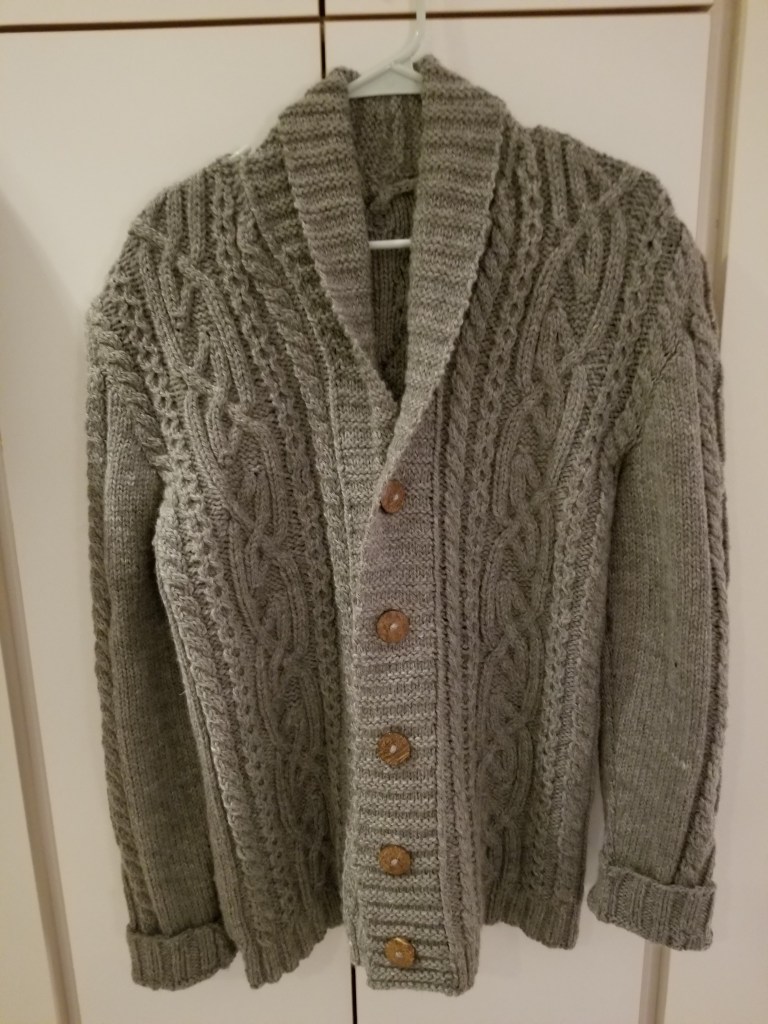
That’s a story/post for another time! 😉
I decided on an Aran sweater for a few reasons:
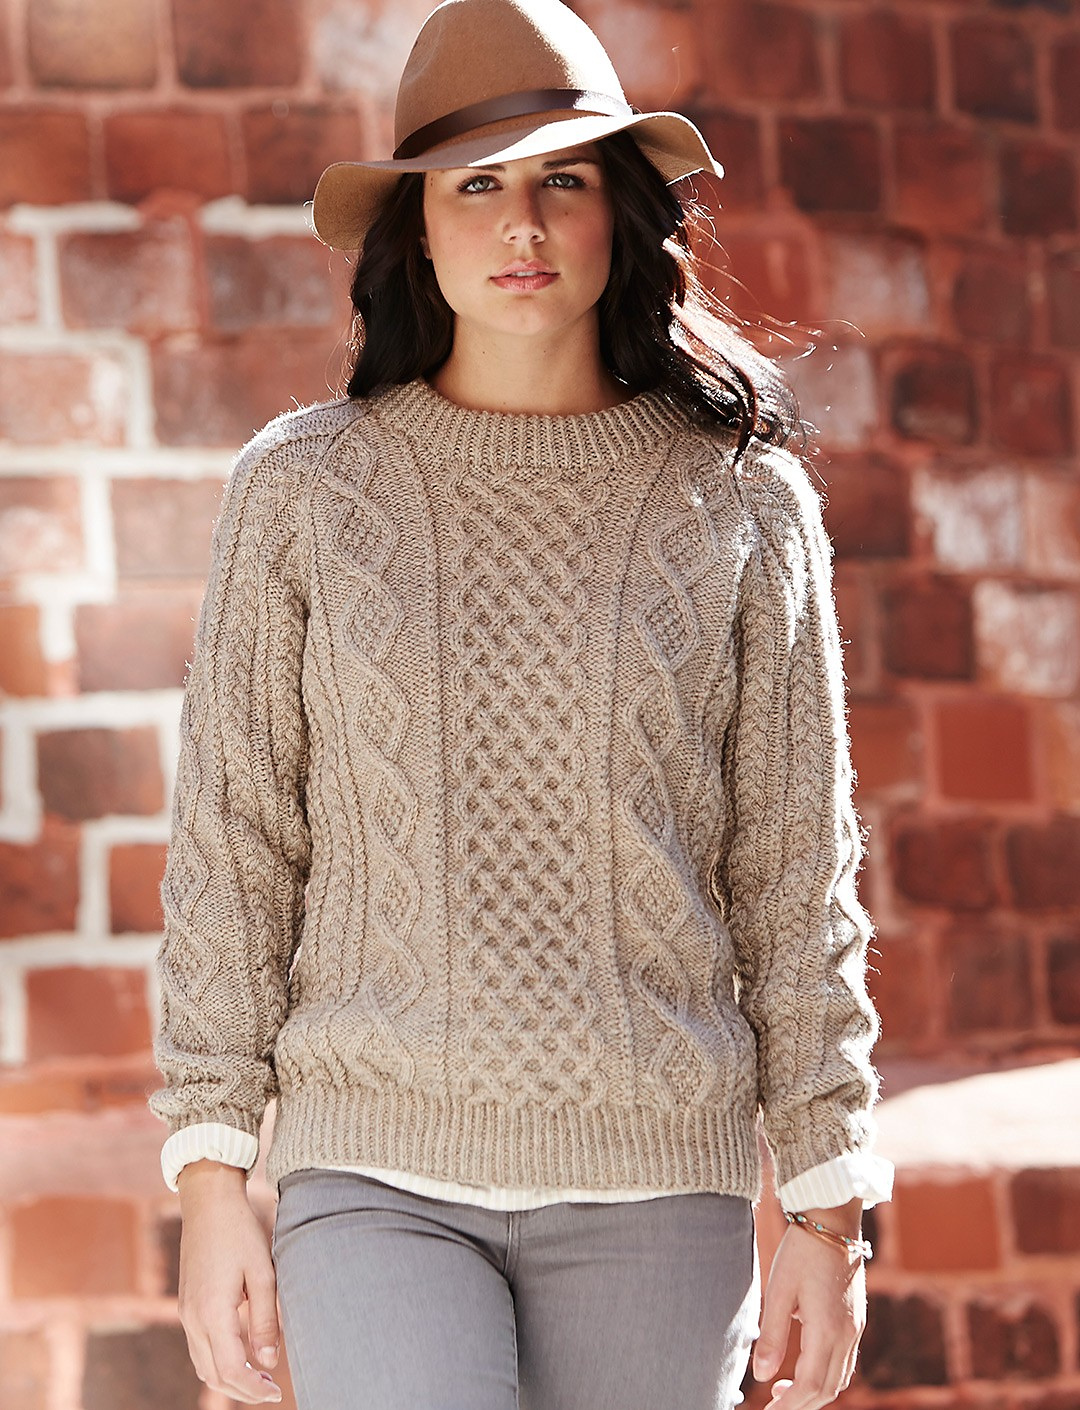
I’m using this pattern from Ravelry: Honeycomb Aran by Gayle Bunn
The central “honeycomb” pattern formed by the interwoven 8-strand cable is mostly what got me. I did something similar on a sweater for my dog (another future post!!) and really enjoyed how that one turned out. In my mind, I wouldn’t label this as a “honeycomb” per se, but I suppose the term just refers to any cable pattern forming a lattice similar to that of a honeycomb.
I had also looked at a few other places that people had suggested to me:
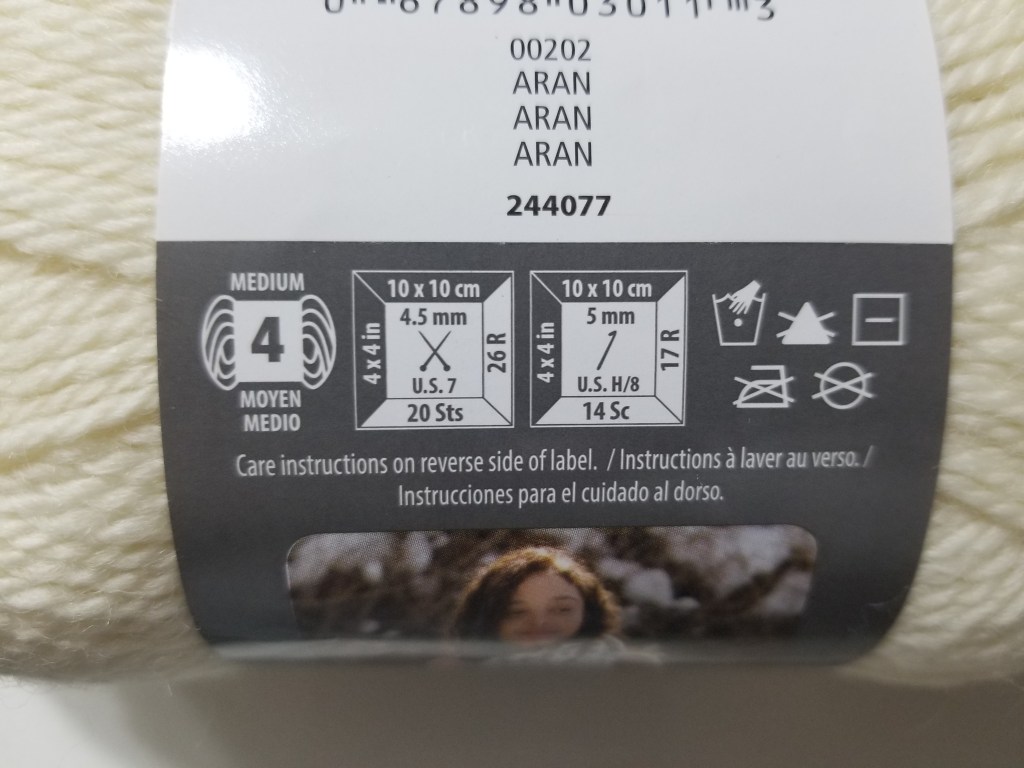
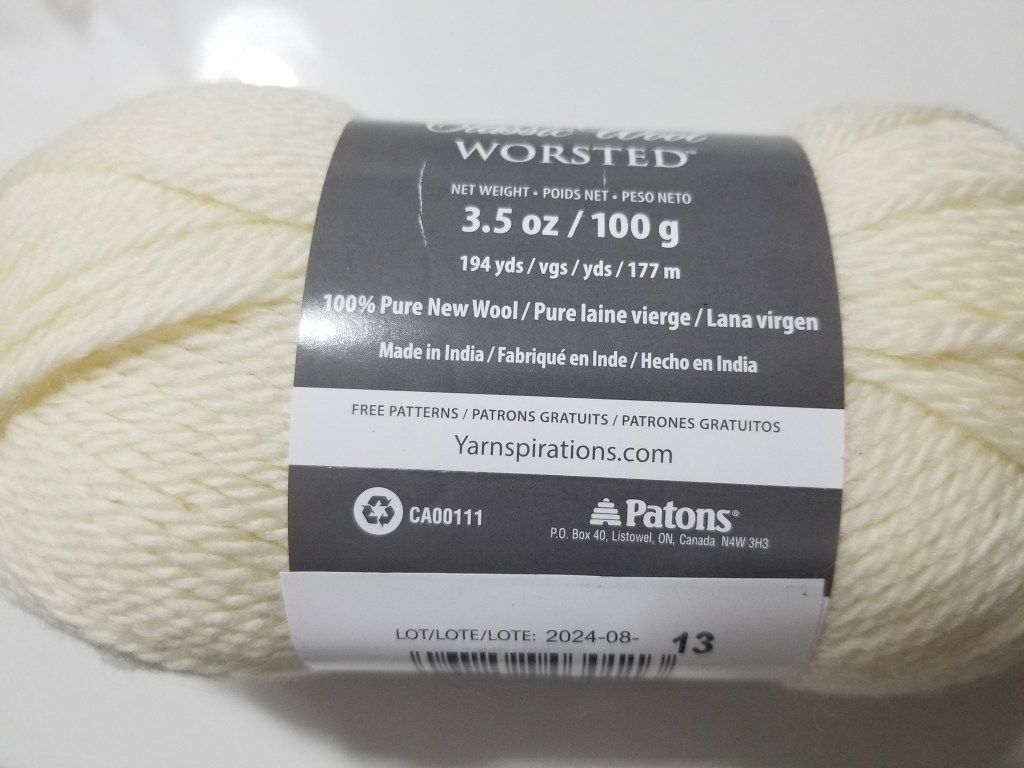
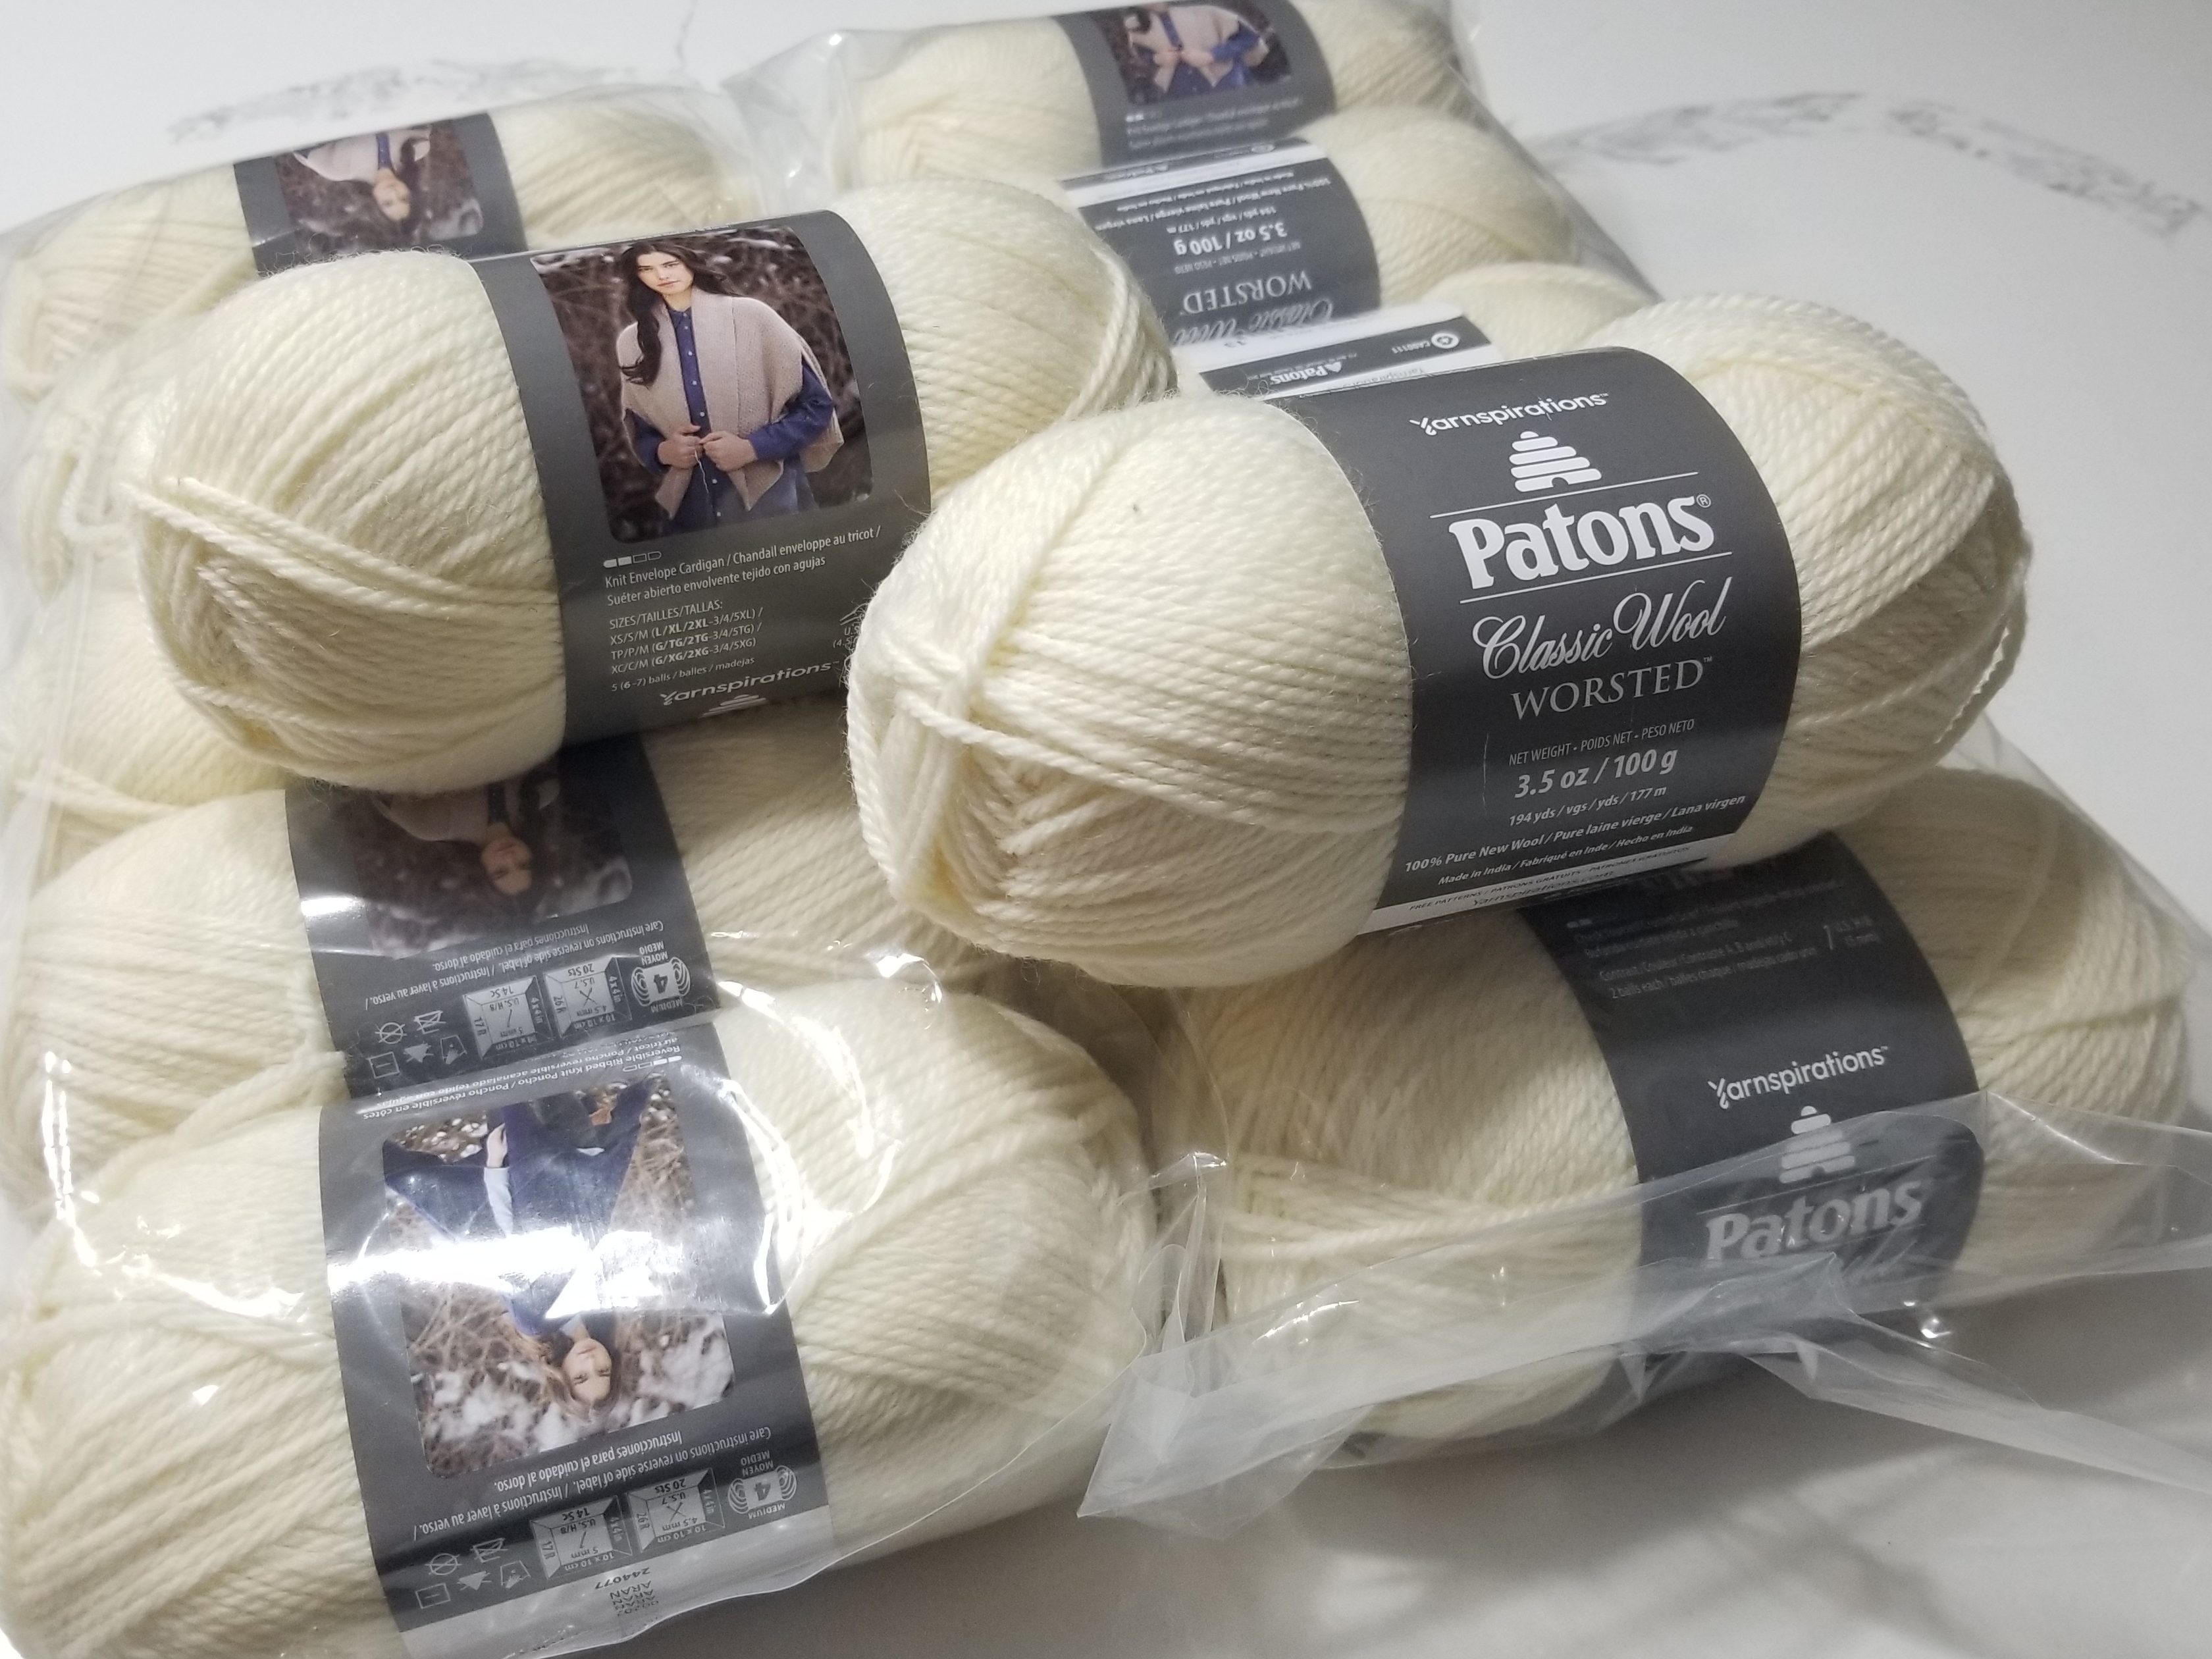
For this project, I went with the pattern’s suggested yarn: Patons Classic 100% Wool Worsted Yarn, Aran
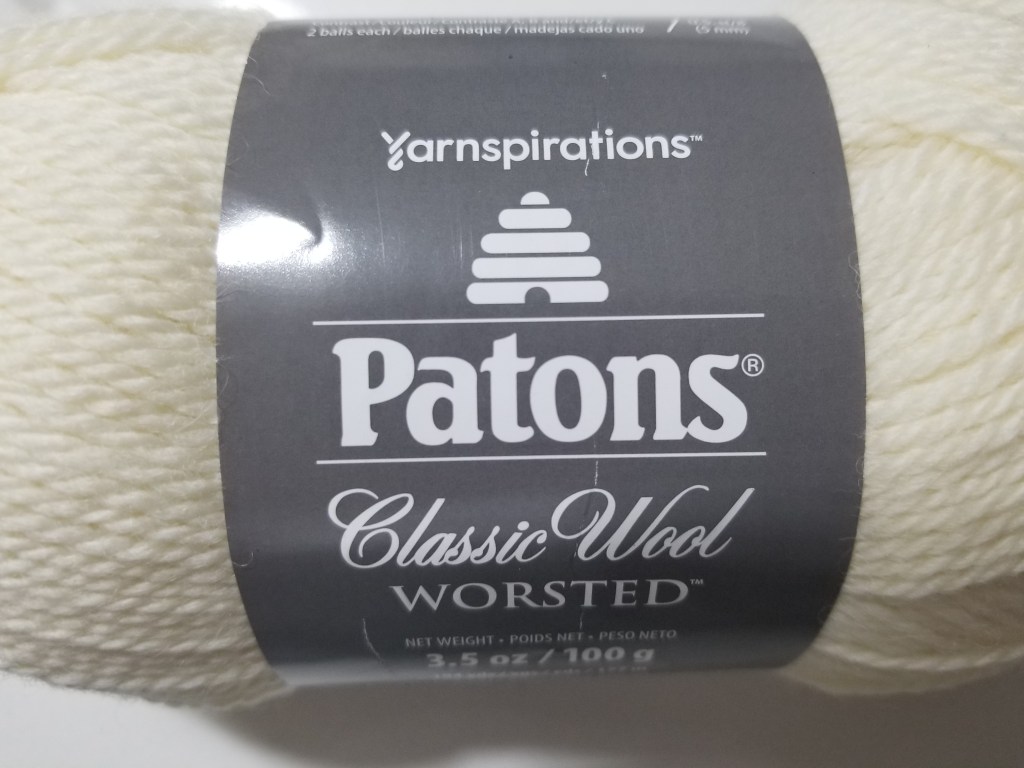
I considered colors other than the classic Aran off-white, but honestly I think the off-white looks best. Any darker shade like olive or navy, or even lighter versions of those, might end up making the cables’ complexity visually less noticeable. Plus, it’s plain enough that it wouldn’t constrain the rest of a potential outfit to a particular color scheme.
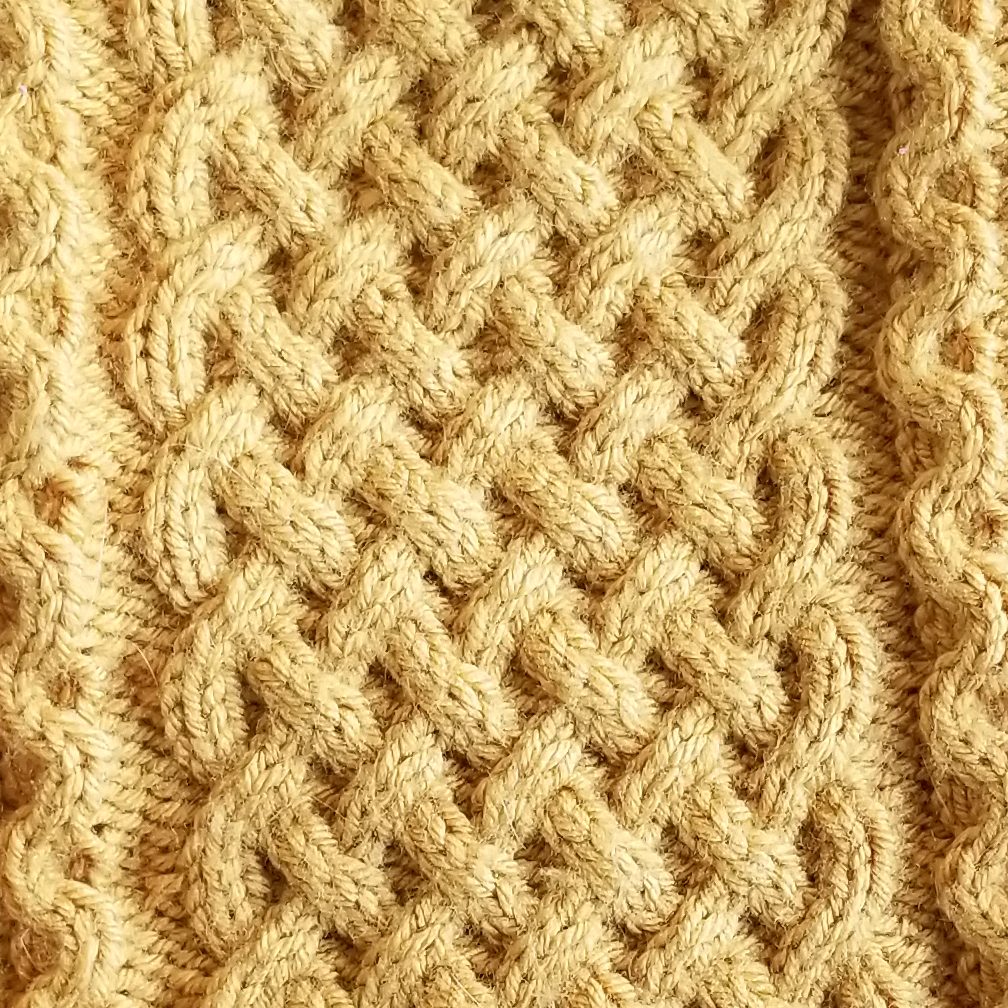
While looking around at other Ravelry users’ projects of this pattern, I came across these:
These both look pretty good, but I’m not feeling adventurous enough to mess with the suggested yarn 🙃. I also don’t know anything about hemp yarn, so no clue if that’s a good sweater material. (Note to self: Look into hemp yarn).
The pattern calls for circulars, so I’ll be using my Caspian Interchangeable Circular Needle Set from Knit Picks
Smaller needles (US 6) for the ribbing, and larger (US 8) for everything else.
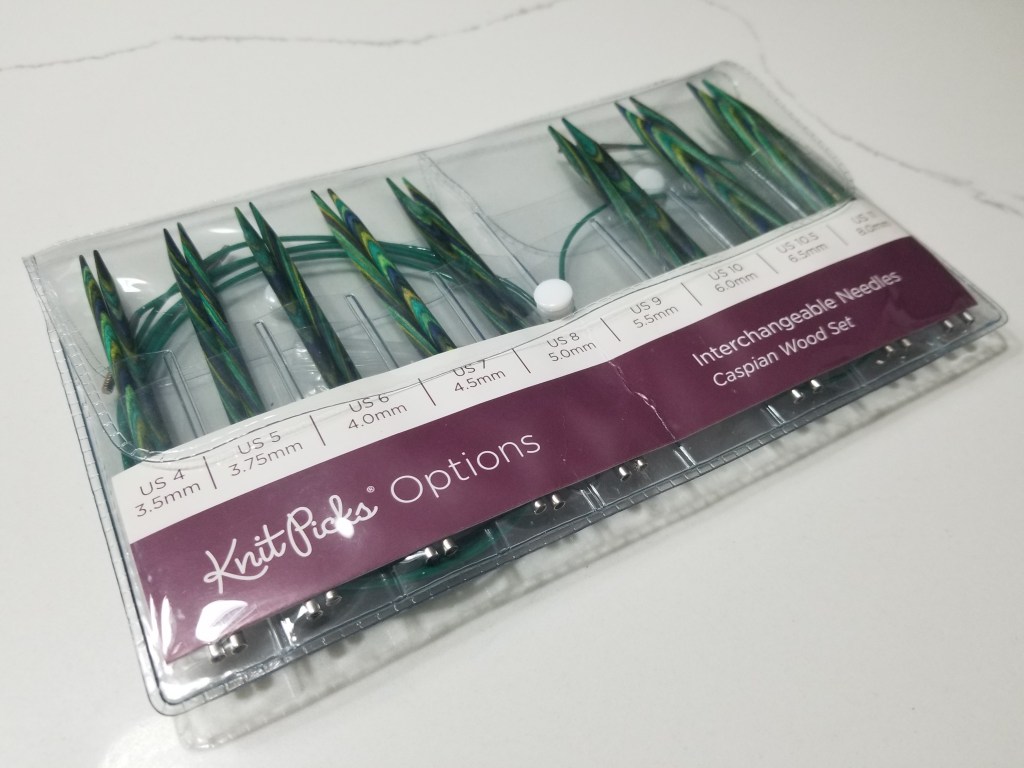
This product deserves a whole review post of its own (someday…).
Having been burned by badly-manufactured and flimsy interchangeable circulars in the past, I really cannot say enough about how much I love this one from Knit Picks.
At the moment, my chest size is around 37″, which would lead me to following the XS/S instructions. However, since I’m currently strength-training and weight-lifting to gain weight (fine fine, get angry at me , I don’t care 😒), I decided that the instructions for size M would make more sense.
Now, I’m not usually the type to fuss over gauge, but in this case I figure it’s worth it to avoid finding out later that the sizing was all wrong from the start. The pattern specifies: 19 sts by 25 rows = 4″.
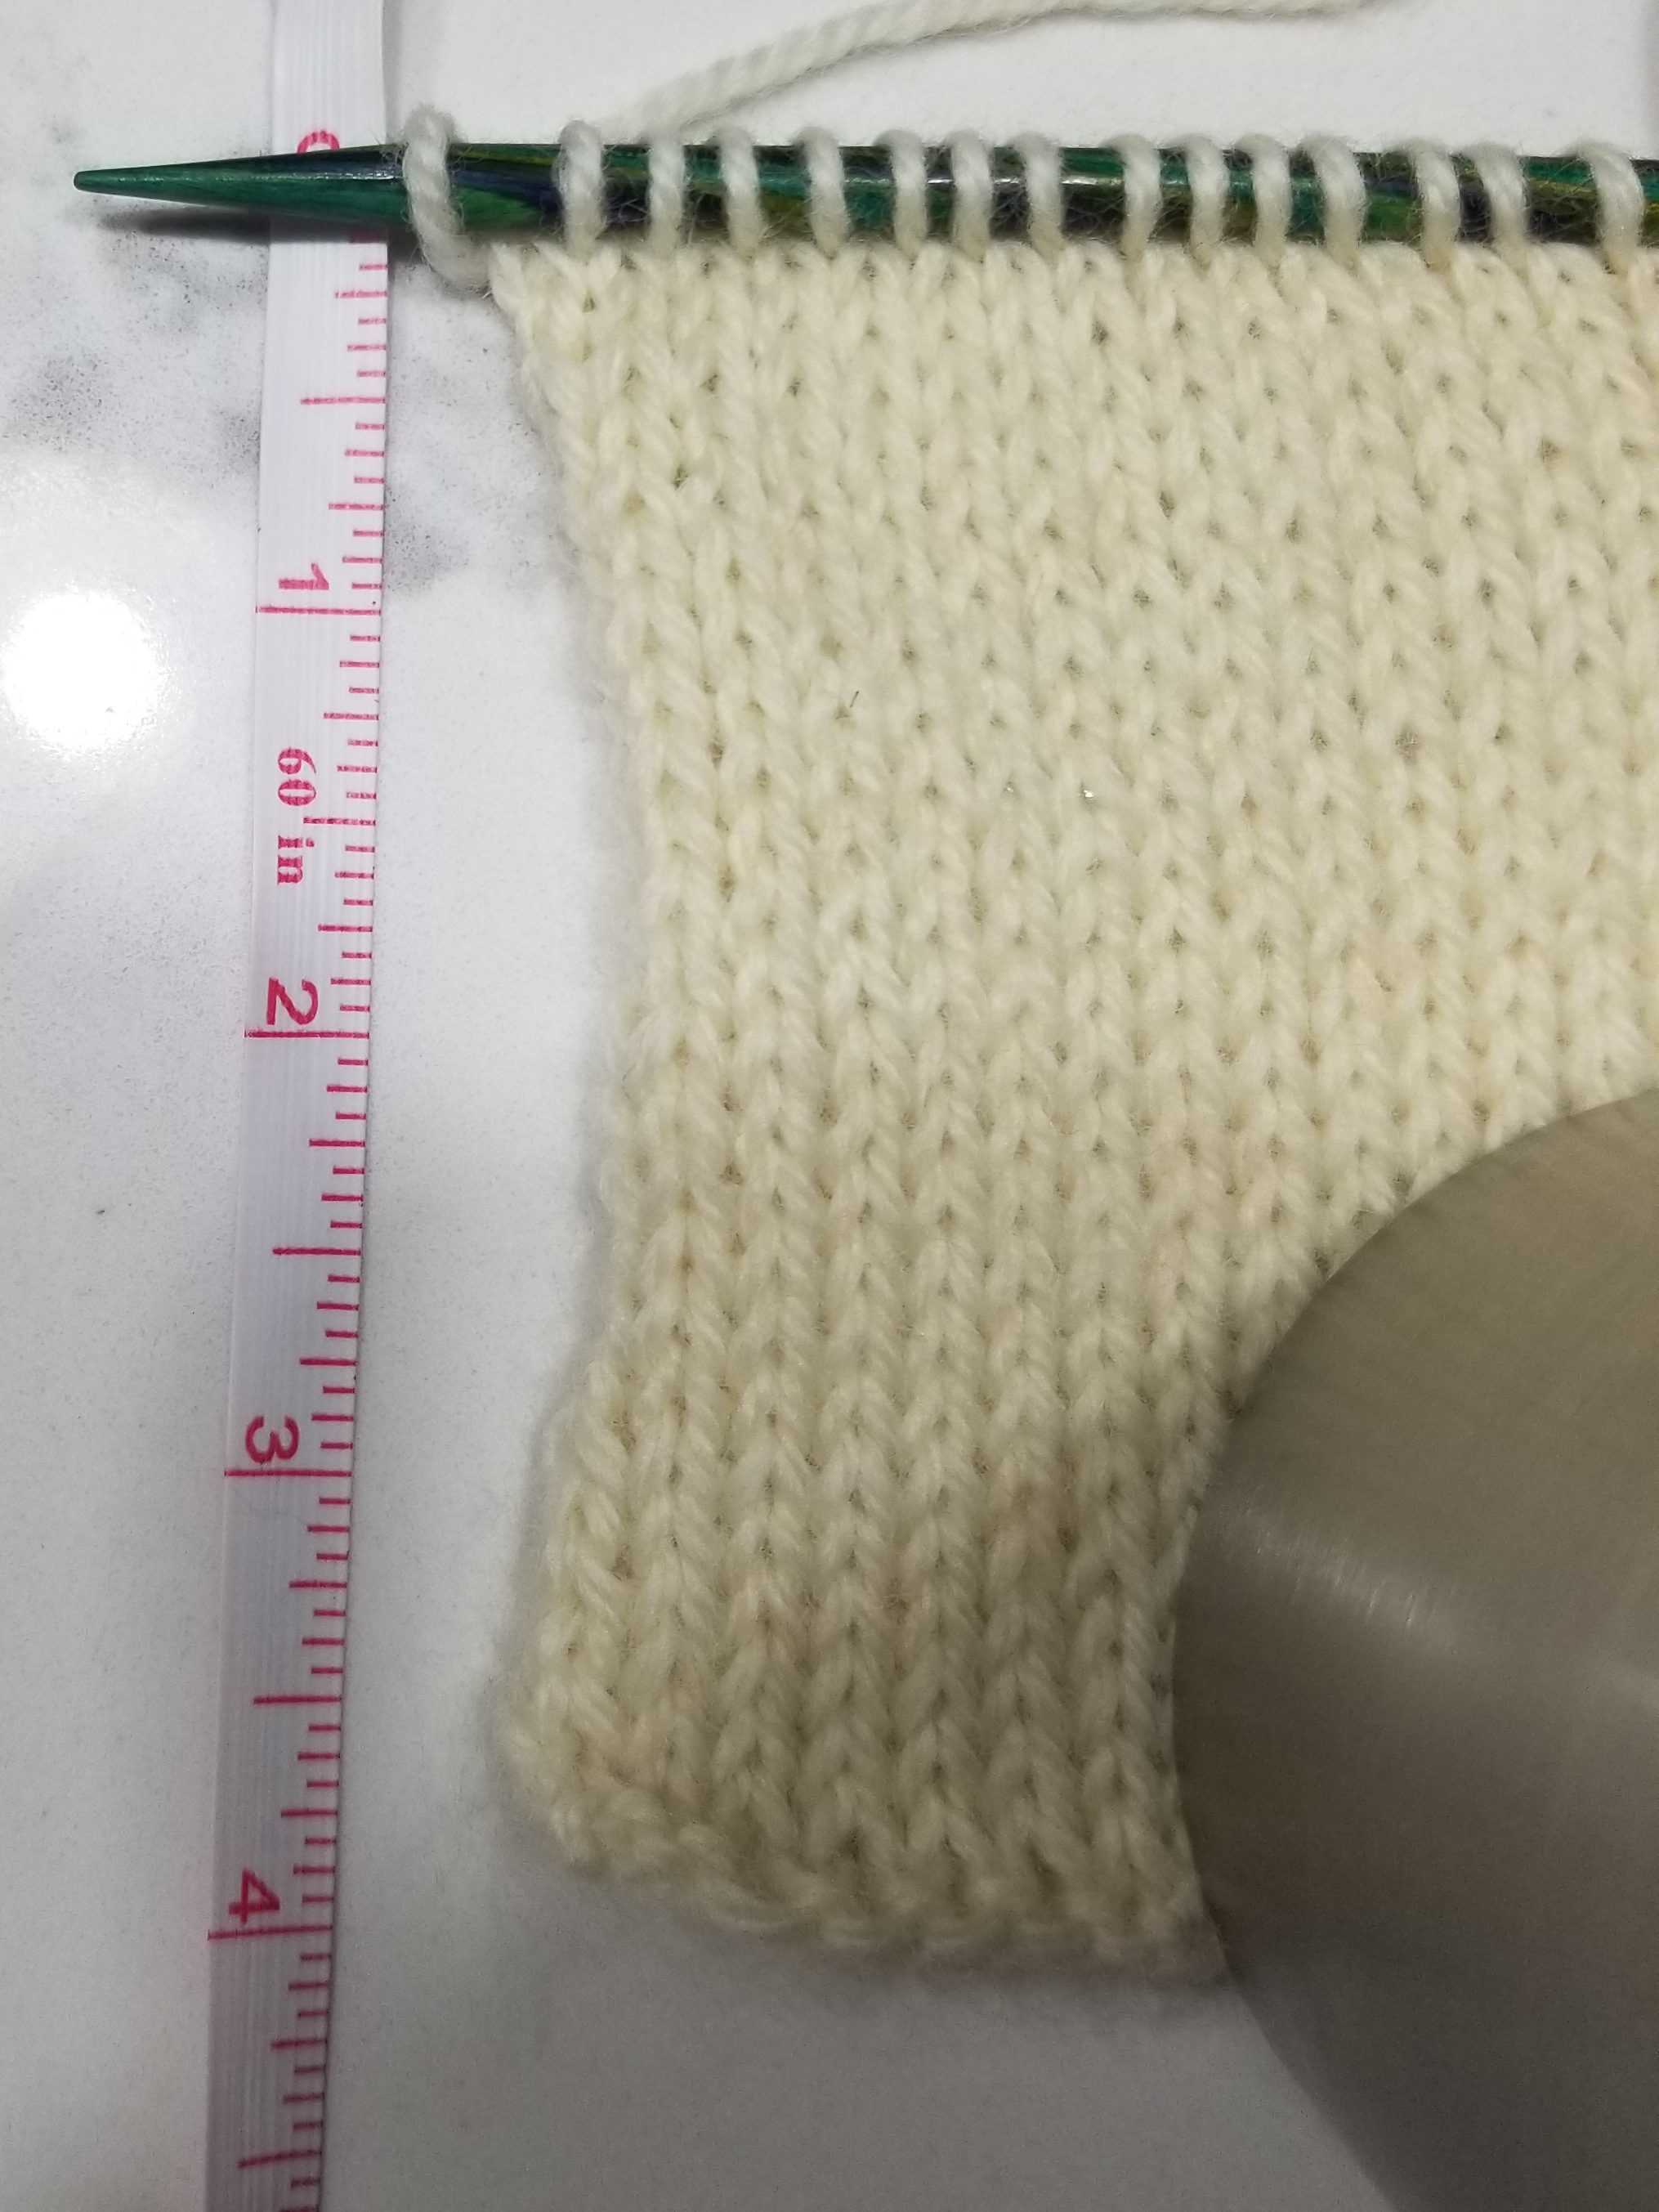
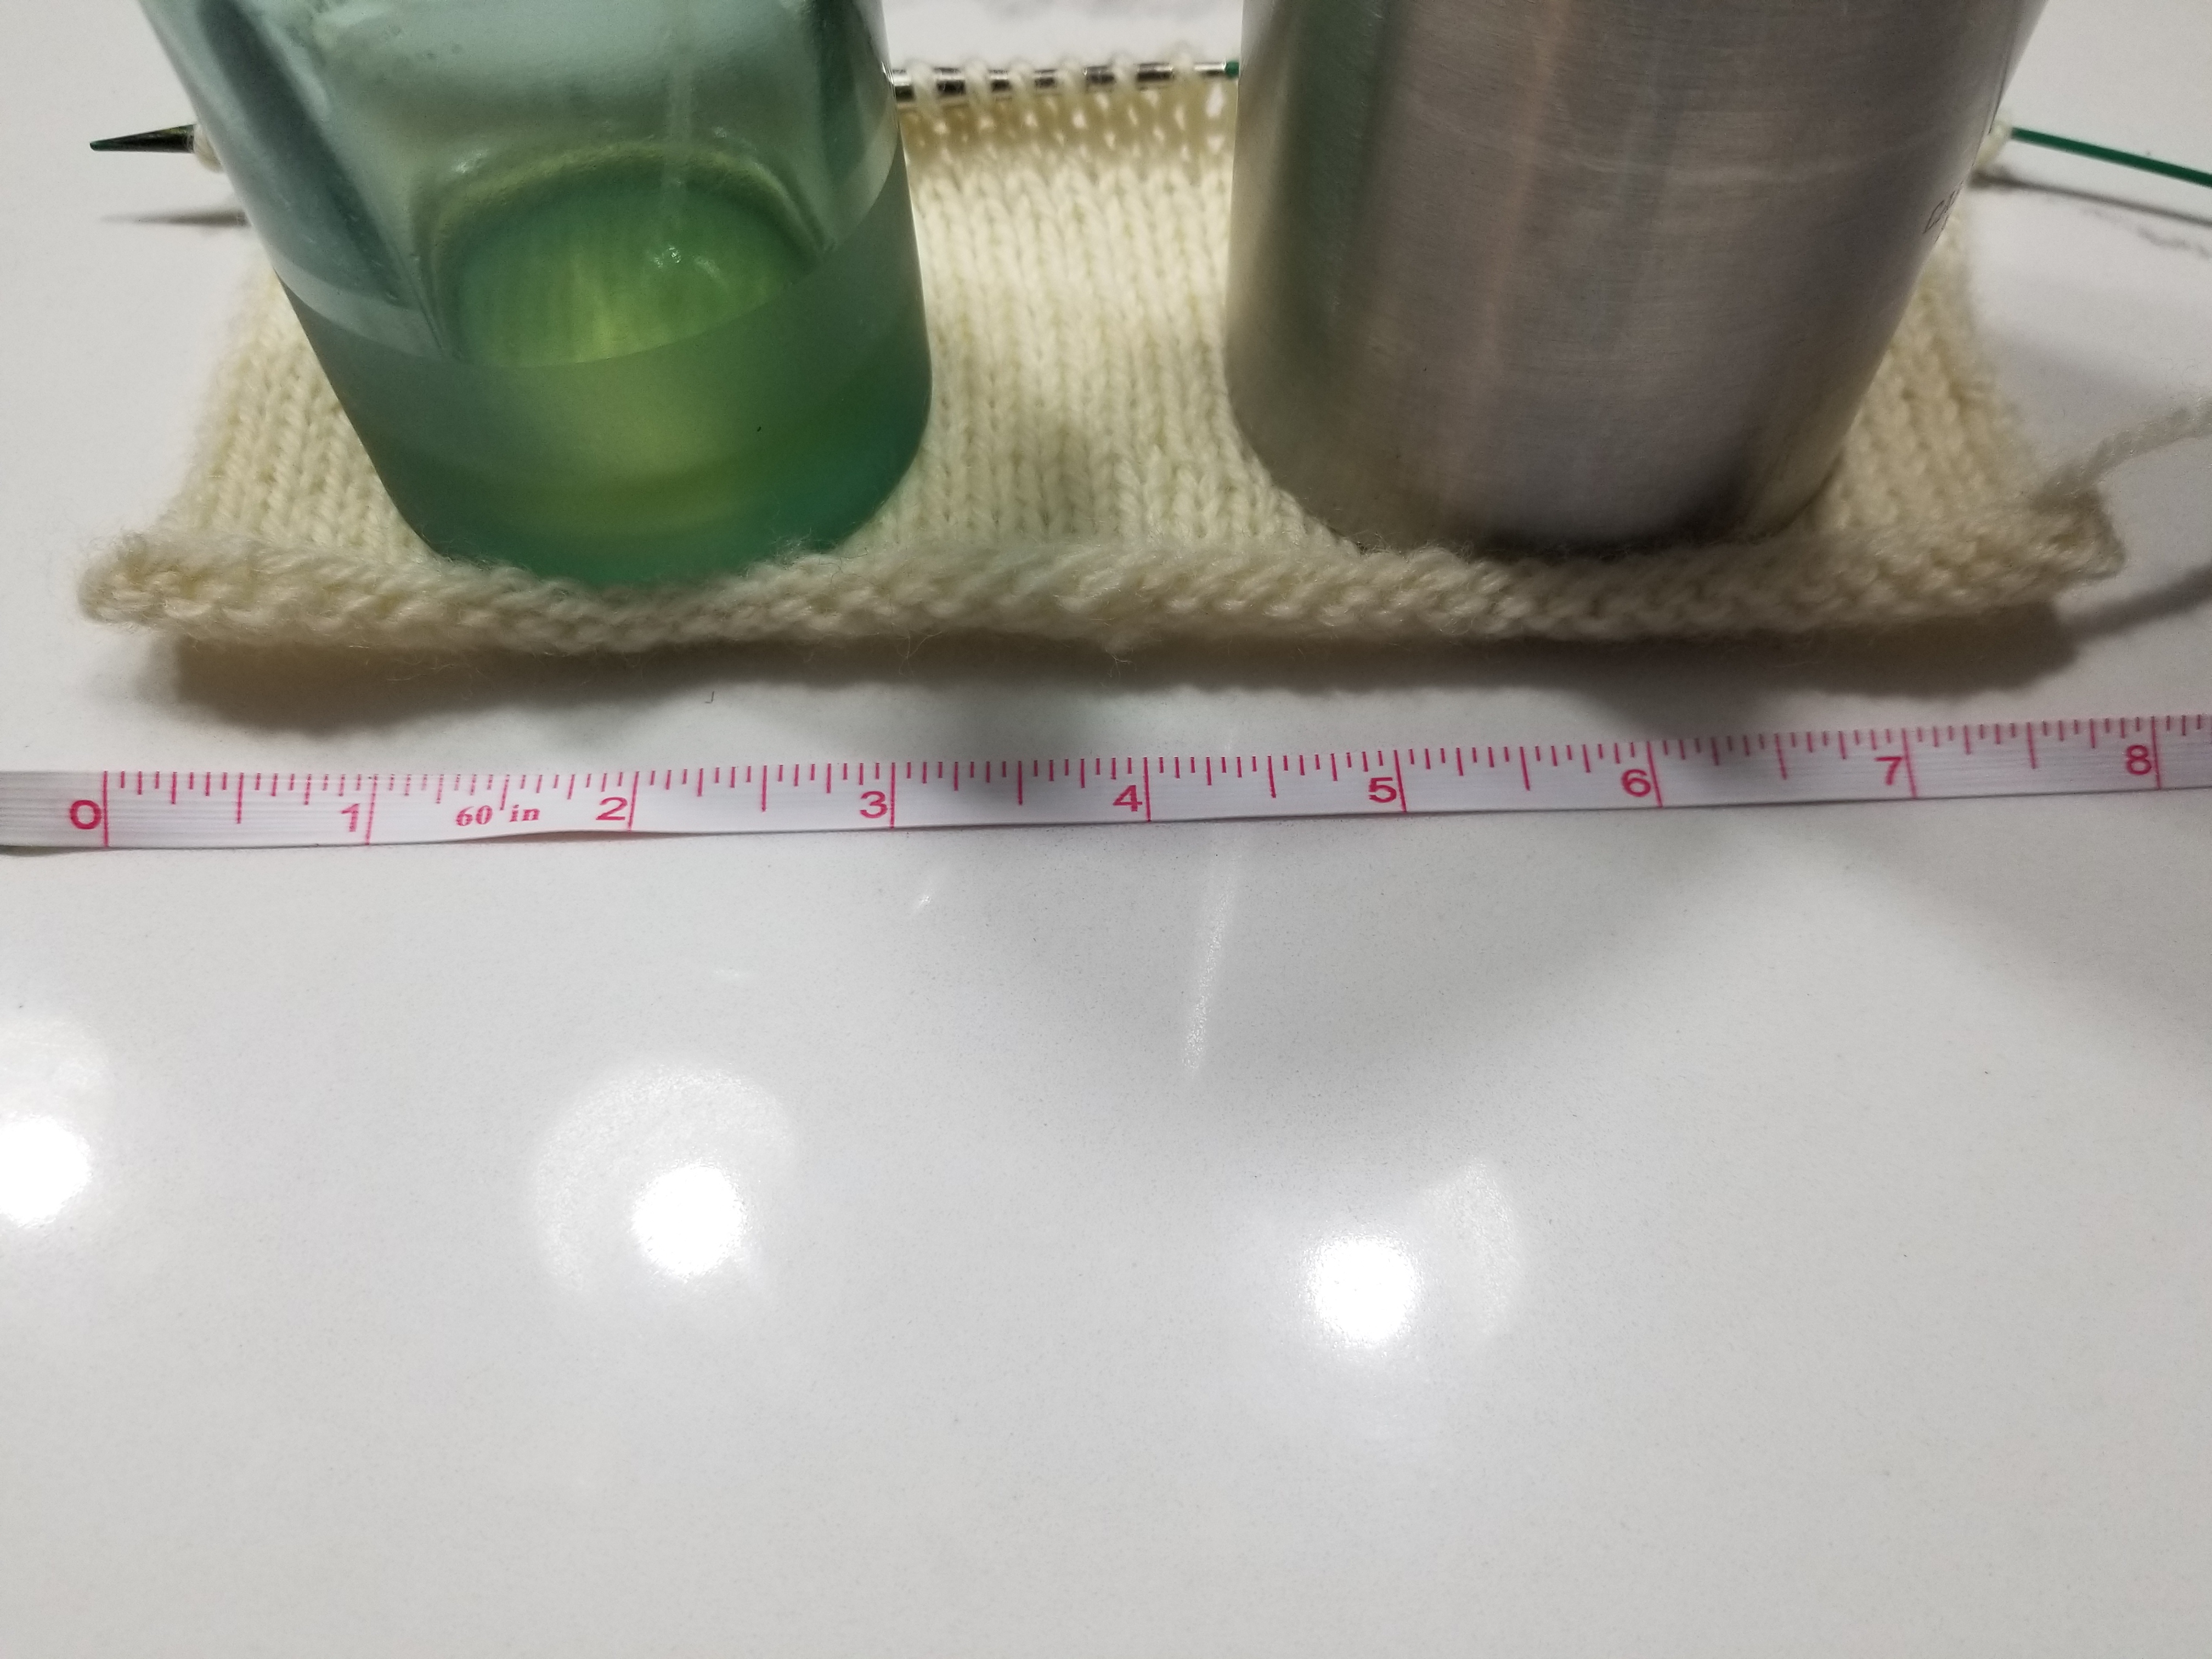
Gauge looks good! – No adjustments needed, luckily.
I’ll be posting progress updates as I work through the project!
You can follow along with the project using the tags on the post!

