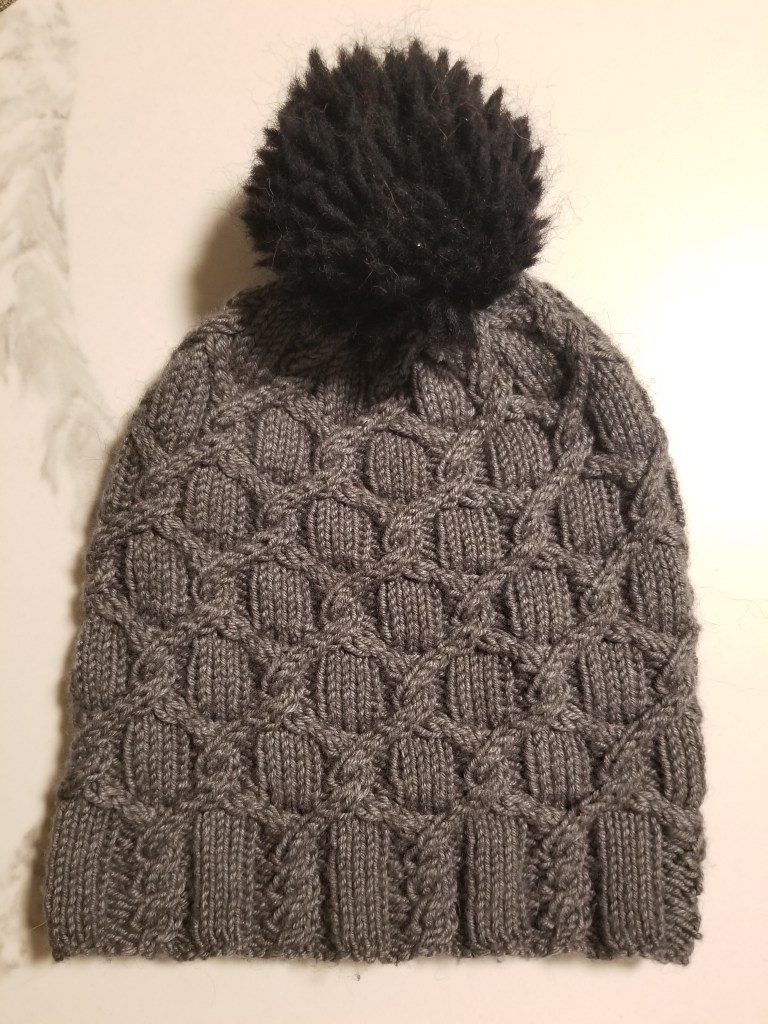
The White Frost Beanie (in gray) with pompom is complete!
Pompom Switcheroo
You maaaay have noticed that the pompom is a different one from the one I had originally decided on 😁
The original pompom seemed a bit too large for this beanie, so I opted for another pompom from my stash! This black one was actually stolen from a store-bought hat whose pompom I had cut off a while ago. It’s just a basic yarn pompom, as opposed to the fancy faux fur one from before. This one was a lot lighter, so it matched the weight of the beanie better. The combination of the gray and black also seems to work out well. Worked out pretty nicely in that I got to use up an old bit sitting around in my stash!
I’m planning on using the other (nicer) faux fur pompom for a second copy of the hat (stay tuned 🤫).
Final Thoughts
One thing I have to say about this project was that the pattern was very nicely written.
I think back on the fact that it’s a wrap-around cable pattern done in-the-round, so it can get weird where the rounds begin. But this pattern accounted for it pretty well and adequately explained how to handle the cables crossing over the round starts.
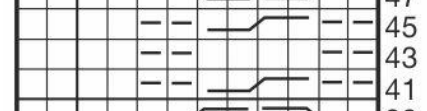
Soooo I was near the middle row (43) of this part of the pattern:
The even rows are pretty much just knit-the-knits and purl-the-purls, which means rows 42-44 were identical. I had stopped somewhere around there and wasn’t totally sure if I’d noted down the correct row number for where I stopped. I tried the next row and kept checking my work to see if I was doing it right or knitting a duplicate row.
It turned out I was fine, but I ended up forgetting one of the cables in the row because I was so distracted. Then while I was undoing the last row, one of my needles slipped and I dropped a bunch of stitches 😭.
By that point, since I was already pretty uncertain about whether I was doing it correctly, I just decided to start over 🤷♂️
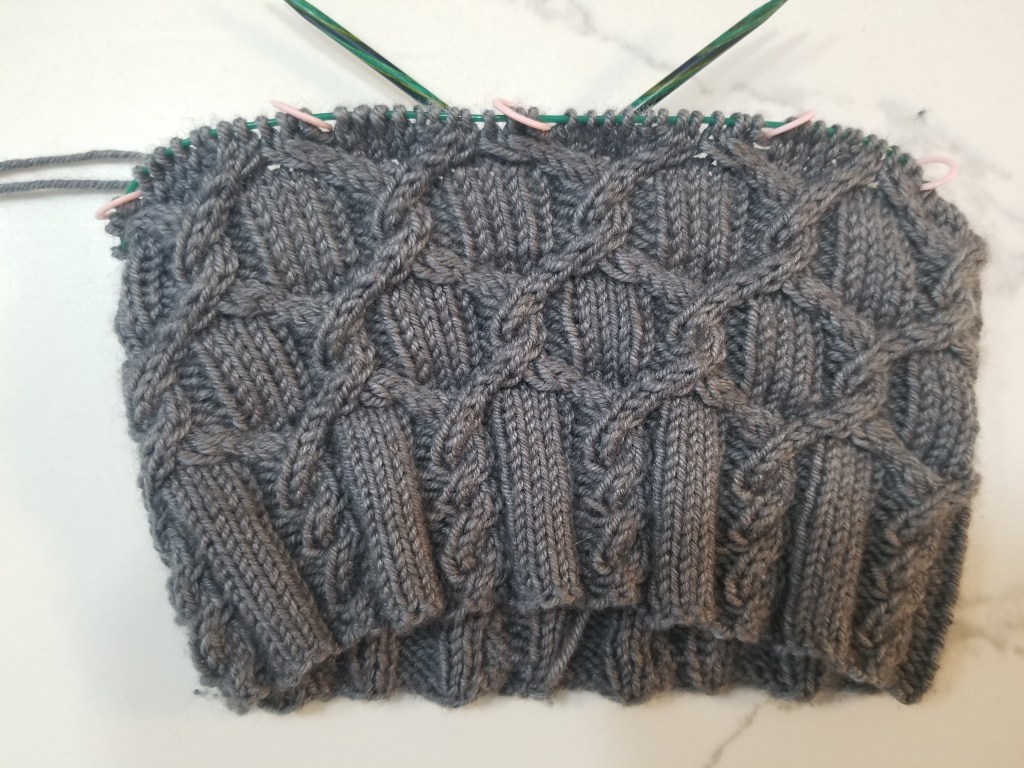
Current State
I restarted and got back up to basically the same place that I was at last time.
Hopefully there are no more issues like that from now on 😩
I had a few false starts on this project since I was worried about the gauge and sizing.
I had settled on following the pattern for a size Medium, since that fit the desired head size. The pattern suggested using needles of size US 6 and 7. However, when I tested out my gauge with the larger needles, my swatch was a lot larger than expected. Since I didn’t want the hat to come out unnecessarily big and floppy, I decided to switch down my needle size to US 5/6. With that smaller needle size, my gauge swatch still came out a bit big, but I felt it was alright just from eye-balling it.
Knitting in the Round
Joining
In-the-round is definitely my favorite needle style, and I even prefer to use circular needles when the project isn’t in-the-round. So you’d think I would be pretty good at joining at the beginning, after casting-on, to continue the piece in-the-round. But for whatever reason, I always find myself redoing the cast-on and join since I end up with a bit of a gap at the join.
Initially I was doing the following to join:
Cast-on 1 more stitch than the pattern calls for
Slide the first switch on the right needle (the first that was cast-on) along the circular needle, up to the tip of the right needle
Slip that switch over to the left needle, so the first and last cast-on sts are adjacent on the left needle.
Work those two sts together as the first st of the pattern
I had seen this method of joining online and thought it would work here, but I kept seeing a gap at the join as I knit the later rows.
So I looked up other methods and ended up liking the one where you basically *swap* the first/last sts to link the ends together. This way of joining ended up producing no noticeable gap, so I’ll definitely default to that one in future projects.
Cord Length
Another issue I kept hitting was with the length of cord between the circular needle ends. Initially I used a longer cord than necessary (24 inches I think?) and kept having to bunch the sts and cord up in weird ways to slide them up to working position. Eventually I switched the cord to a shorter one (15 inches) and that worked out much better!
Cable Pattern
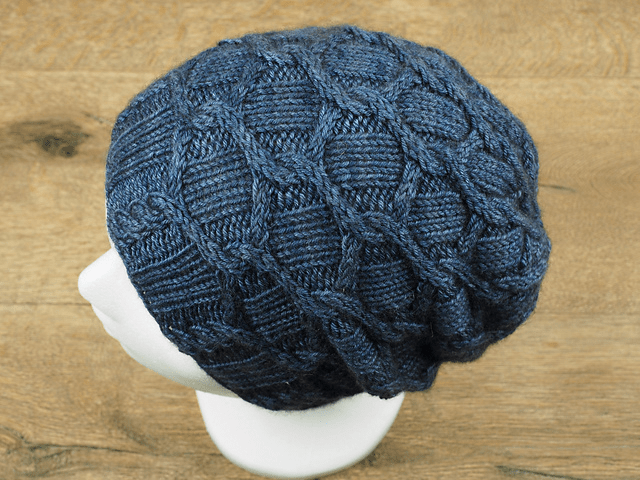
I really like the look of the cable pattern here, which has the look of a chain-link fence!
I was trying to account for cable splay near the edges of the cables, but it turned out to be a big hassle to focus so much on my tension as I went. After I had finally restarted enough times, I just ignored the cable splay and let it turn out however it would. But looking at the picture above, I’d say it really isn’t that noticeable (except maybe to other cable-knitters 😁).
What’s Next?
Continue Pattern
Most of the remaining rows are just repeats of what I’ve already done, so that’ll just take a few days to complete.
Decreases
The last bunch of rows is where the beanie gets closed up with decreases.
Looking ahead in the pattern, the decreases seems to just be k2togs, so nothing fancy.
Pompom
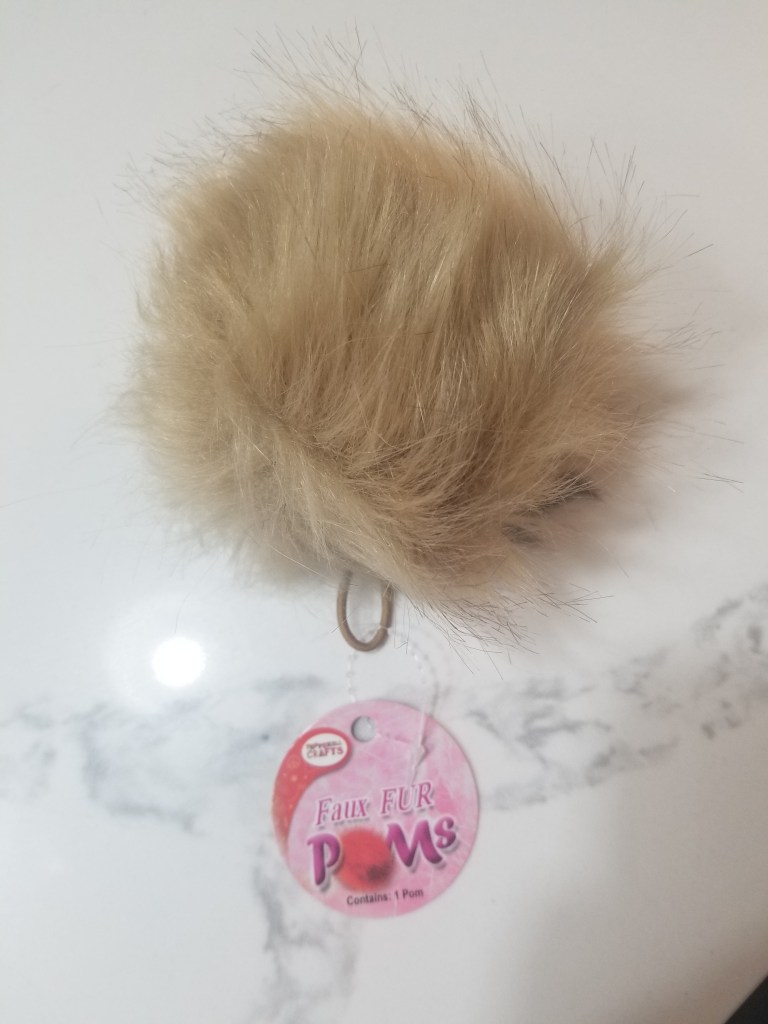
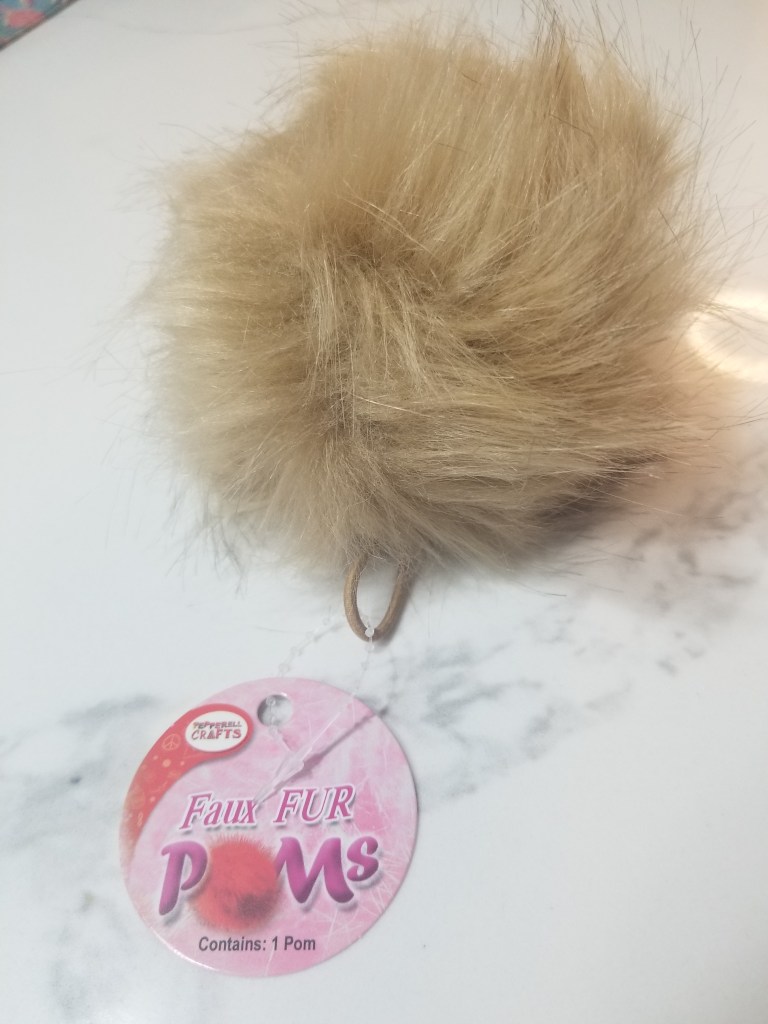
I received the faux fur pompom in the mail:
There’s a little loop which I can use to attach it to the apex of the beanie.
Right now I don’t know exactly how I’ll attach it, but I’ll deal with that when I get closer to the end 🤷♂️.
I was looking for a beanie with some cabling, and this one really has a nice look!
I’m planning on making two of them in different colors, but first is gray.
Example Project
The plan was to make on in a nice gray color, so that the cables would be more visible. Initially, I was going to get the same yarn brand as mentioned in the pattern, but turns out they are in Europe and don’t ship to the US.
However I found a user project on Ravelry that had the color I wanted. Also it had the same yarn material composition as the pattern, which is something I wanted.